Seeking help with your product? You've come to the right place. We've created comprehensive installation instructions and guides for Aussie Traveller caravan awnings. Whether you're a seasoned caravanner or installing an awning for the first time, our step-by-step guidance helps you set up your awning safely and correctly.
For over 35 years, Aussie Traveller has proudly served happy campers across Australia with premium-quality roll-out awnings. Our Queensland-manufactured awnings are designed for durability and ease of installation. If you can't find specific guidance for your product, our friendly team is here to help – contact us anytime for personalised installation support.
Browse our index of instruction manuals and product guides below, or jump to our comprehensive installation guide for detailed step-by-step instructions.
Tools & Materials Required
Before you begin your caravan awning installation, gather these essential items:
- Measuring tape – For accurate bracket and spacing measurements
- Drill with bits – For pre-drilling holes into caravan sills
- Screwdriver set – Phillips and flathead for fastening hardware
- Socket wrench or adjustable wrench – For tightening bolts and fasteners
- Silicone sealant & caulking gun – Waterproofing around brackets and fasteners
- Rope/sail track – For securing fabric header to caravan (Caragroove compatible)
- Fasteners – Screws (#10 x 3/4"), bolts, and washers sized for your caravan material
- Pop-rivet tool (optional) – For vintage caravan bracket installation
- Level – Ensuring brackets are level and square
Assistance – Having a helper makes installation safer and easier
Step-by-Step Installation Process
Overview: How to Install Your Caravan Awning
The caravan awning installation process typically involves seven key stages: positioning, bracket installation, hardware assembly, mounting, tensioning, fabric securing, and final inspection. Each stage builds on the previous one, so taking time with each step ensures a safe, properly functioning awning.
Step 1: Assess Your Caravan & Plan Positioning
Before installation begins, evaluate your caravan's unique features. Look for potential obstructions: clearance lights, annexe lights, windows, access doors, and roof curves. The optimal installation position places awning hardware legs vertically without obstruction, with mounting brackets firmly secured to solid sill panel material.
Your awning should be positioned along the roof line or a minimum of 6 inches above upper edge of doors or windows. This ensures proper clearance when the awning is deployed and prevents contact with caravan fixtures.
Step 2: Prepare the Mounting Surface
Inspect the caravan sill panel where brackets will mount. Timber can sometimes be found in sill panels, but if not, you'll need to add timber reinforcement in the form of plywood behind the sill panel skin. This provides a solid mounting base and prevents fasteners from pulling through thin sheeting.
Mark bracket positions carefully using your measuring tape. Measure from the centre to the centre of the awning arms (not fabric length) to ensure proper clearance and balanced installation.
Step 3: Install Mounting Brackets
Secure the top and bottom brackets using these steps: Drill pilot holes to prevent splitting caravan material. Apply silicone sealant around bracket base to waterproof the mounting area. Align brackets perfectly – the awning must be mounted in a level position, both vertically and horizontally. Fasten with appropriately-sized screws or bolts, ensuring you're fastening into timber (not just sheeting).
Top brackets may require aluminum plates (100mm x 100mm x 3mm) secured with silicone and pop-rivets if your caravan doesn't have adequate sill thickness.
Step 4: Assemble the Awning Frame
Lay out your awning components on a flat, clean surface before installation. Insert the canopy fabric into the roller tube and arms, taking care to guide the fabric smoothly without kinks or twists. Multiple people make this step much safer and easier – have your helper guide fabric while you manage the arm assembly.
Step 5: Mount the Awning
Position the assembled awning against the caravan and slide it into the mounting brackets. Align mounting holes carefully before fastening. Tighten all fasteners securely, but avoid over-tightening which can crack brackets or warp the caravan material.
Deploy the awning partially to check that arms extend smoothly and brackets hold firmly. There should be no wobbling or movement.
Step 6: Secure the Fabric Header
Install rope track/sail track (Caragroove) along the caravan wall to secure the fabric header using screws or pop-rivets with silicone sealant. The fabric should be tension-balanced – not too loose (risk of flapping) and not too tight (risk of tearing). Use rubber spring-loaded anchors rather than ratchet straps to avoid over-tensioning.
Step 7: Final Inspection & Testing
Test the awning fully extended and fully retracted multiple times. All movements should be smooth and silent. Check that the fabric rolls evenly without bunching. Verify all fasteners are tight and no water leaks around bracket seals.
Bracket & Hardware Installation
Proper bracket installation is fundamental to awning safety and longevity. Three brackets are typically required for support: two end brackets positioned at arm attachment points.
Bracket positioning rules:
- End brackets mount at arm attachment points to support awning weight
- Vertical alignment is critical – use a level to ensure brackets aren't tilted
- Spacing should match your awning specifications (typically 12-18 inches between brackets)
For vintage caravans (1960s-70s models), custom-fabricated end brackets may be required using aluminum plates, bolts, and pop-rivets if standard brackets don't fit.
Fastening guidelines:
- Pre-drill all screw holes to prevent caravan material splitting
- Use silicone sealant around every bracket base for waterproofing
- Fasten into timber sill material – never rely on thin sheeting alone
- Check that no fastener over-tightens, which can warp the caravan wall
- Space fasteners evenly to distribute weight
Safety Precautions & Common Mistakes
Critical Safety Warnings
Before you begin, understand these safety risks: Spring-tensioned awning mechanisms hold significant force. The roller tube is under tension and can snap into position unexpectedly if hardware is removed improperly. Never remove safety pins or straps until instructed, and work carefully around tensioned components.
Additional safety precautions:
- Keep pinch points clear – Fingers and small objects can be caught as awning deploys
- Avoid over-tightening fasteners – Can crack brackets or damage caravan material
- Don't install in windy conditions – Wind can make the awning flap and cause misalignment
- Remove accumulating water & debris – Weight buildup stresses brackets and fasteners
- Inspect for damage before each use – Small cracks can worsen over time
- Keep heat sources away – Vinyl and fabric are heat-sensitive
Common Installation Mistakes to Avoid
- Mistake #1: Fastening into sheeting only – Always ensure fasteners go into timber. If no timber exists, add plywood backing before mounting brackets.
- Mistake #2: Forgetting to use sealant – Silicone sealant prevents water infiltration around bracket bases. Water inside sill panels causes rot and structural damage.
- Mistake #3: Uneven bracket positioning – Using a level prevents tilted installation which causes uneven fabric tensioning and premature wear.
- Mistake #4: Measuring wrong dimension – Measure from centre-to-centre of awning arms, not fabric length. This ensures proper mechanical alignment.
- Mistake #5: Over-tensioning the fabric – Ratchet straps can over-stretch vinyl. Use rubber anchors with bracket systems instead for proper tension control.
Instruction Manuals & Guides
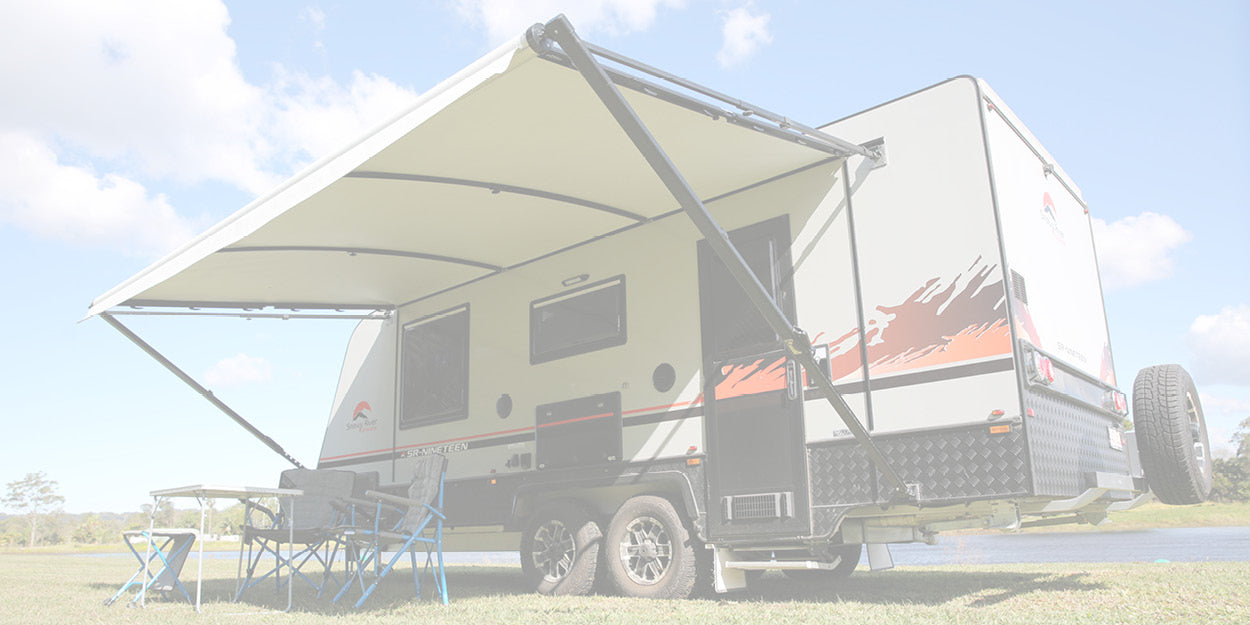
Awning Measurement Guide
If you're unsure what awning size you need, take a look at our Measurement Guide, showing measurement conversions to help you identify which awning size in ft is required.
Always measure your awning frameset width, from centre of arm to centre of arm, as shown in the image.
Awnings & Walls
📄 ATRV Cassette Awning - User Manual
📄 Coolabah Awning - Set Up & Add Walls/Annexes - Installation Instructions
📄 Coolabah Awning - Replacing Tiller Joint
📄 Coolabah G2 Awning - Replacing Tiller Joint
📄 Light Spots in Awning Fabrics
📄 Outback Awning - Operation Instructions
📄 Replacement Vinyl Roof - Installation Instructions
📄 Roll-out Awning - Add AFK & Walls - Installation Instructions
📄 Slide-out Awning - Installation Instructions
📄 Sunburst Classic Awning - Installation Instructions
📄 Sunburst Classic Awning - Operation Instructions
📄 Sunburst Eclipse Awning - Installation Instructions
📄 Sunburst Eclipse Awning - Operation Instructions
📄 Sunburst Eclipse Awning - Set Up - Video Instructions
📄 Sunburst Eclipse Awning - Pack Down - Video Instructions
Caravan Accessories
📄 12V/24V Interior Fan - Installation Manual
📄 Audio Head Unit - Double DIN Mechless - User Manual
📄 Audio Head Unit - Single DIN Mechless - User Manual
📄 Audio Head Unit - Single DIN DVD - User Manual
📄 Anti Flap Kit PRO+ (AFKPRO+) - Compatibility
📄 Anti Flap Kit PRO+ (AFKPRO+) - Assembly Video Guide
📄 Anti Flap Kit PRO+ (AFKPRO+) - Installation Instructions for Rollout Awnings
📄 Anti Flap Kit (AFK) - Installation Instructions
📄 Anti Flap Kit (AFK) to suit Thule, Omnistor, Fiamma, and Dometic Cassette Awnings
📄 Anti Flap Kit (AFK) to Thule 8000 Awning - Installation Instructions
📄 Camper Trolley - Operation Instructions
📄 Caravan, Pop-Top & Camper Trailer Covers - Installation Instructions
📄 Caravan TV - 24" DVD - User Manual
📄 Caravan TV - 24" Smart TV - User Manual
📄 Caravan TV - 32" Smart DVD TV - User Manual
📄 Curved Roof Rafter - Installation Instructions
📄 Curved Roof Rafter LED - User Manual
📄 Curved Roof Rafter - 3-Piece - User Manual
📄 Freestanding Mini Dishwasher - Installation & User Manual
Caravan Components
📄 20L Microwave Oven - User Manual
📄 20L Microwave Oven Bracket - Installation Instructions
📄 25L Microwave Oven - User Manual
📄 25L Microwave Oven Bracket - Installation Instructions
📄 Air Vent Electric - User Manual
📄 Air Vent Manual - User Manual
📄 Diesel Heater - Installation Instructions
📄 SOG Ventilation Systems - Compatibility
📄 Washing Machine - Top-Loader - User Manual
📄 Washing Machine - Front-Loader - User Manual
📄 Washing Machine - Wall Mounted - Installation & User Manual
Doors
📄 Caravan Door (First Model) - Installation Instructions
📄 DC Door - Inner & Outer Handles - Replacement Guide
📄 DC Door - Installation Instructions
📄 DC Door - Operation Instructions
📄 DC Door - Video of Door Operation
📄 DCE Door - Installation Instructions
📄 DCE Door - Left Hand Hinge - Operation Instructions
📄 DCE Door - Right Hand Hinge - Operation Instructions
📄 Damaged Door - Open jammed door lock or open without keys
📄 Door Handle - Replacement Instructions
Steps
📄 Drop Down Single & Double 12V Steps - Installation Instructions
📄 Drop Down 12V Step - PIN & Wiring Locations
📄 Drop Down 12V Step - Wiring Diagram
📄 Drop Down 12V Step - Installation Instructions
📄 Premium Electric Door Step - Installation Instructions
📄 Slide-Out Step - PIN & Wiring Locations
Other Accessories
📄 12V Touring Oven - User Manual
📄 Cast Iron Range - Care Manual
📄 Digital Wheel Weight Scale - User Manual
📄 Freestanding Mini Dishwasher - Installation & User Manual
📄 Hot Water Unit - Instructions
📄 Inverter Generator - MC1000, MC2300, MC3500 - User Manual
📄 Omni Directional TV Antenna - User Manual
Video Guides
Visit the Aussie Traveller YouTube channel for video tutorials and demonstrations about our products. Video guides provide a look into our products and walkthroughs of the installation processes, which can be extremely helpful for visual learners.
Get Support & Warranty Information
Can't find what you're looking for, or need installation assistance? Our friendly Aussie Traveller team is here to help. Contact us directly for personalised installation guidance – we're happy to answer questions about your specific caravan model and awning configuration.
Warranty coverage for Aussie Traveller awnings includes manufacturing defects and covers specific periods depending on material type (standard 12 months, extended periods for premium materials). For complete warranty details, visit our warranty information page or contact our team.
Our installation services are available in Brisbane and Melbourne for customers who prefer professional fitment. Visit our Fitment & Installation page for pricing or contact our team to discuss your options.
Need more information? Our expert team is here to help you get the best from your Aussie Traveller awning. Happy camping!
