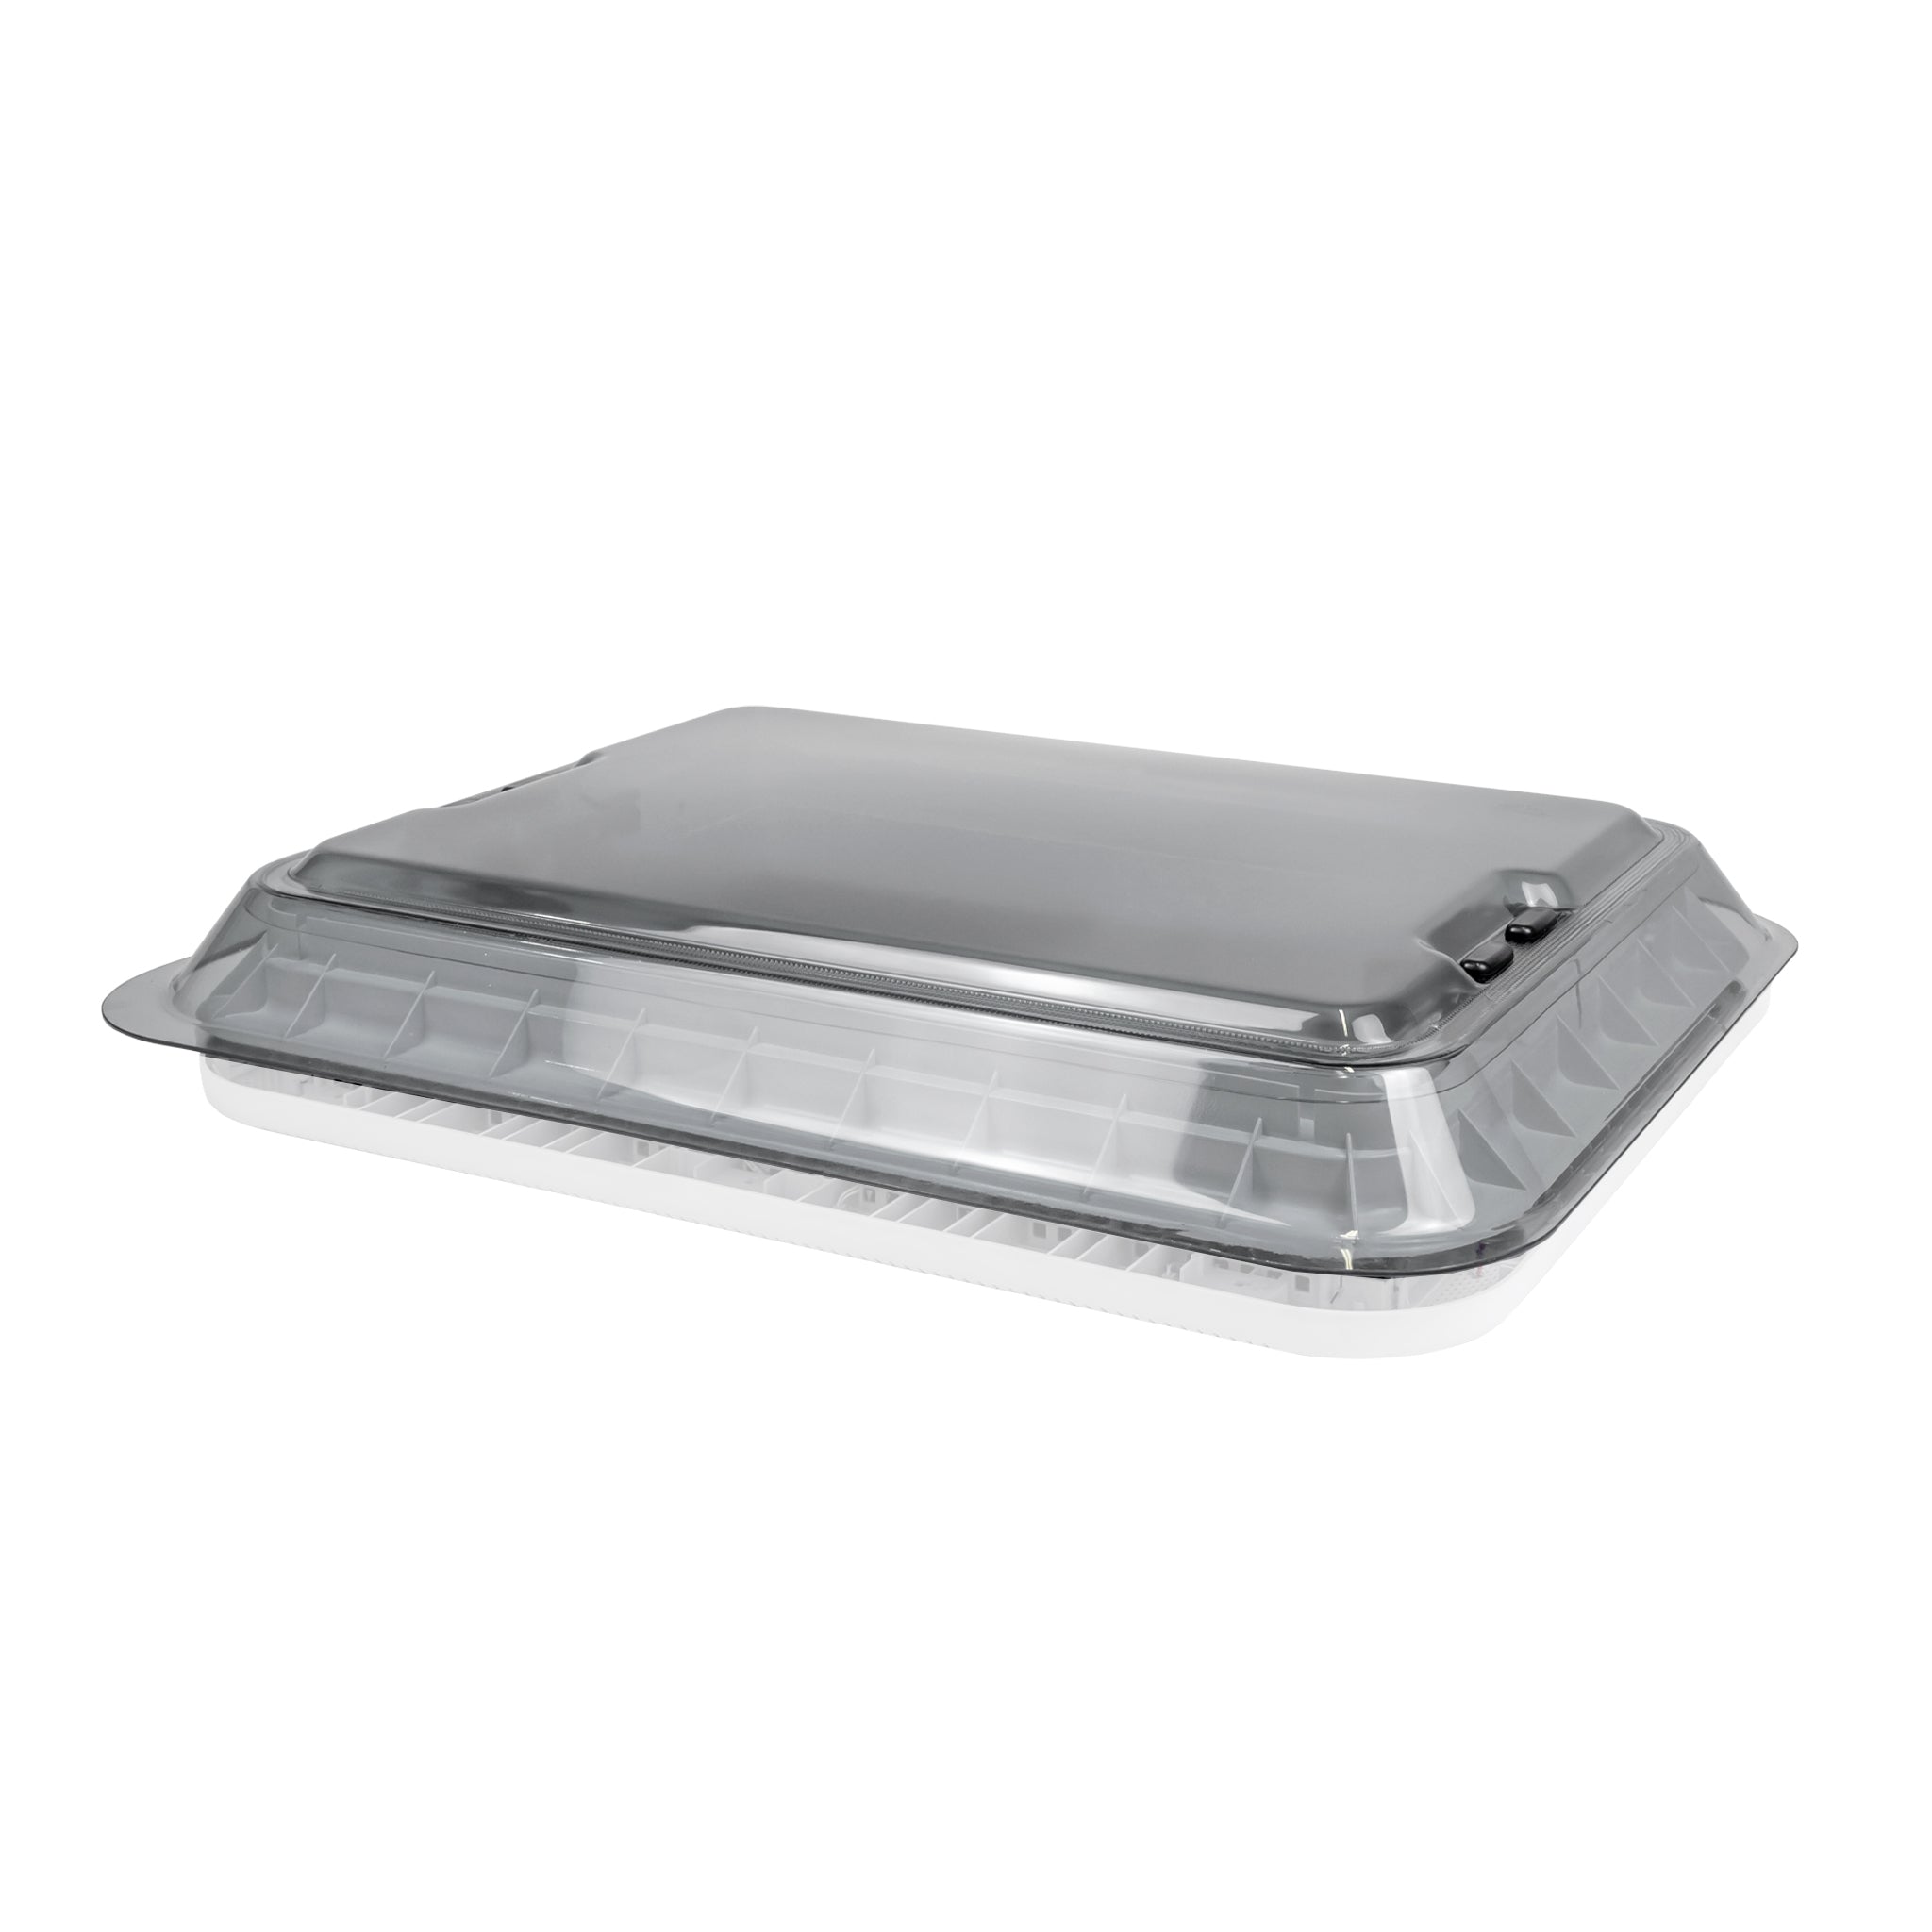
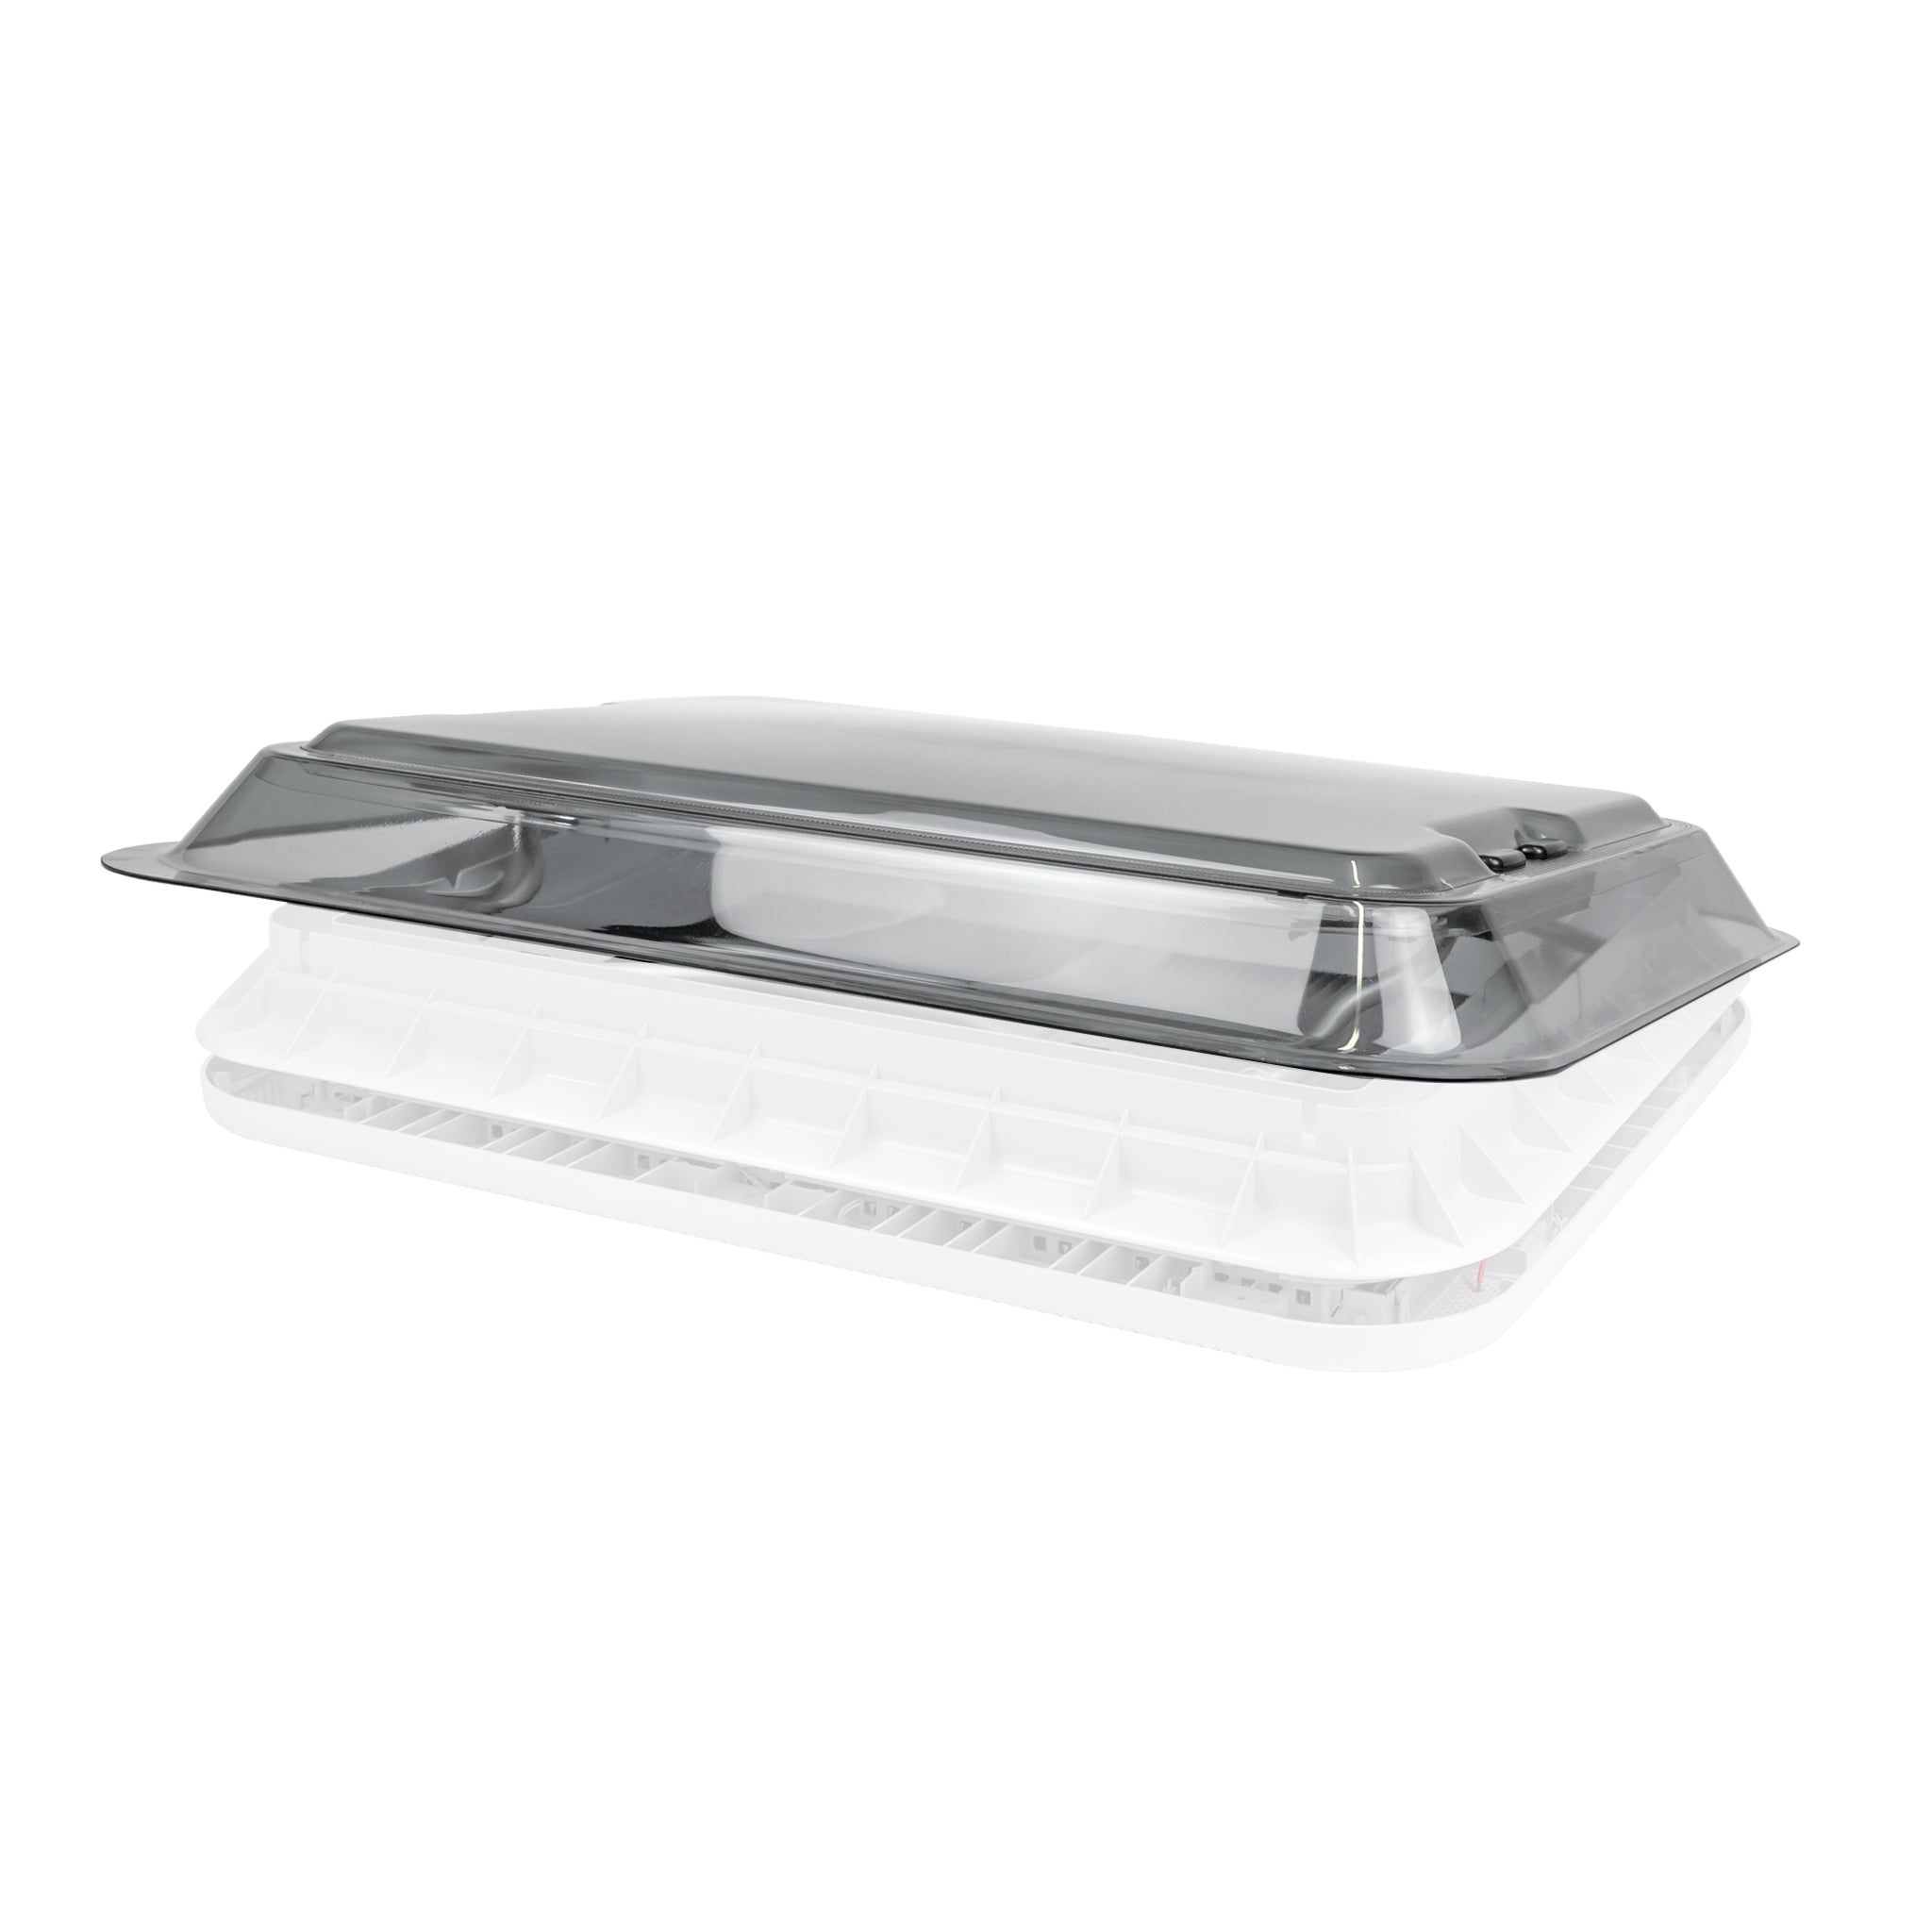
Caravan Roof Hatches
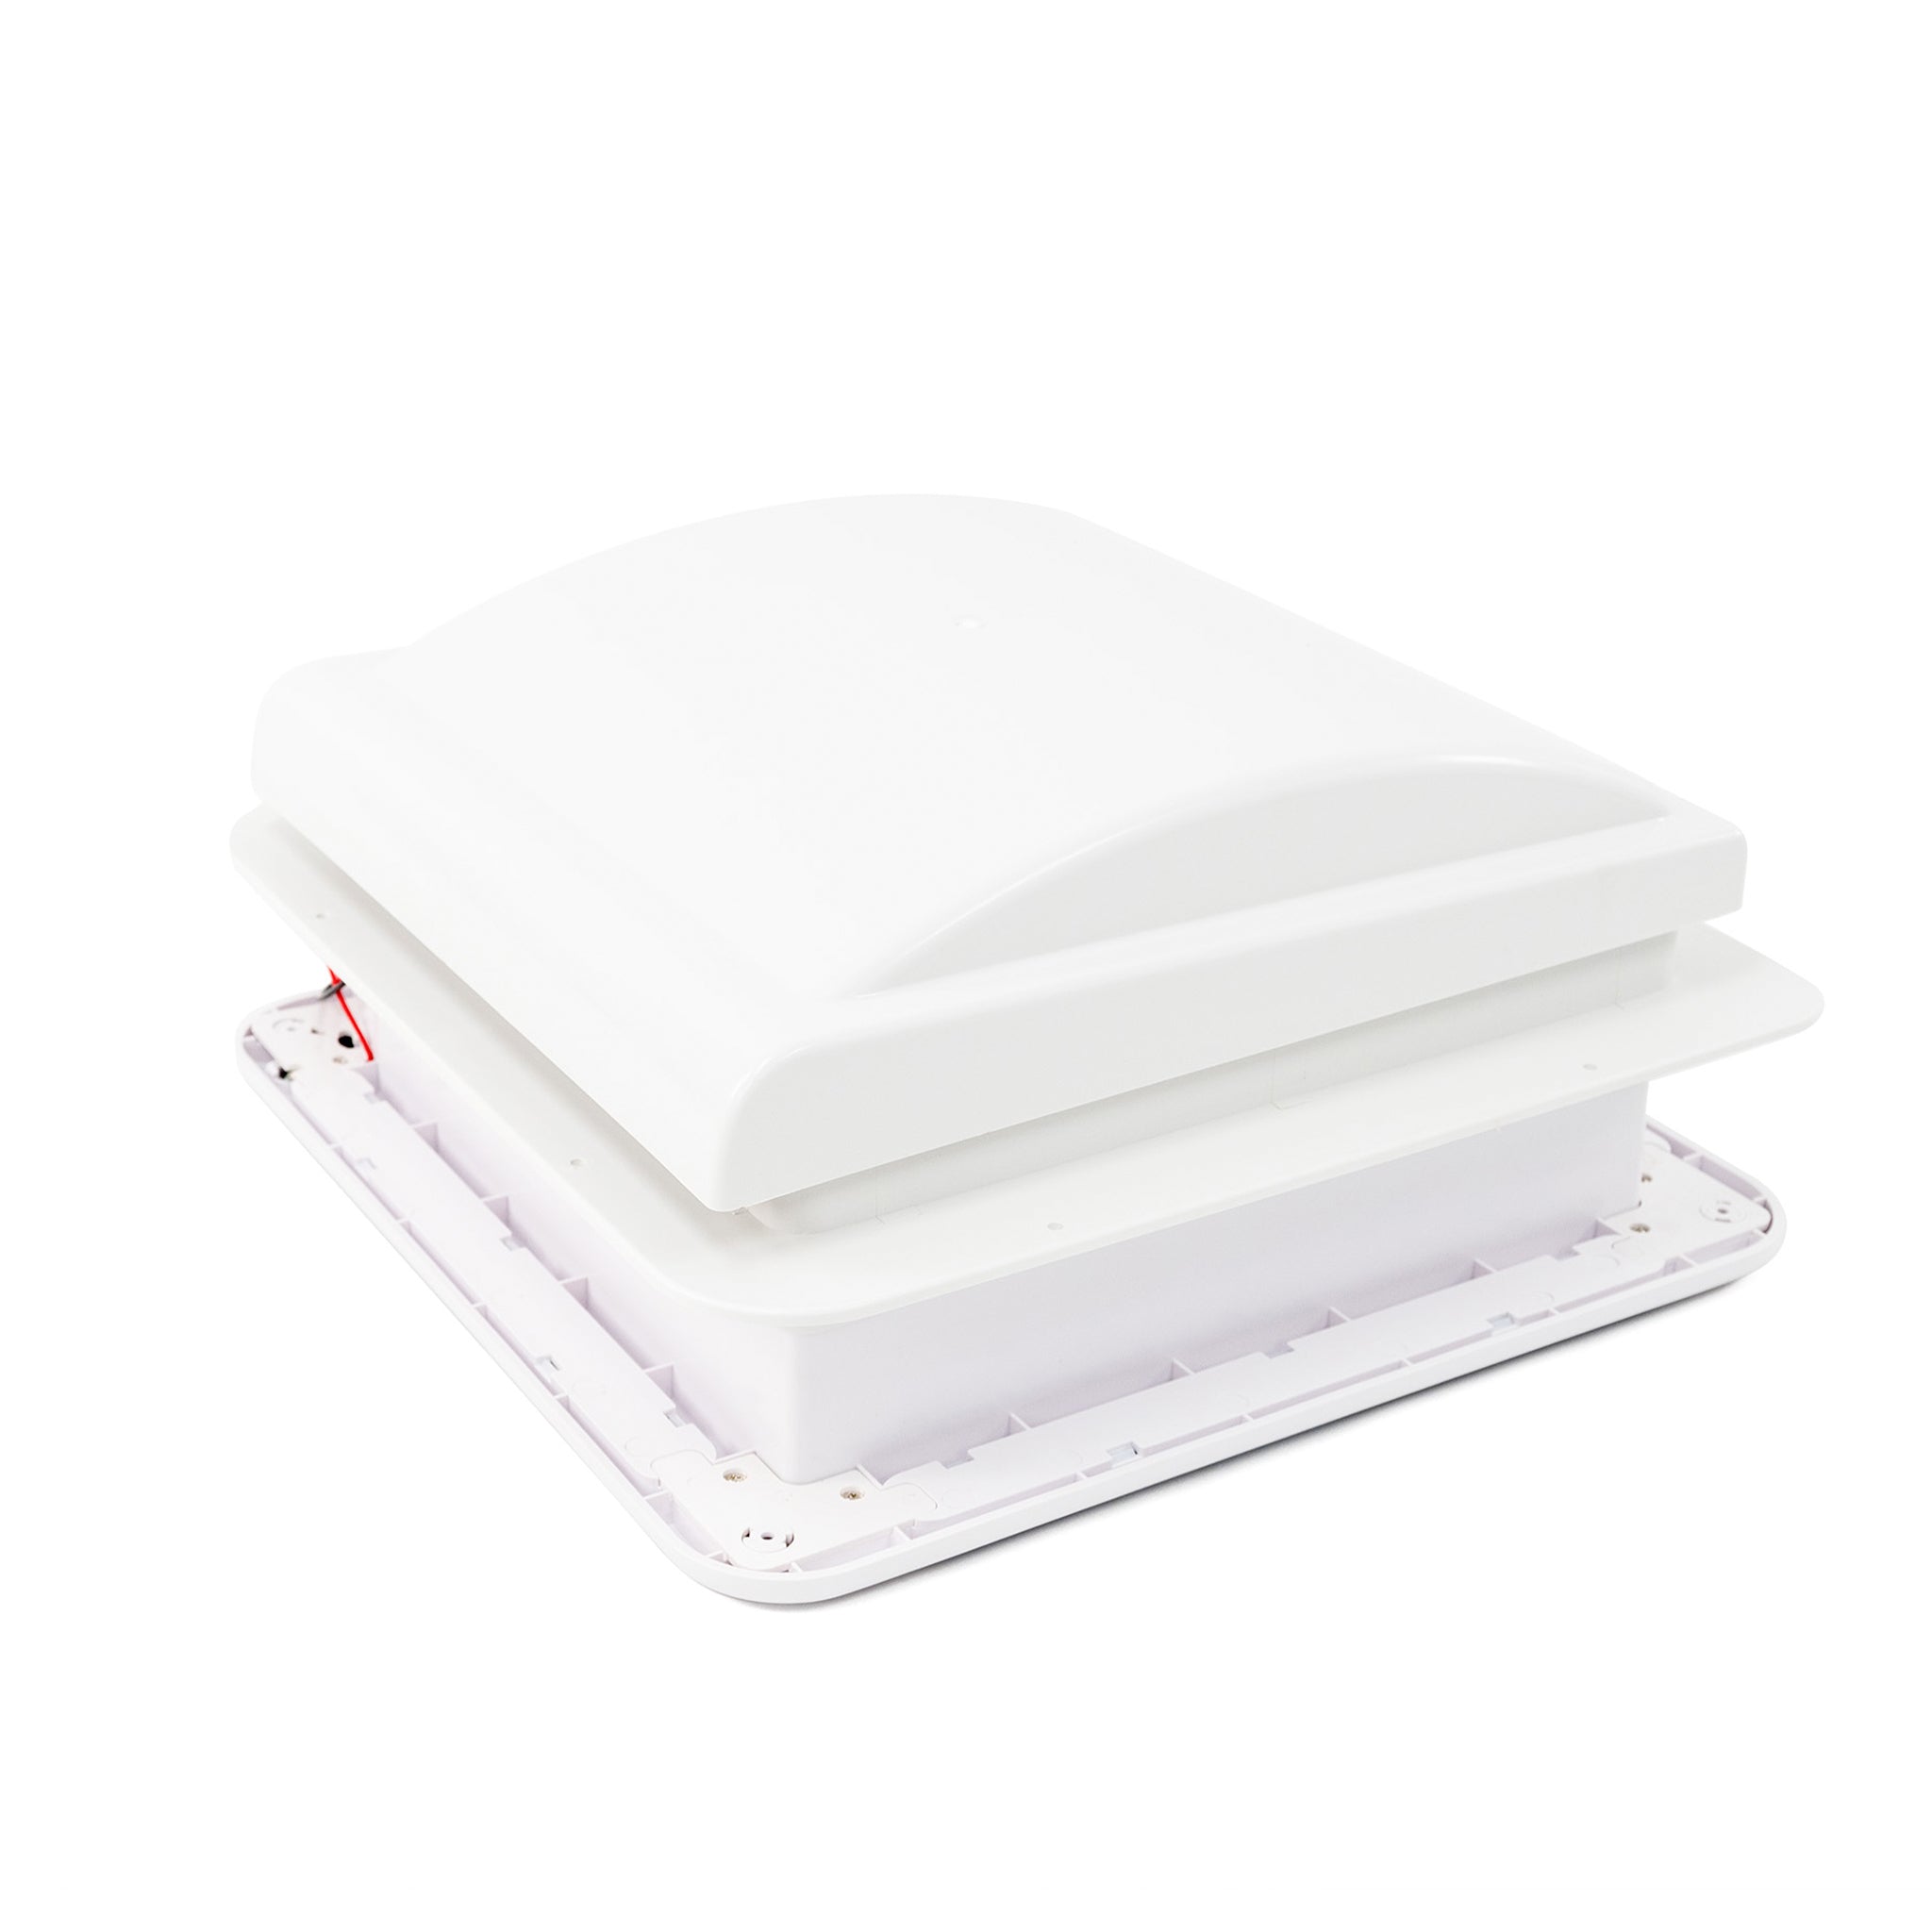
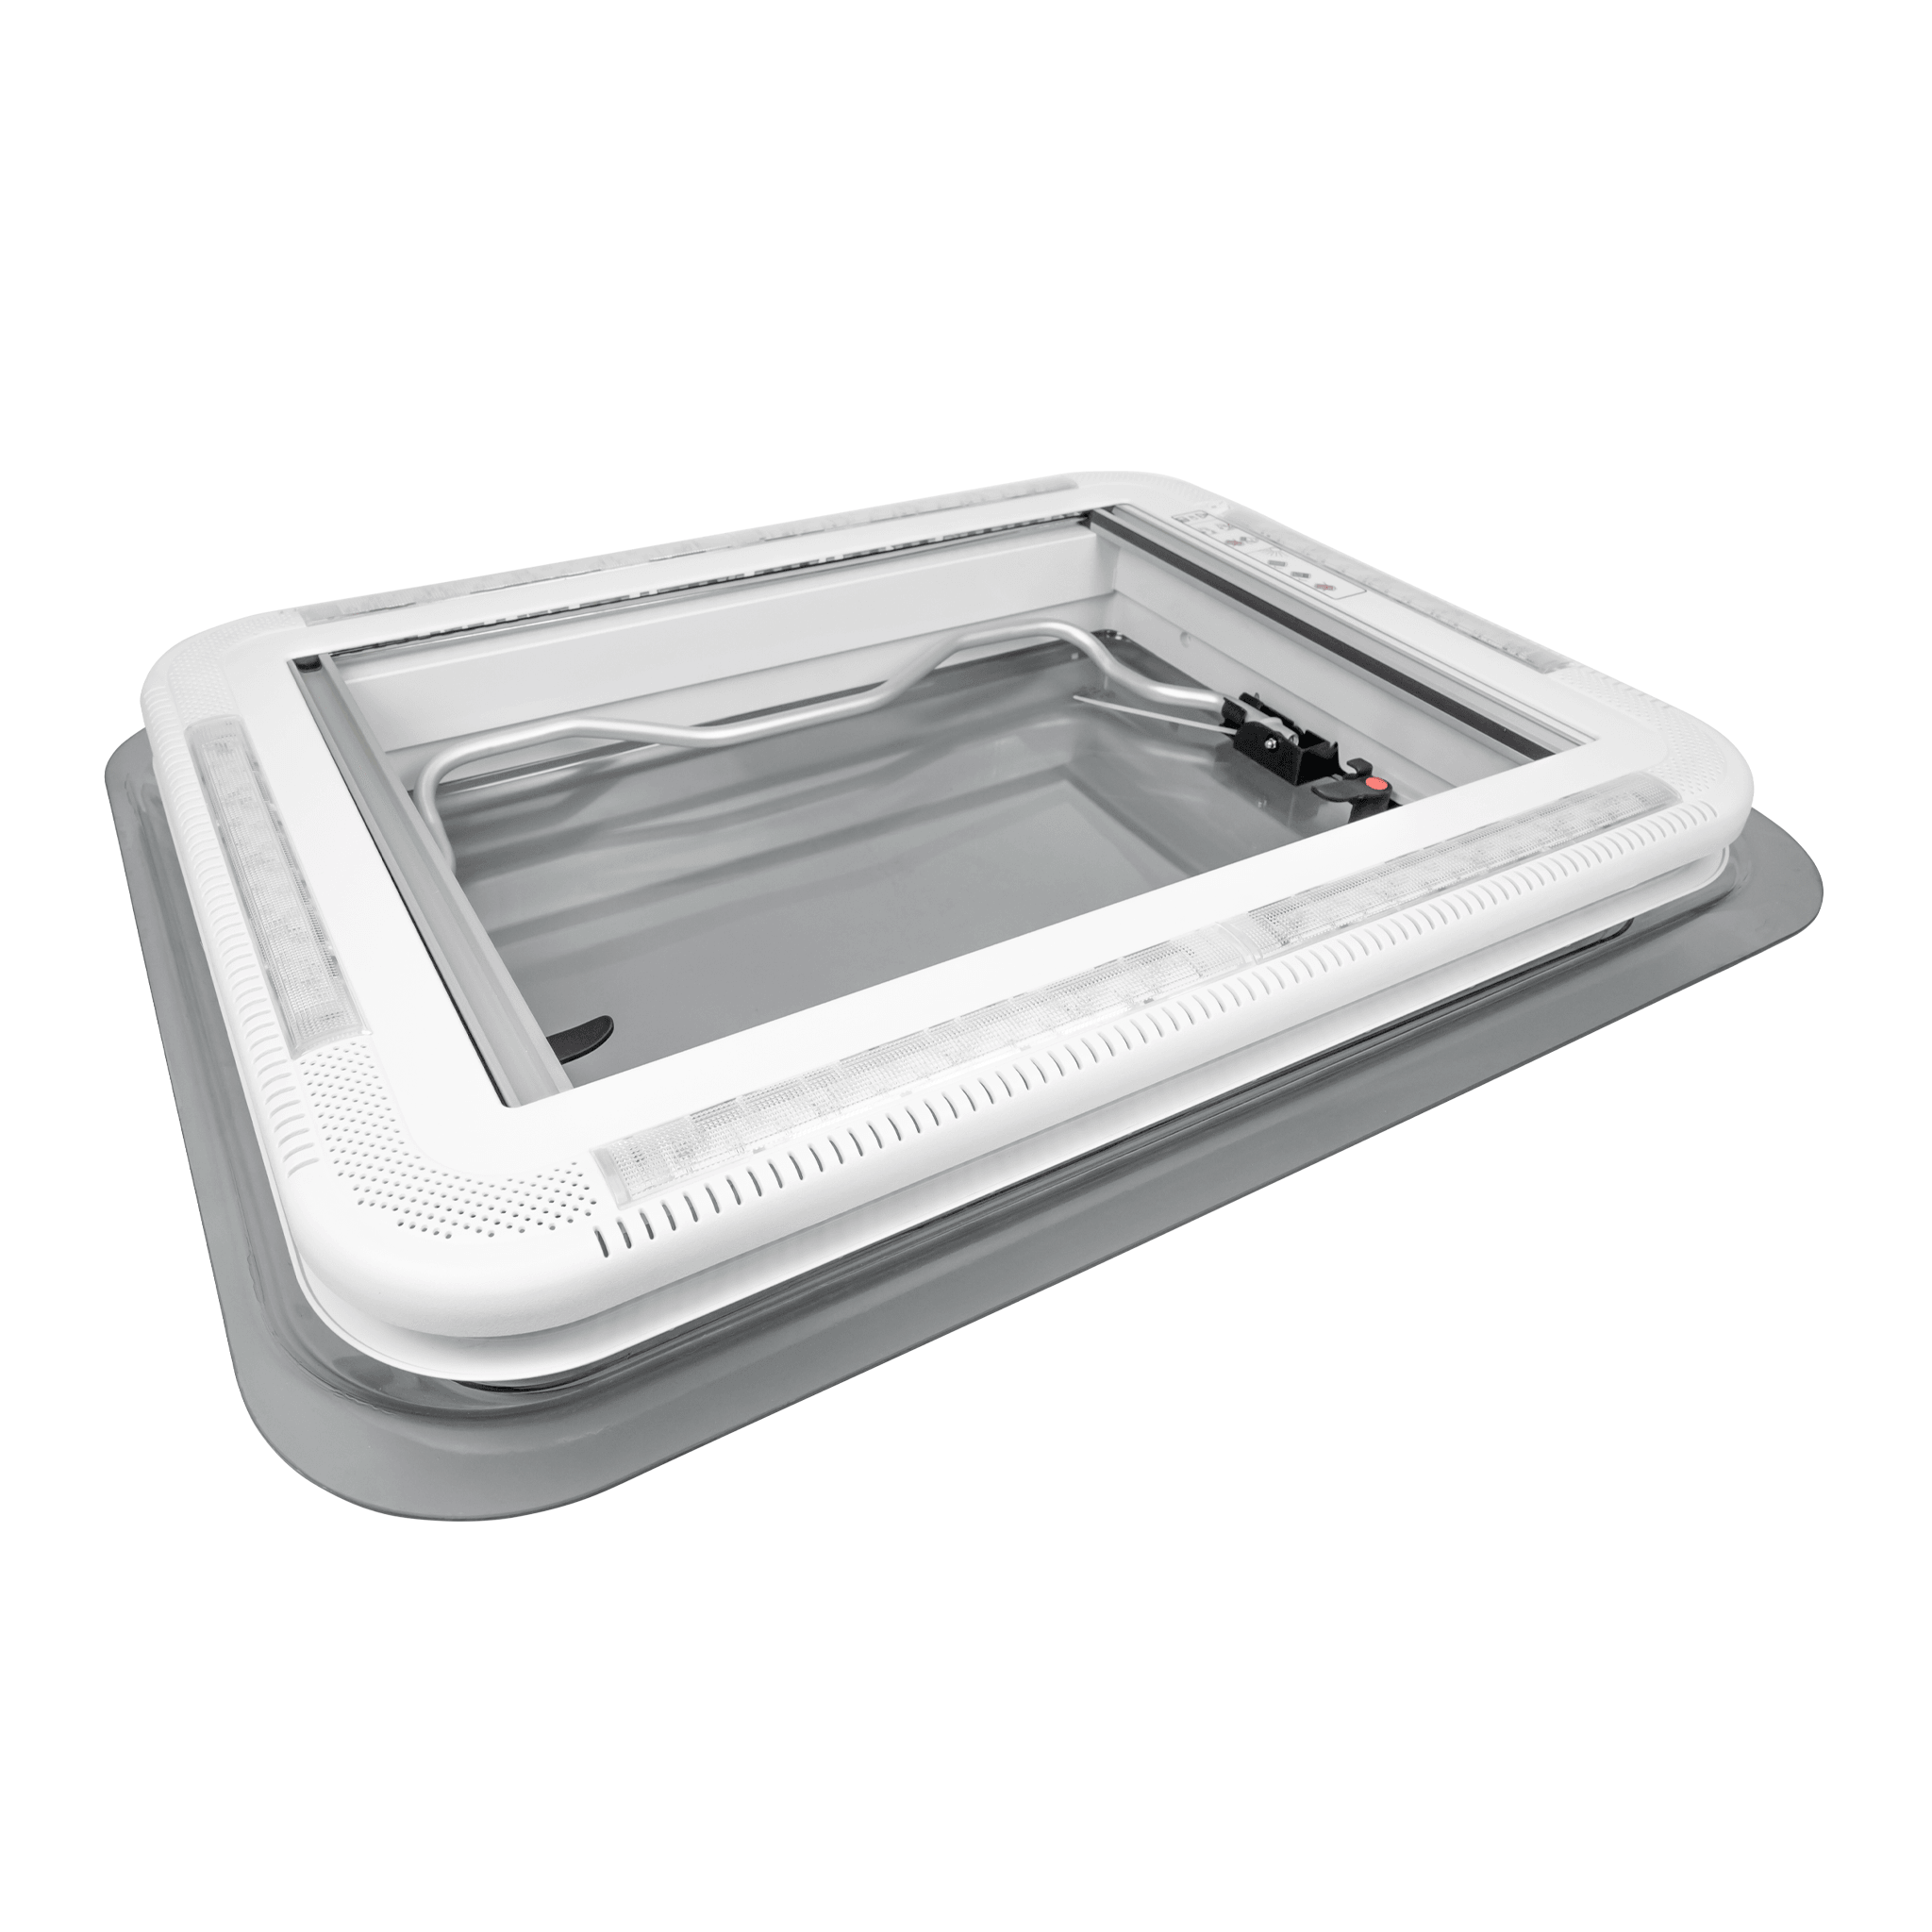
Imagine waking up to the sunrise and feeling fresh air, all from the comfort of your own mobile RV haven. This is the power of roof hatches, a versatile and valuable component for any pro caravanning adventurer. Roof hatches offer great ventilation, airflow and some natural lighting, making them ideal for any caravan.
What Are Caravan Roof Hatches?
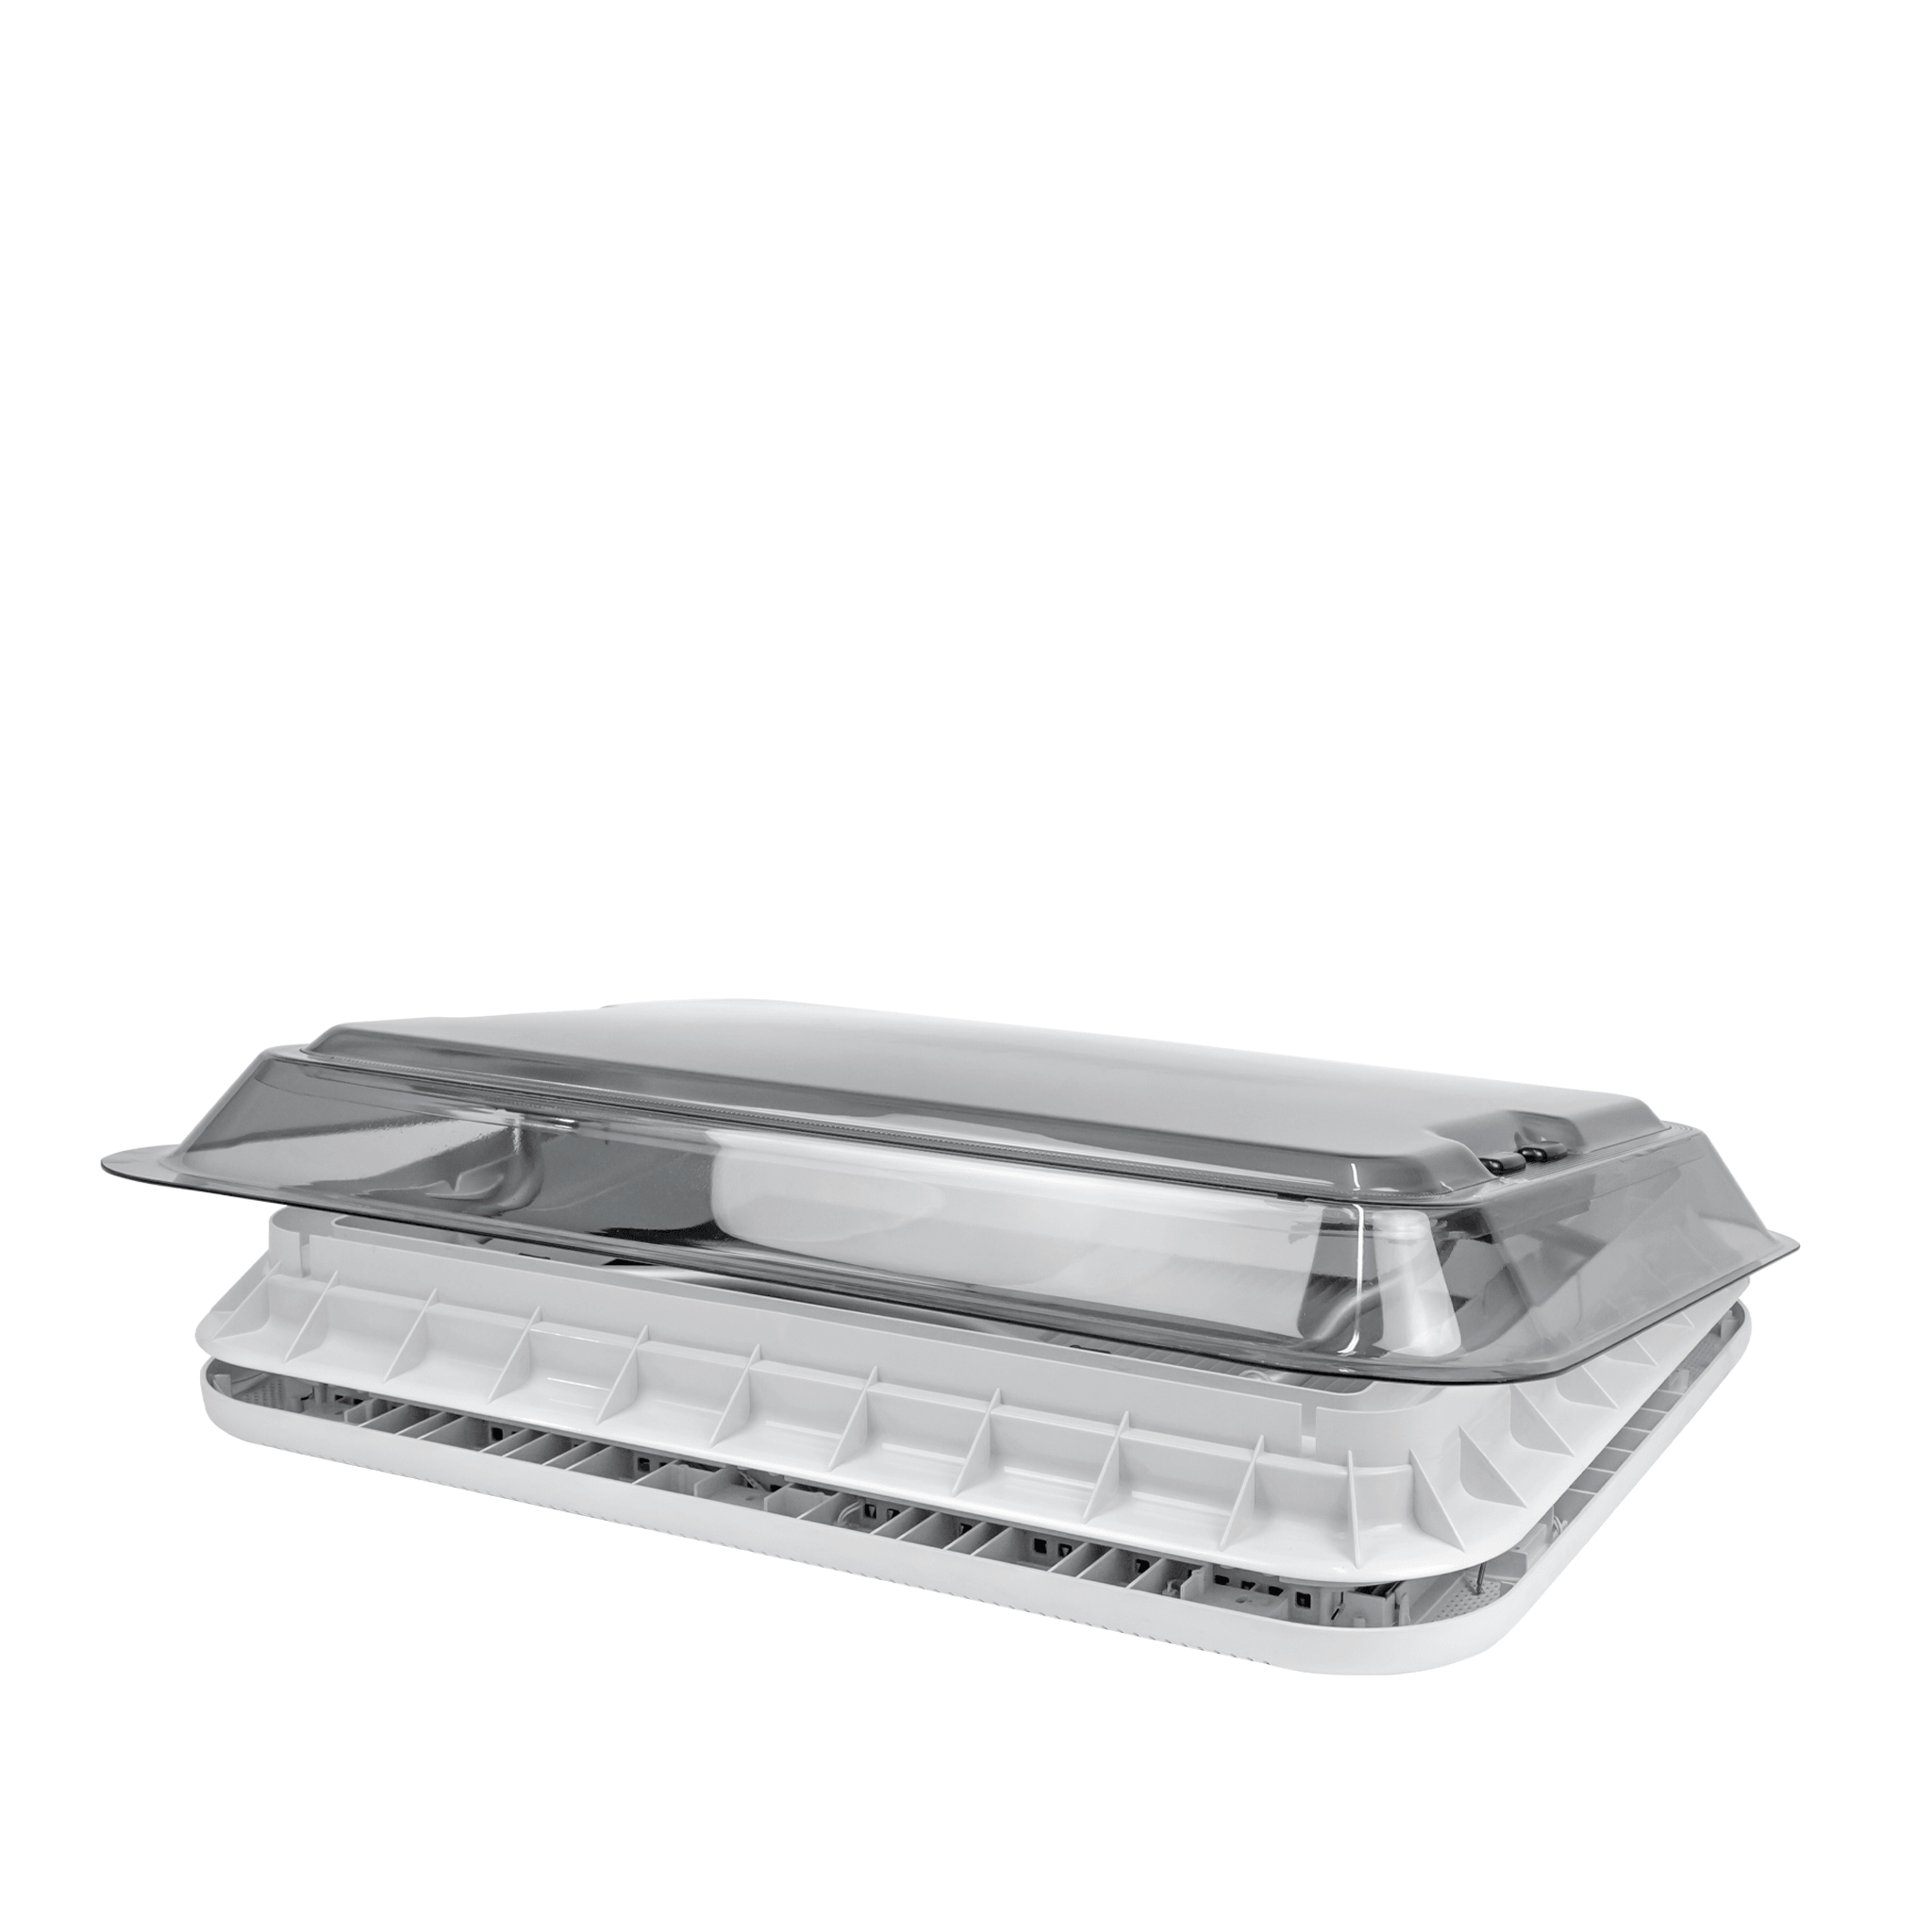
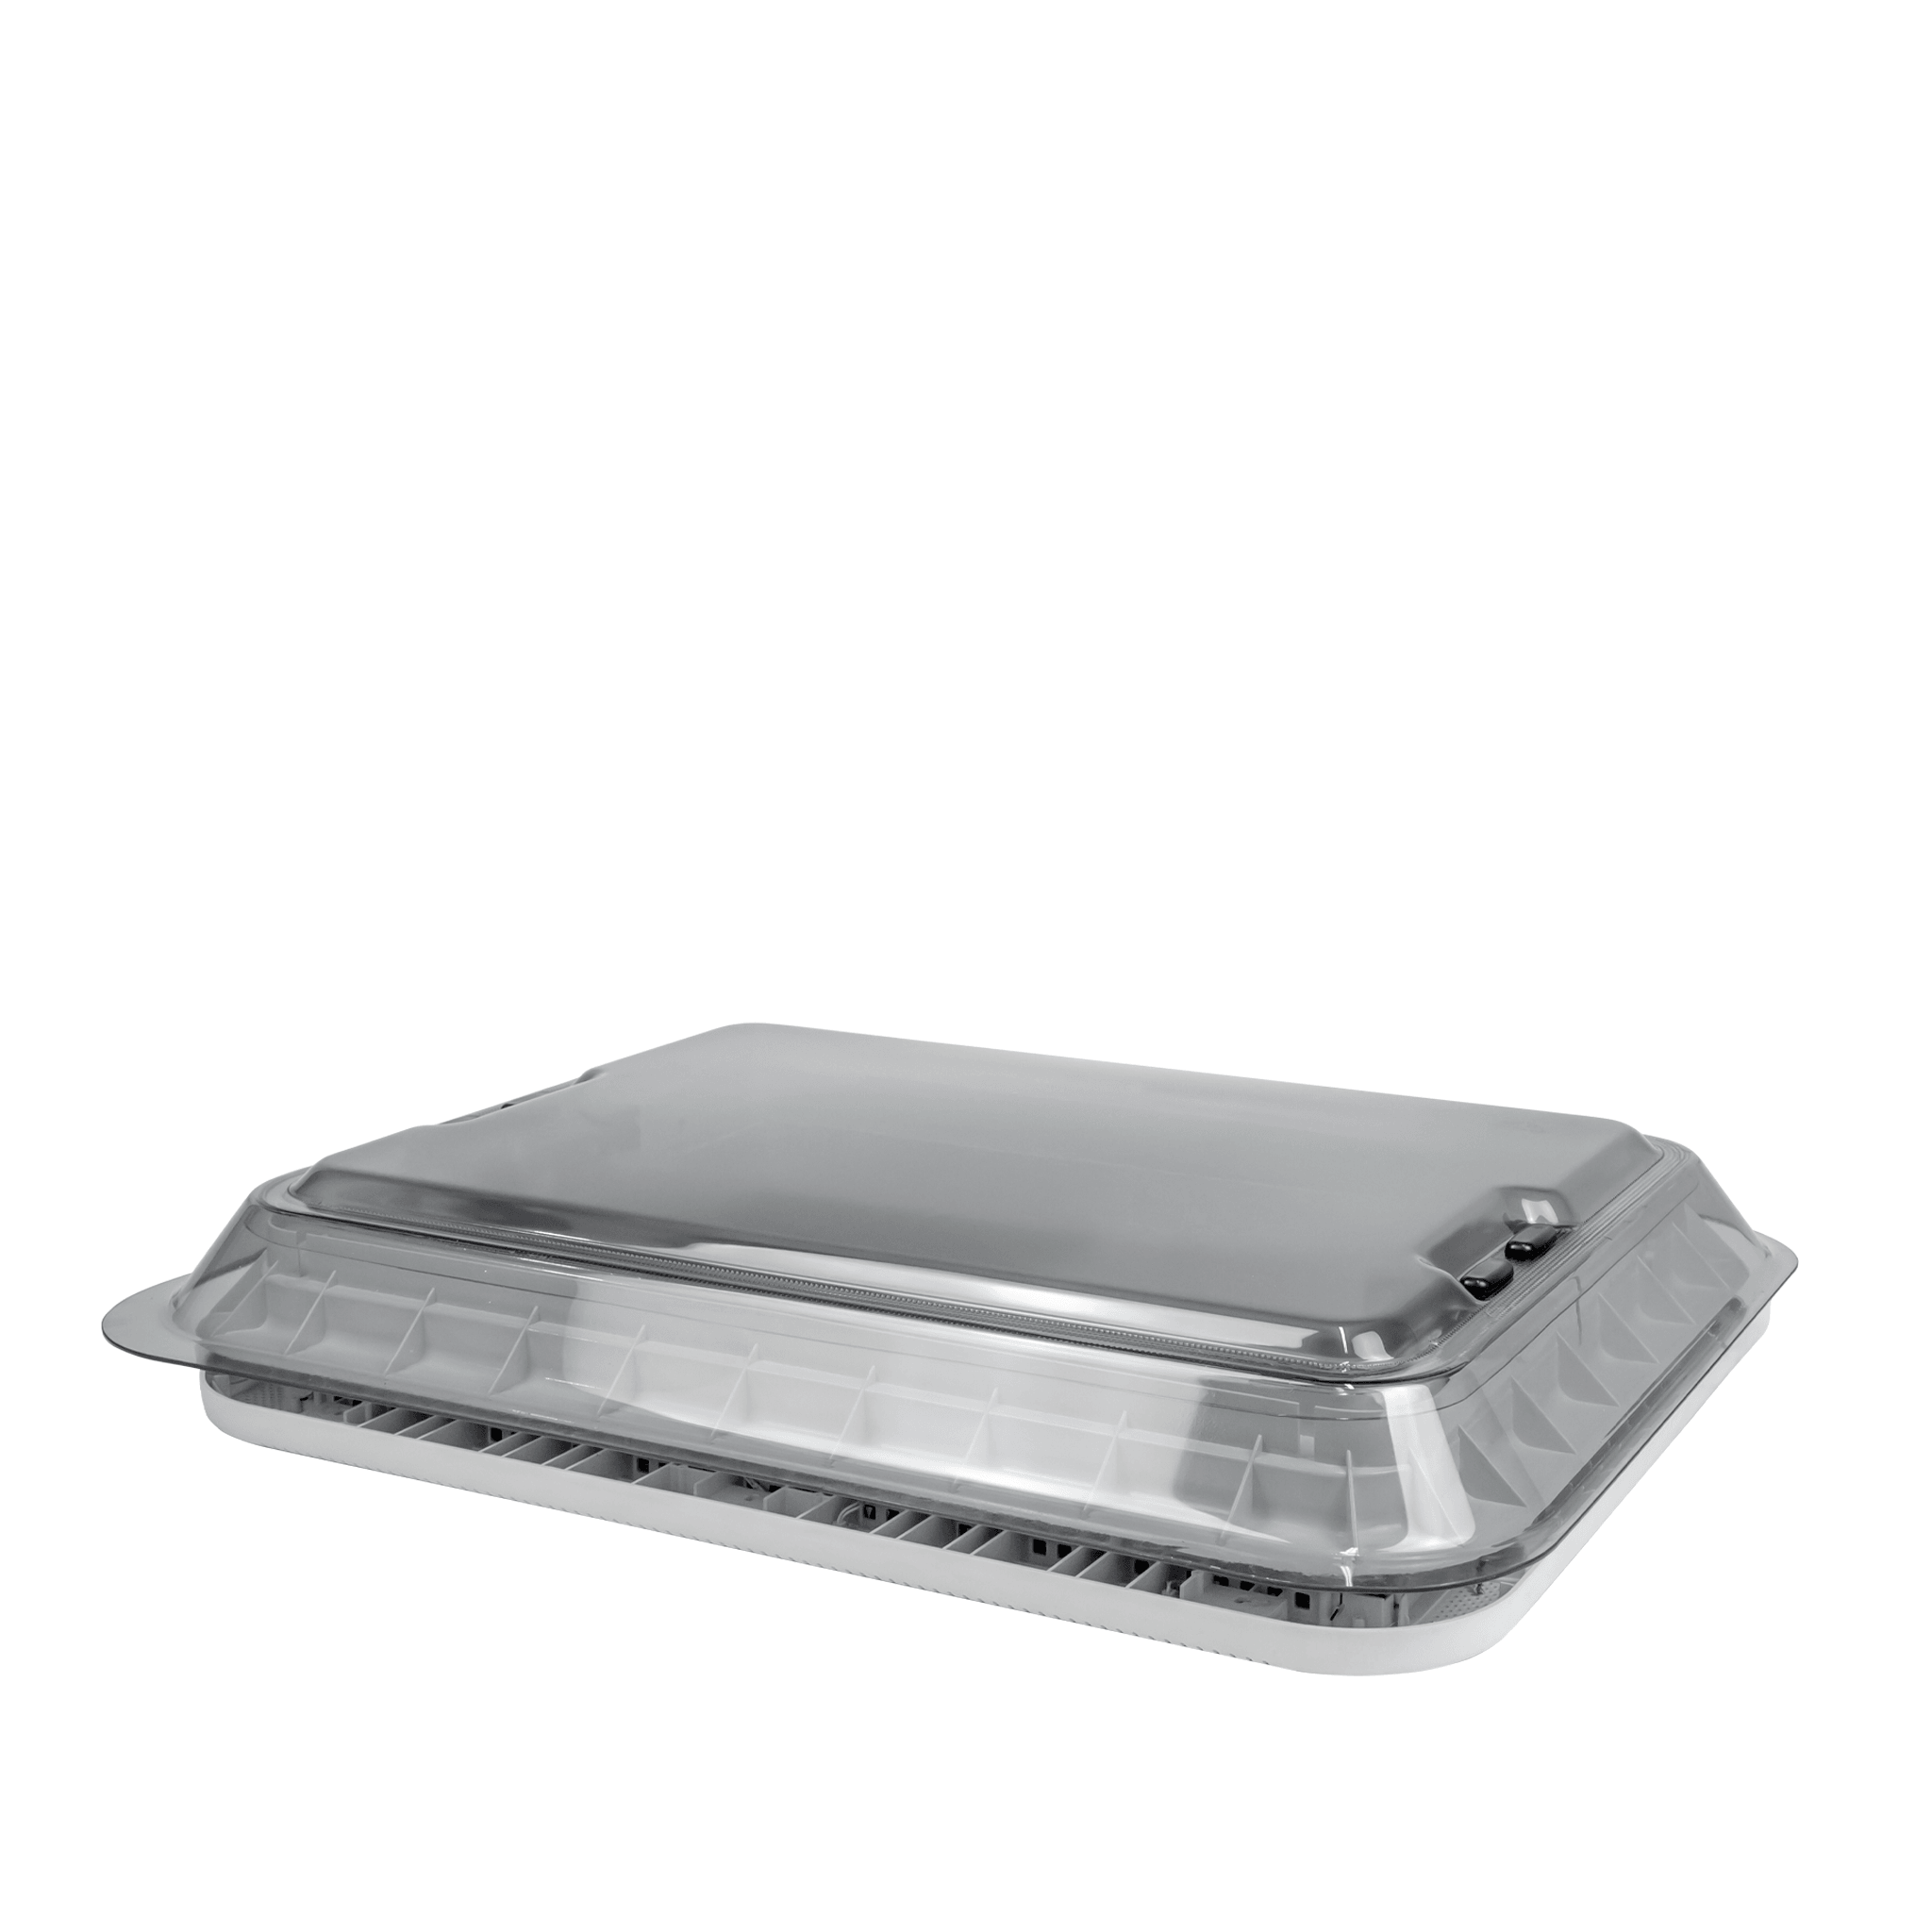
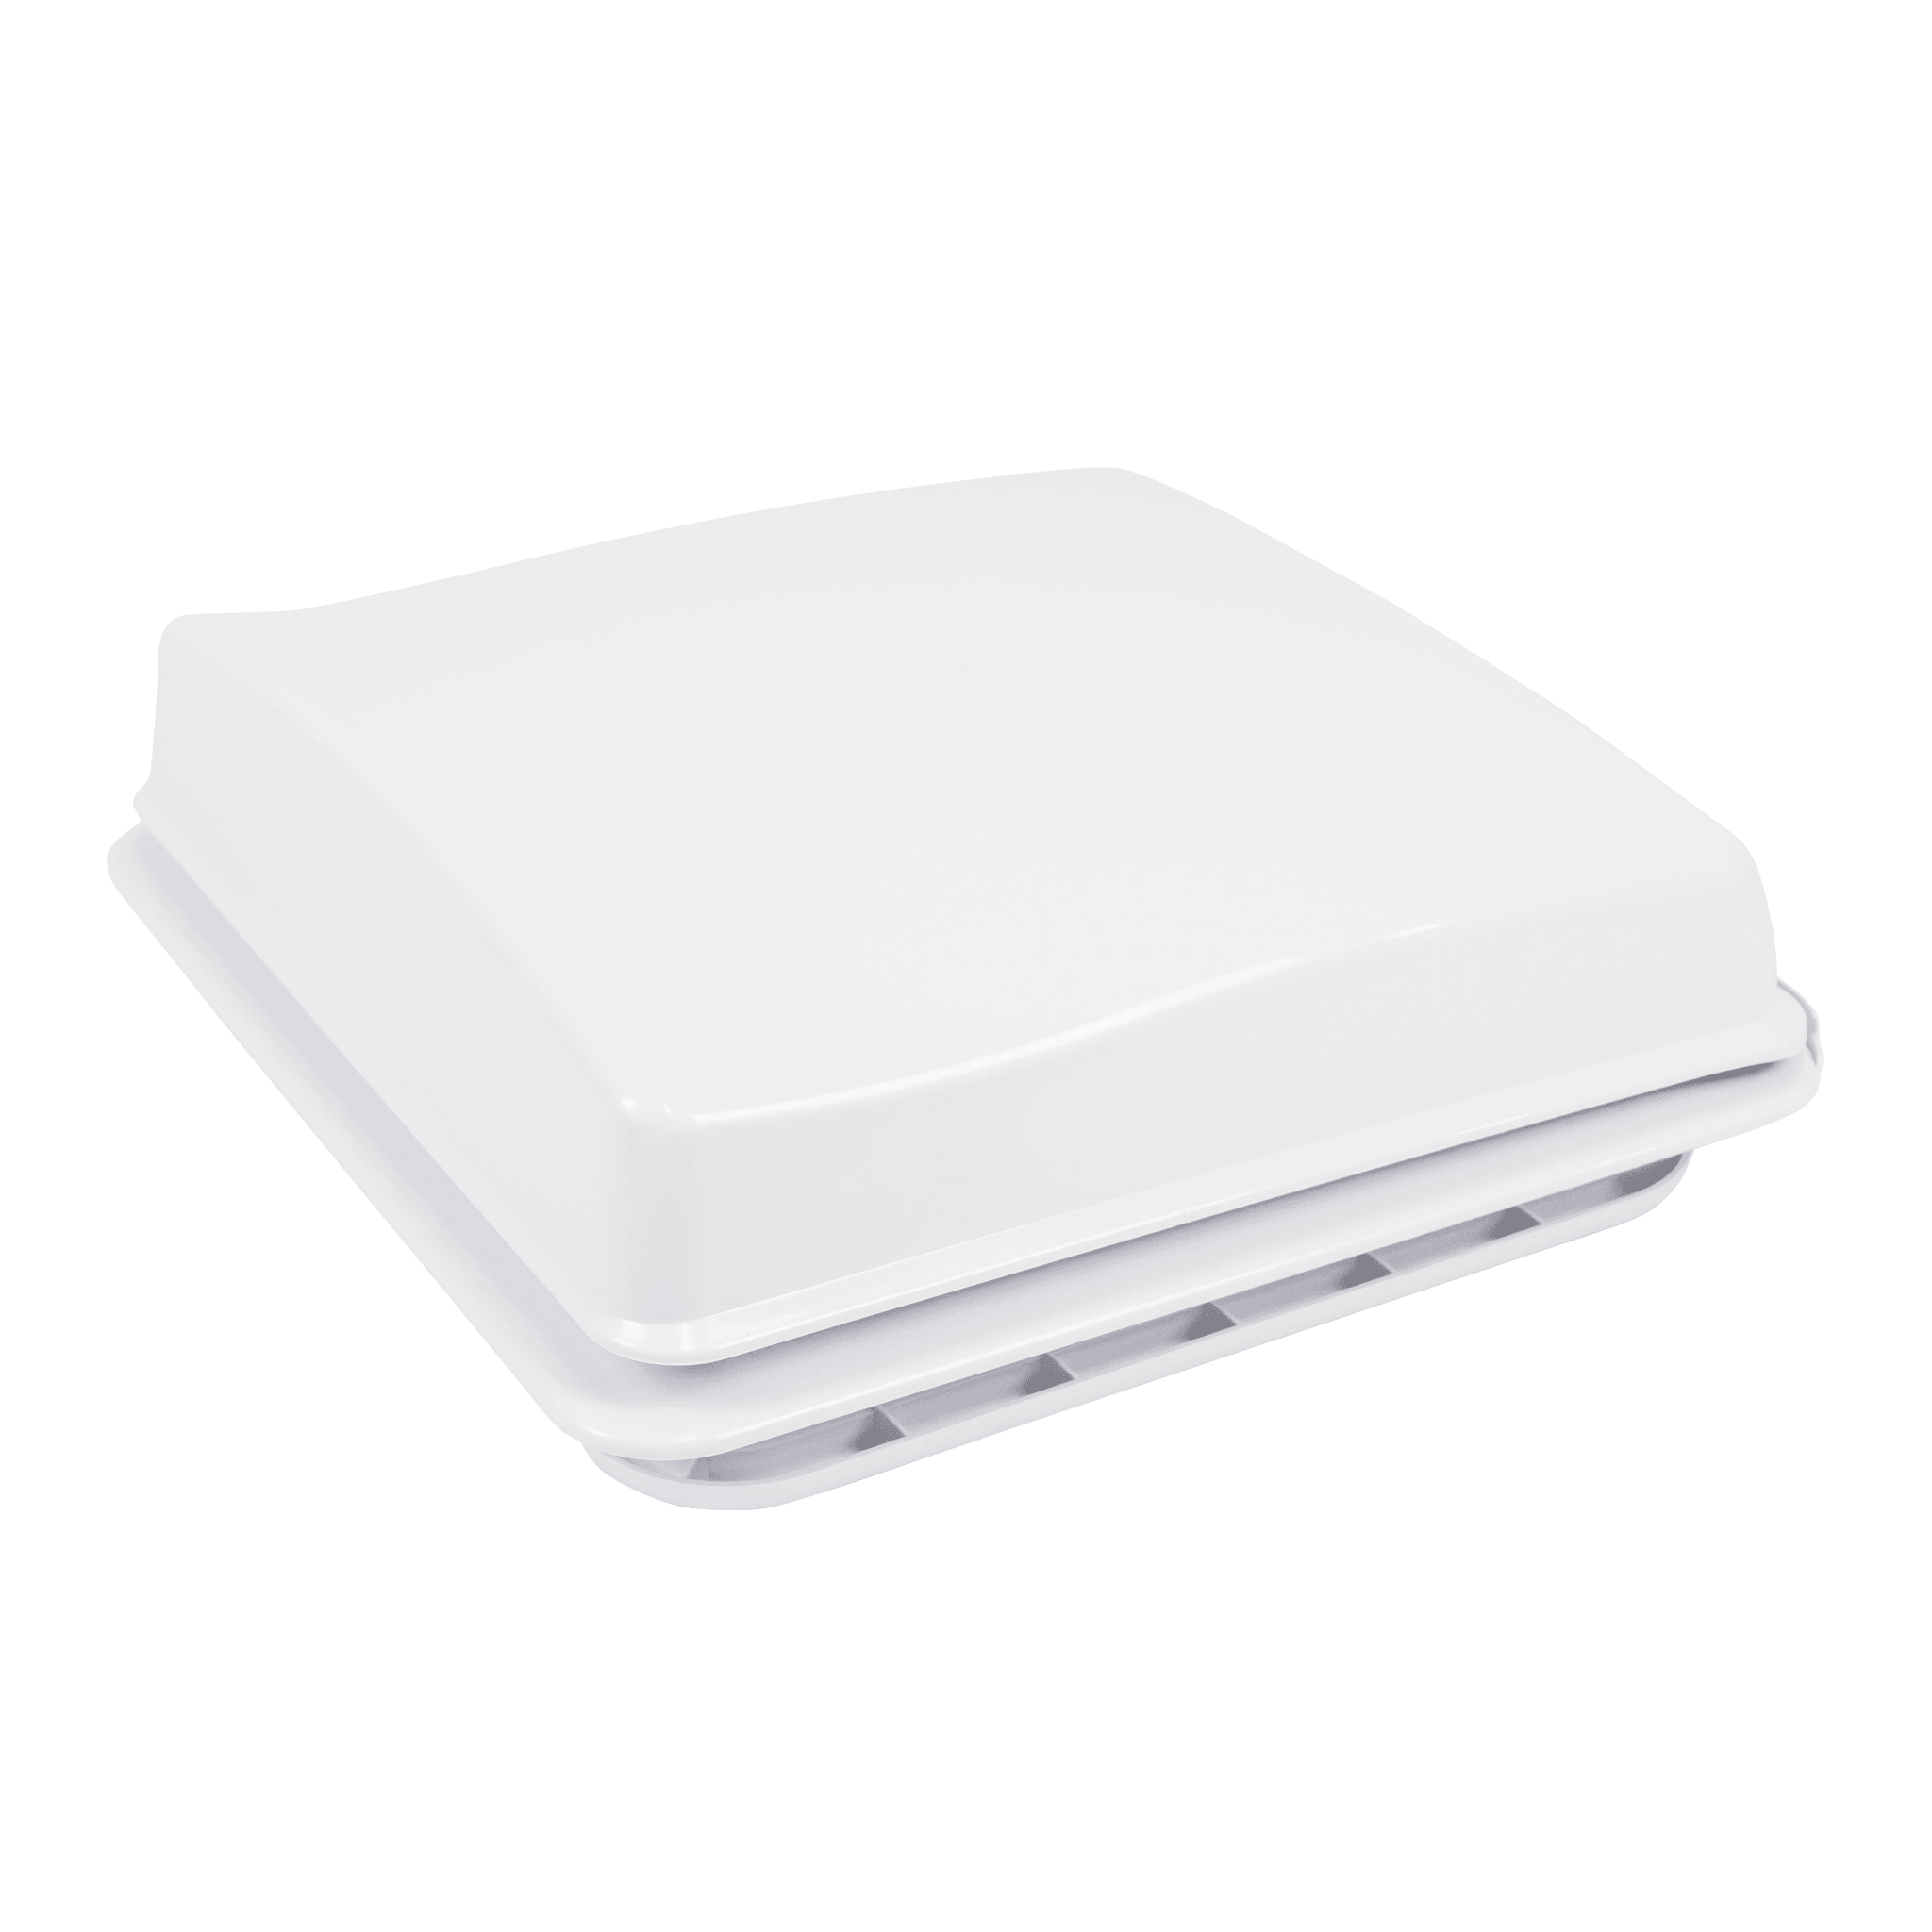
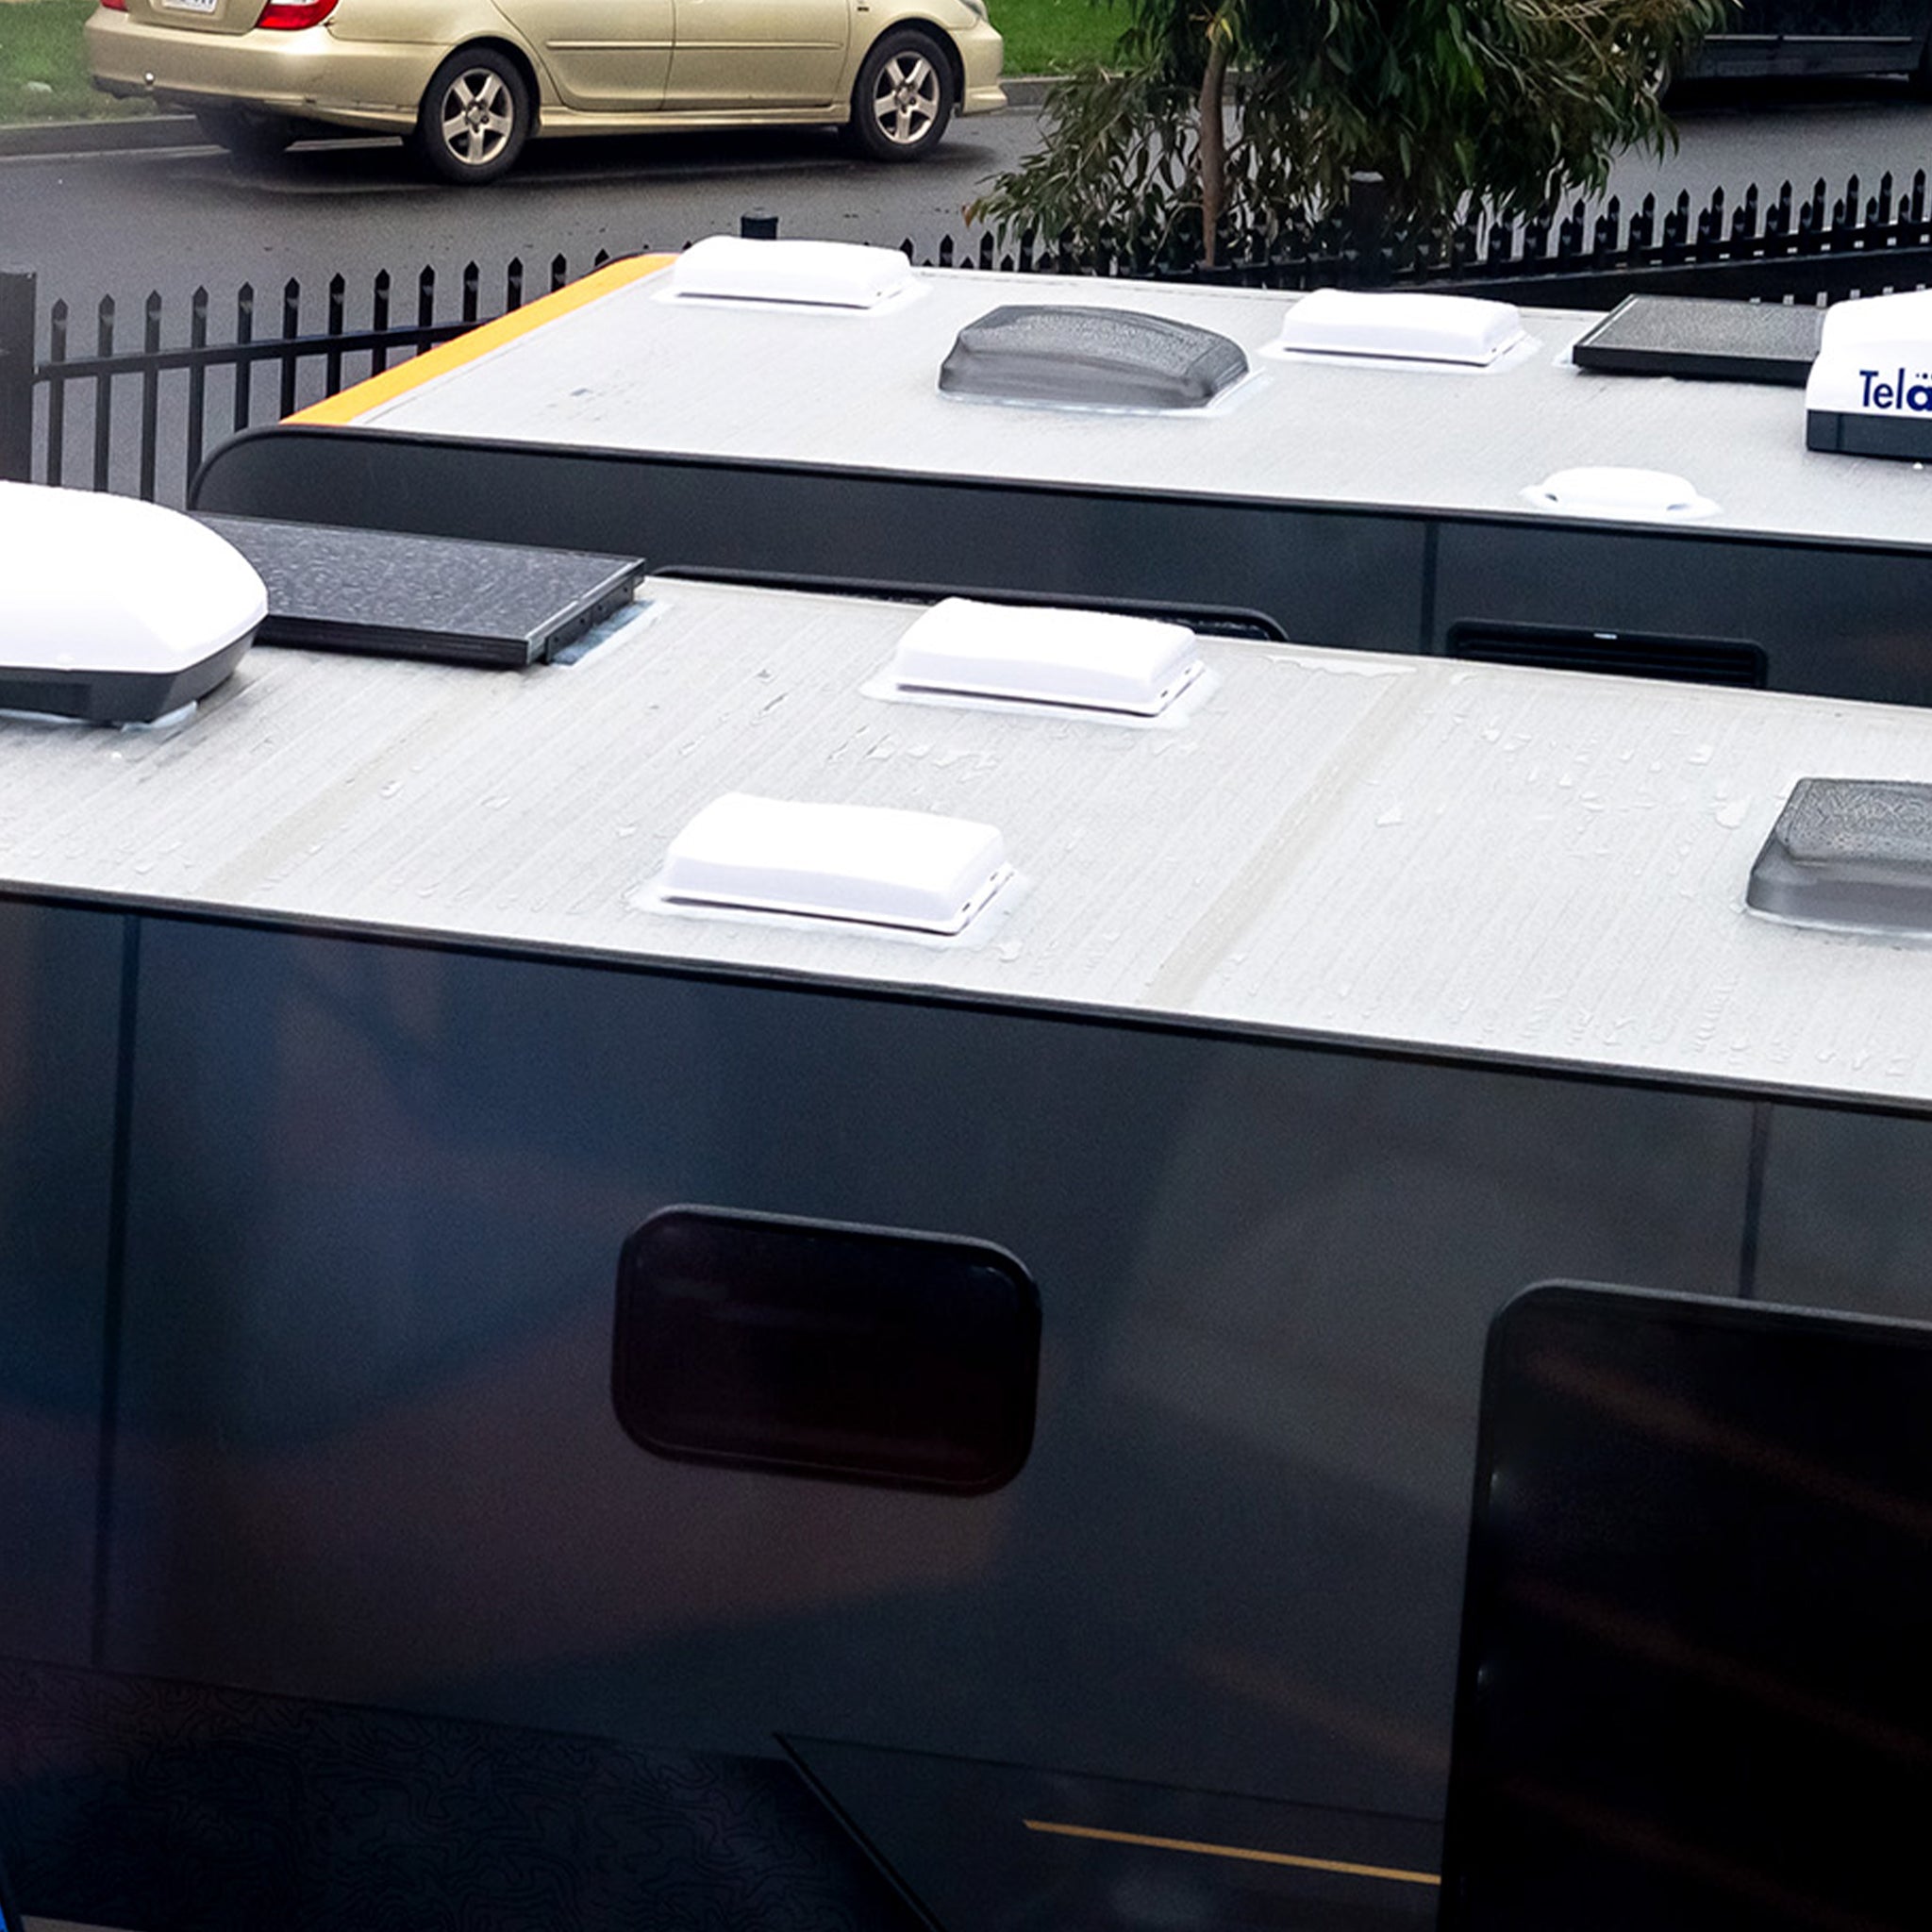
Roof hatches on your caravan aren't just a source of natural light —it plays a necessary role in ventilating out unwanted aromas and providing constant fresh air into your caravan. Our caravan roof hatches, similar to a dometic caravan roof hatch, typically refer to roof ventilation openings in caravans. These hatches are installed on the roof of the caravan and serve various purposes.What Are The Purposes of an RV or Caravan Roof Hatch?
Choosing the ideal caravan roof hatch involves weighing factors like size, material, functionality, and any special features that align with your individual needs. This ensures your chosen hatch enhances comfort, functionality, and safety within your caravan, whether on the road or settling in at your campsite. An RV or caravan roof hatch has two main purposes: to provide ventilation and natural light. This helps to keep the interior comfortable and energy-efficient.Good Ventilation
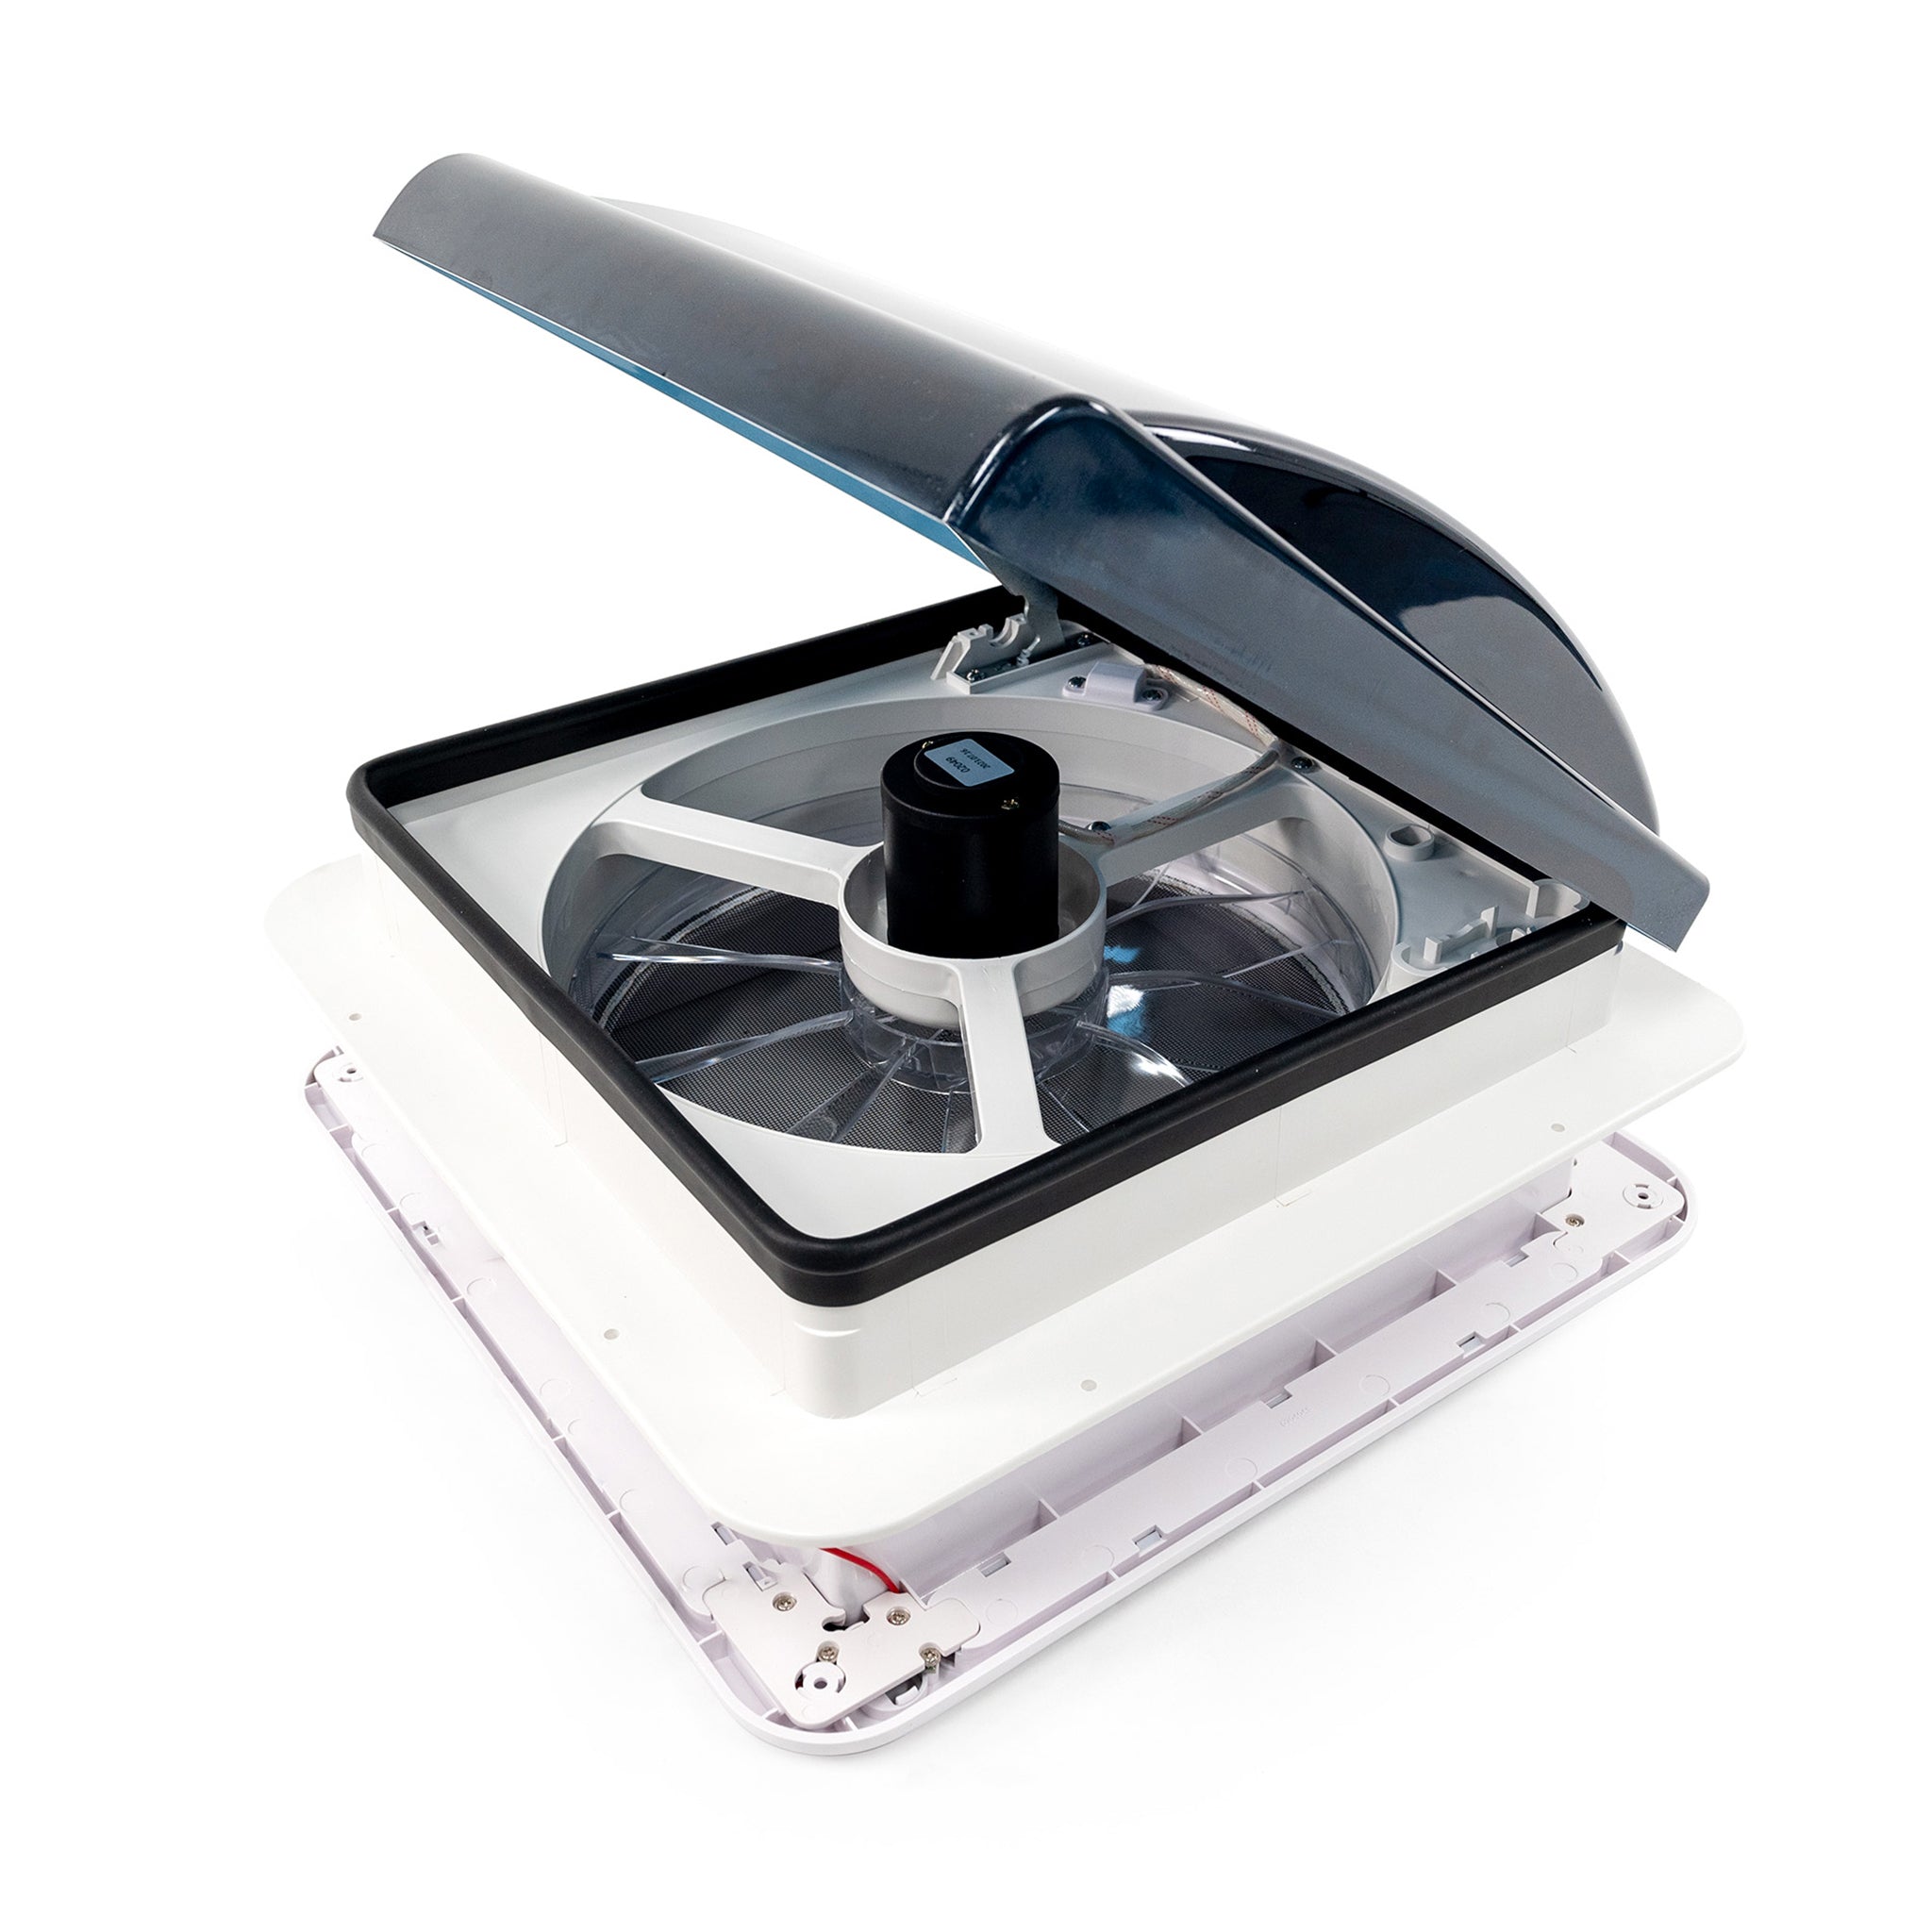
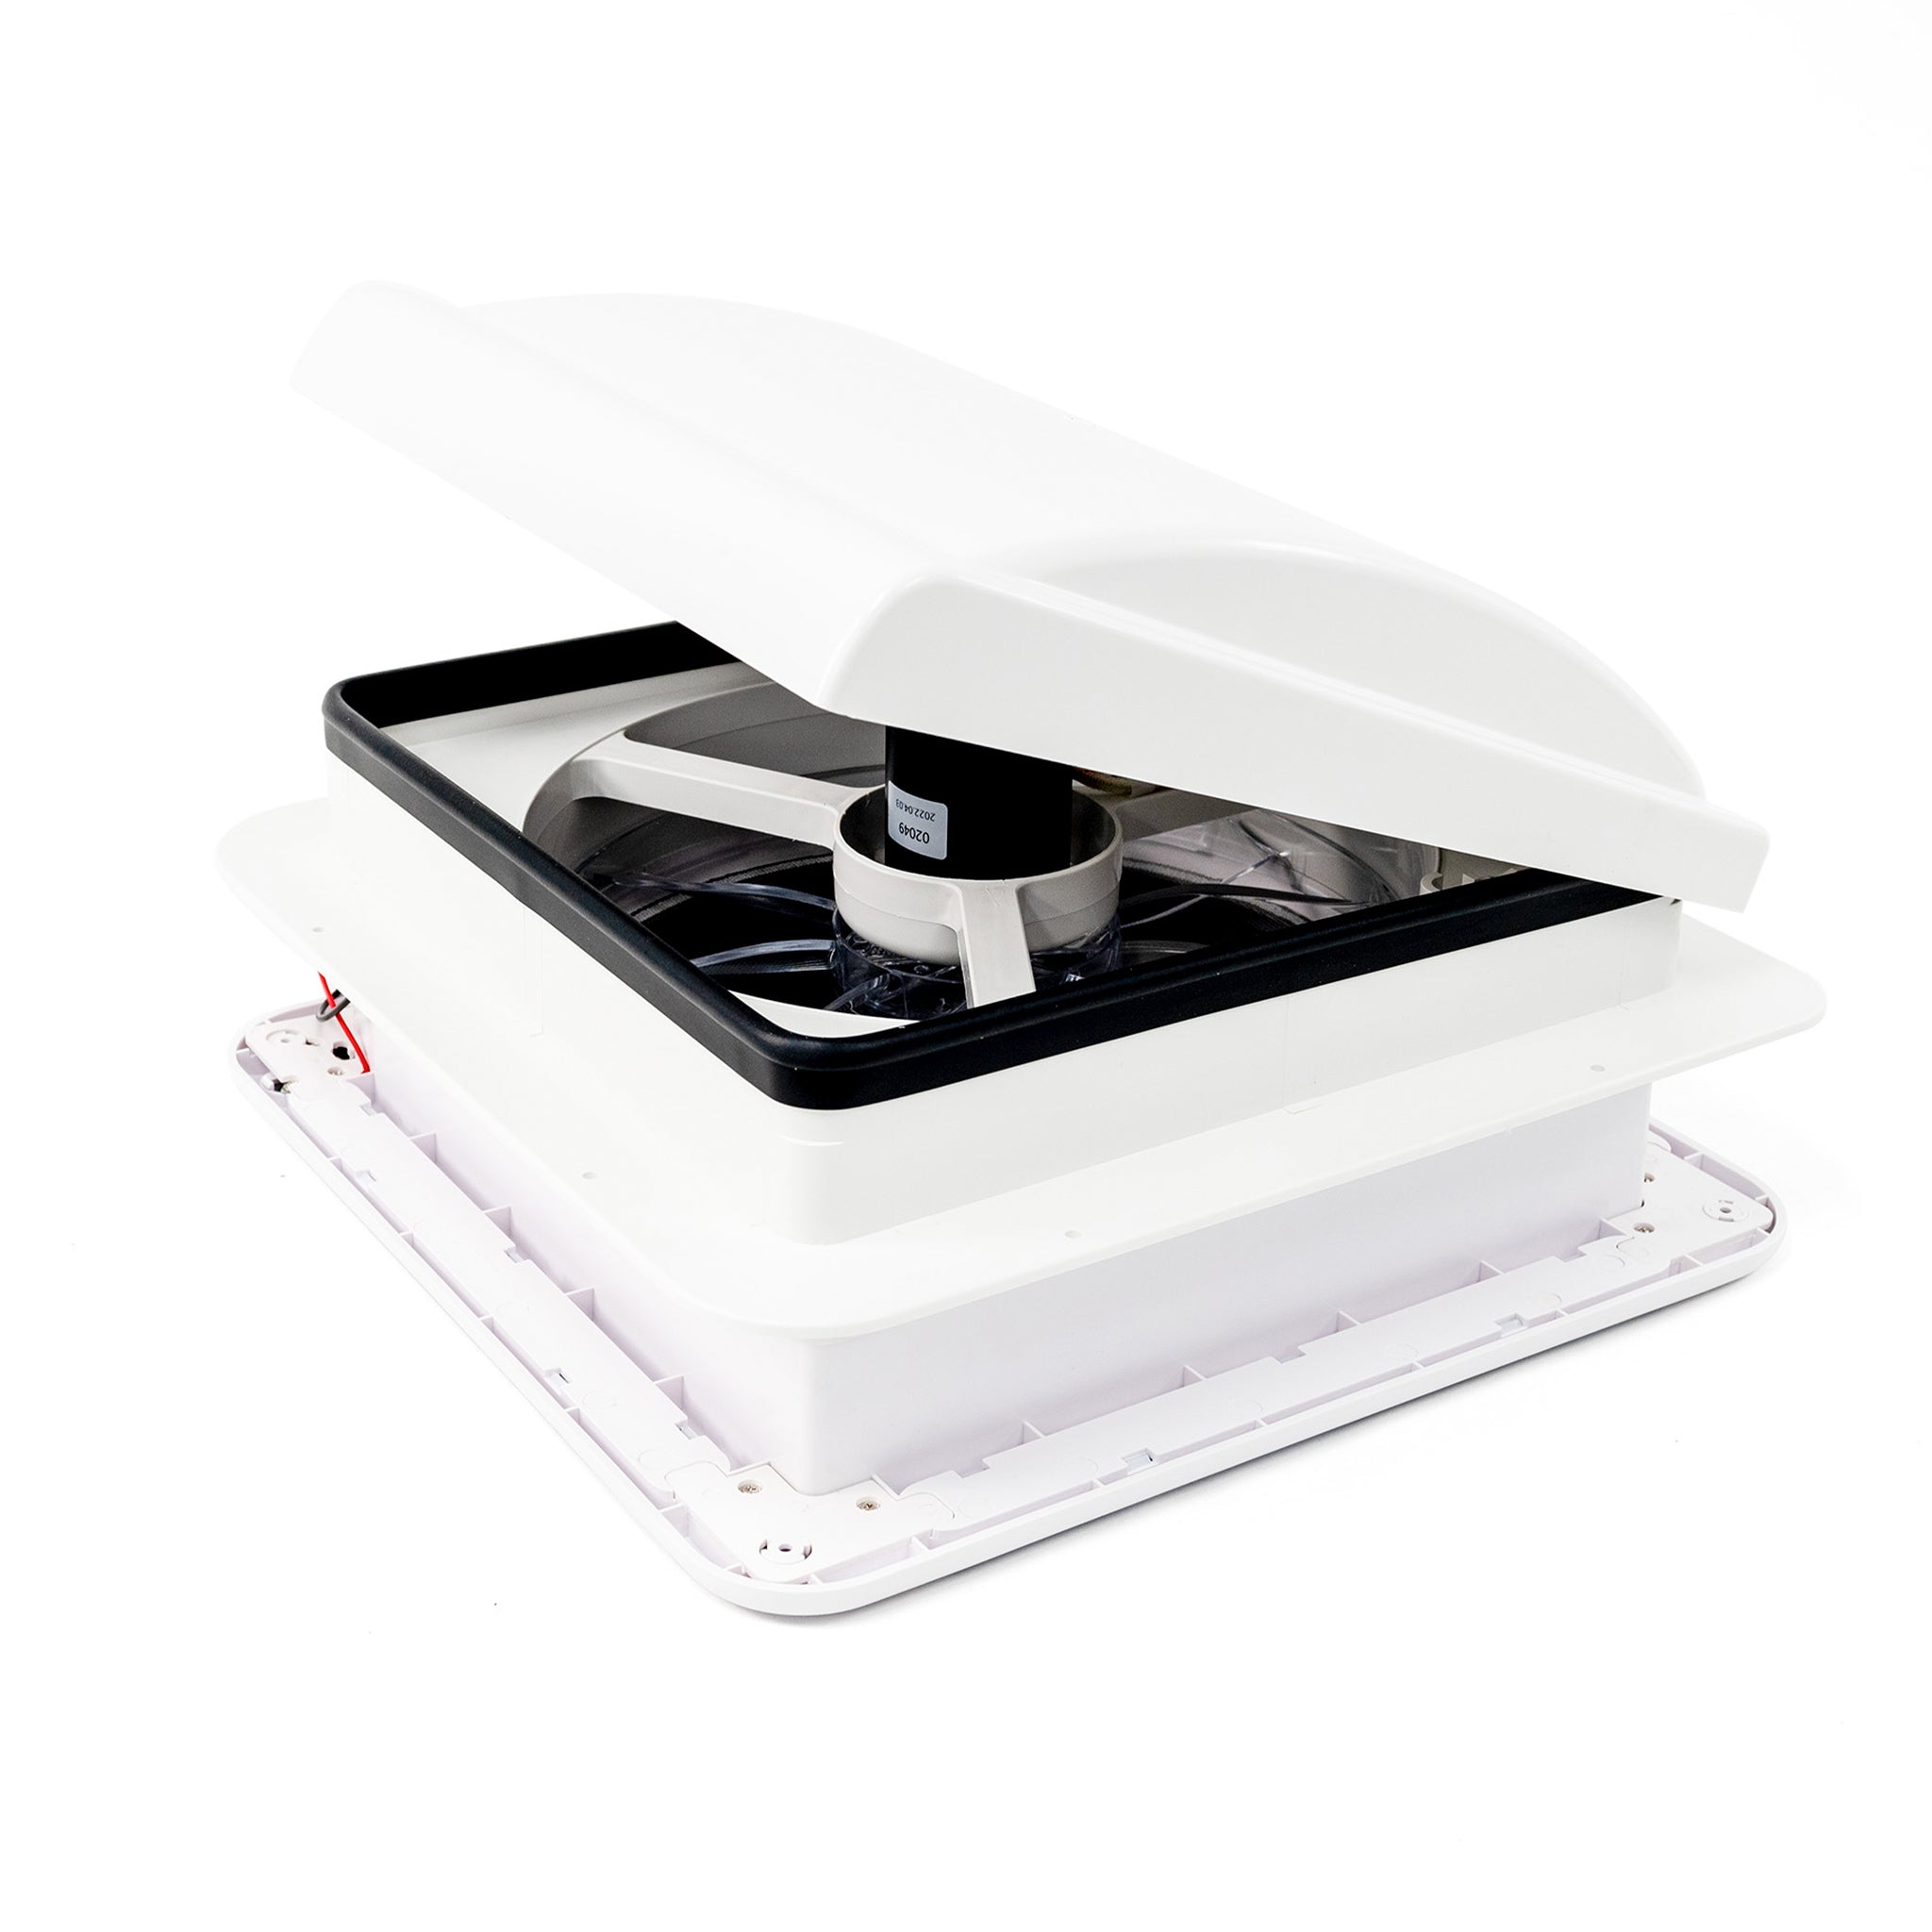
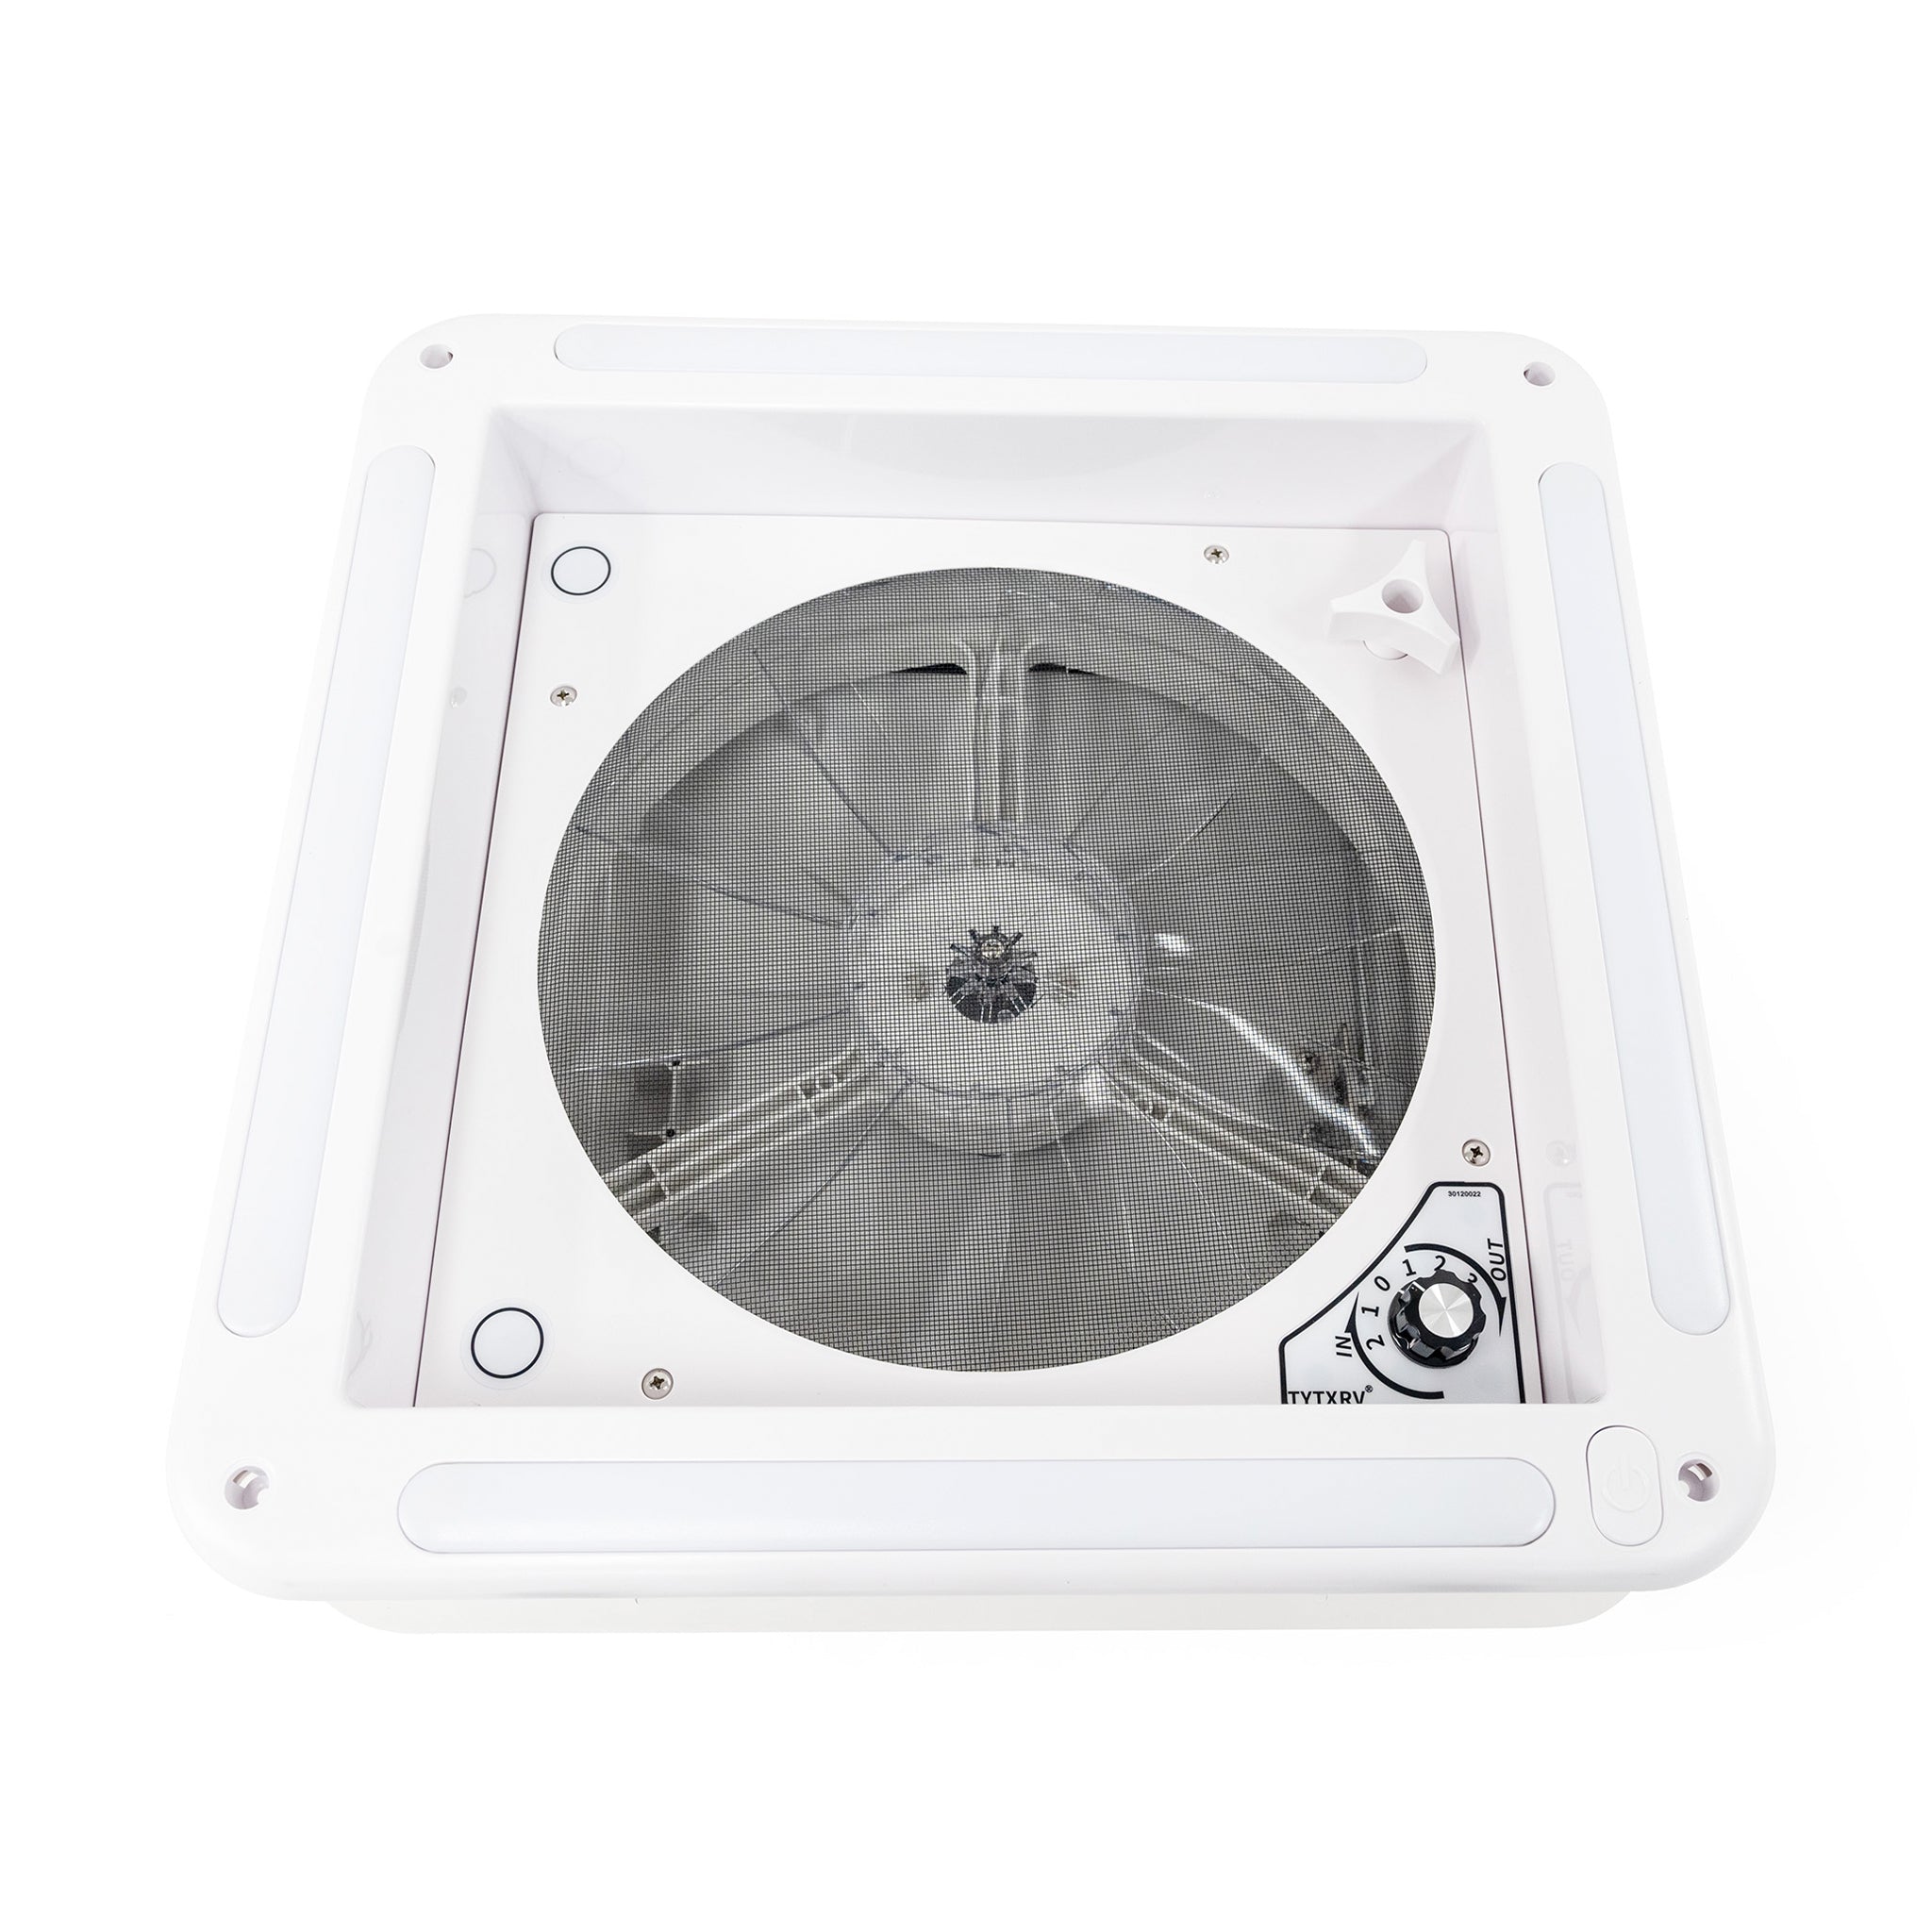
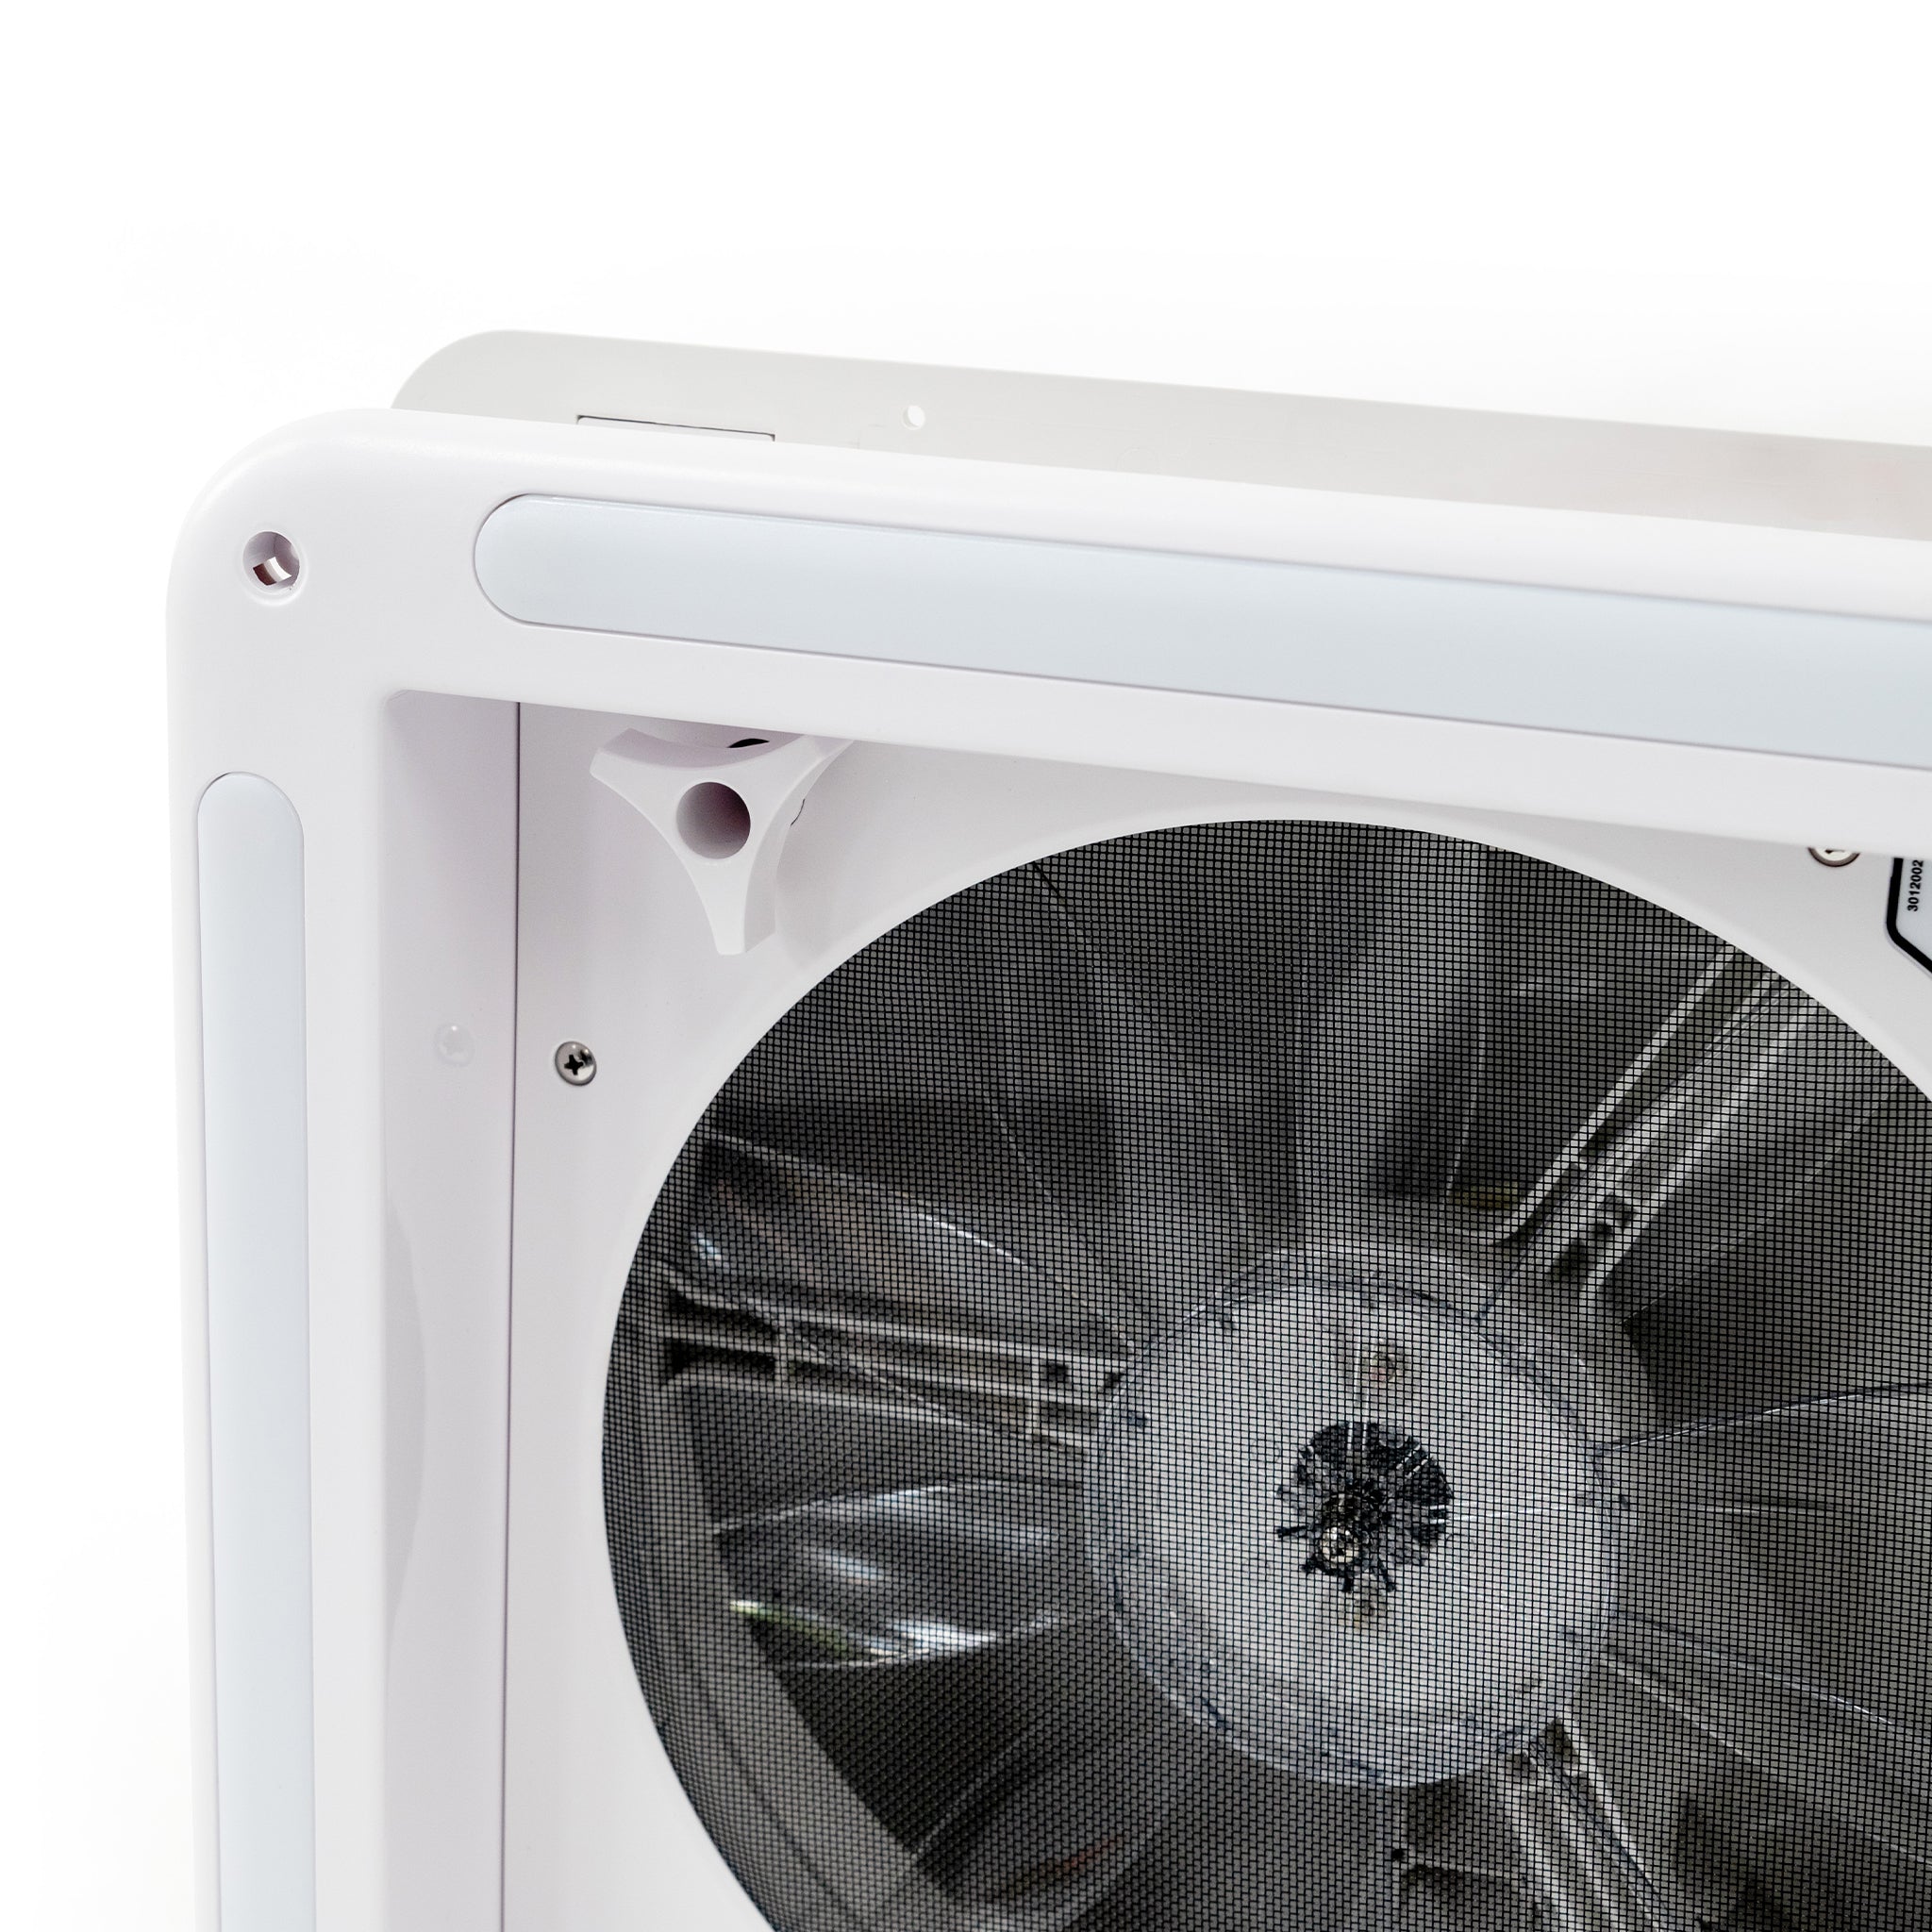
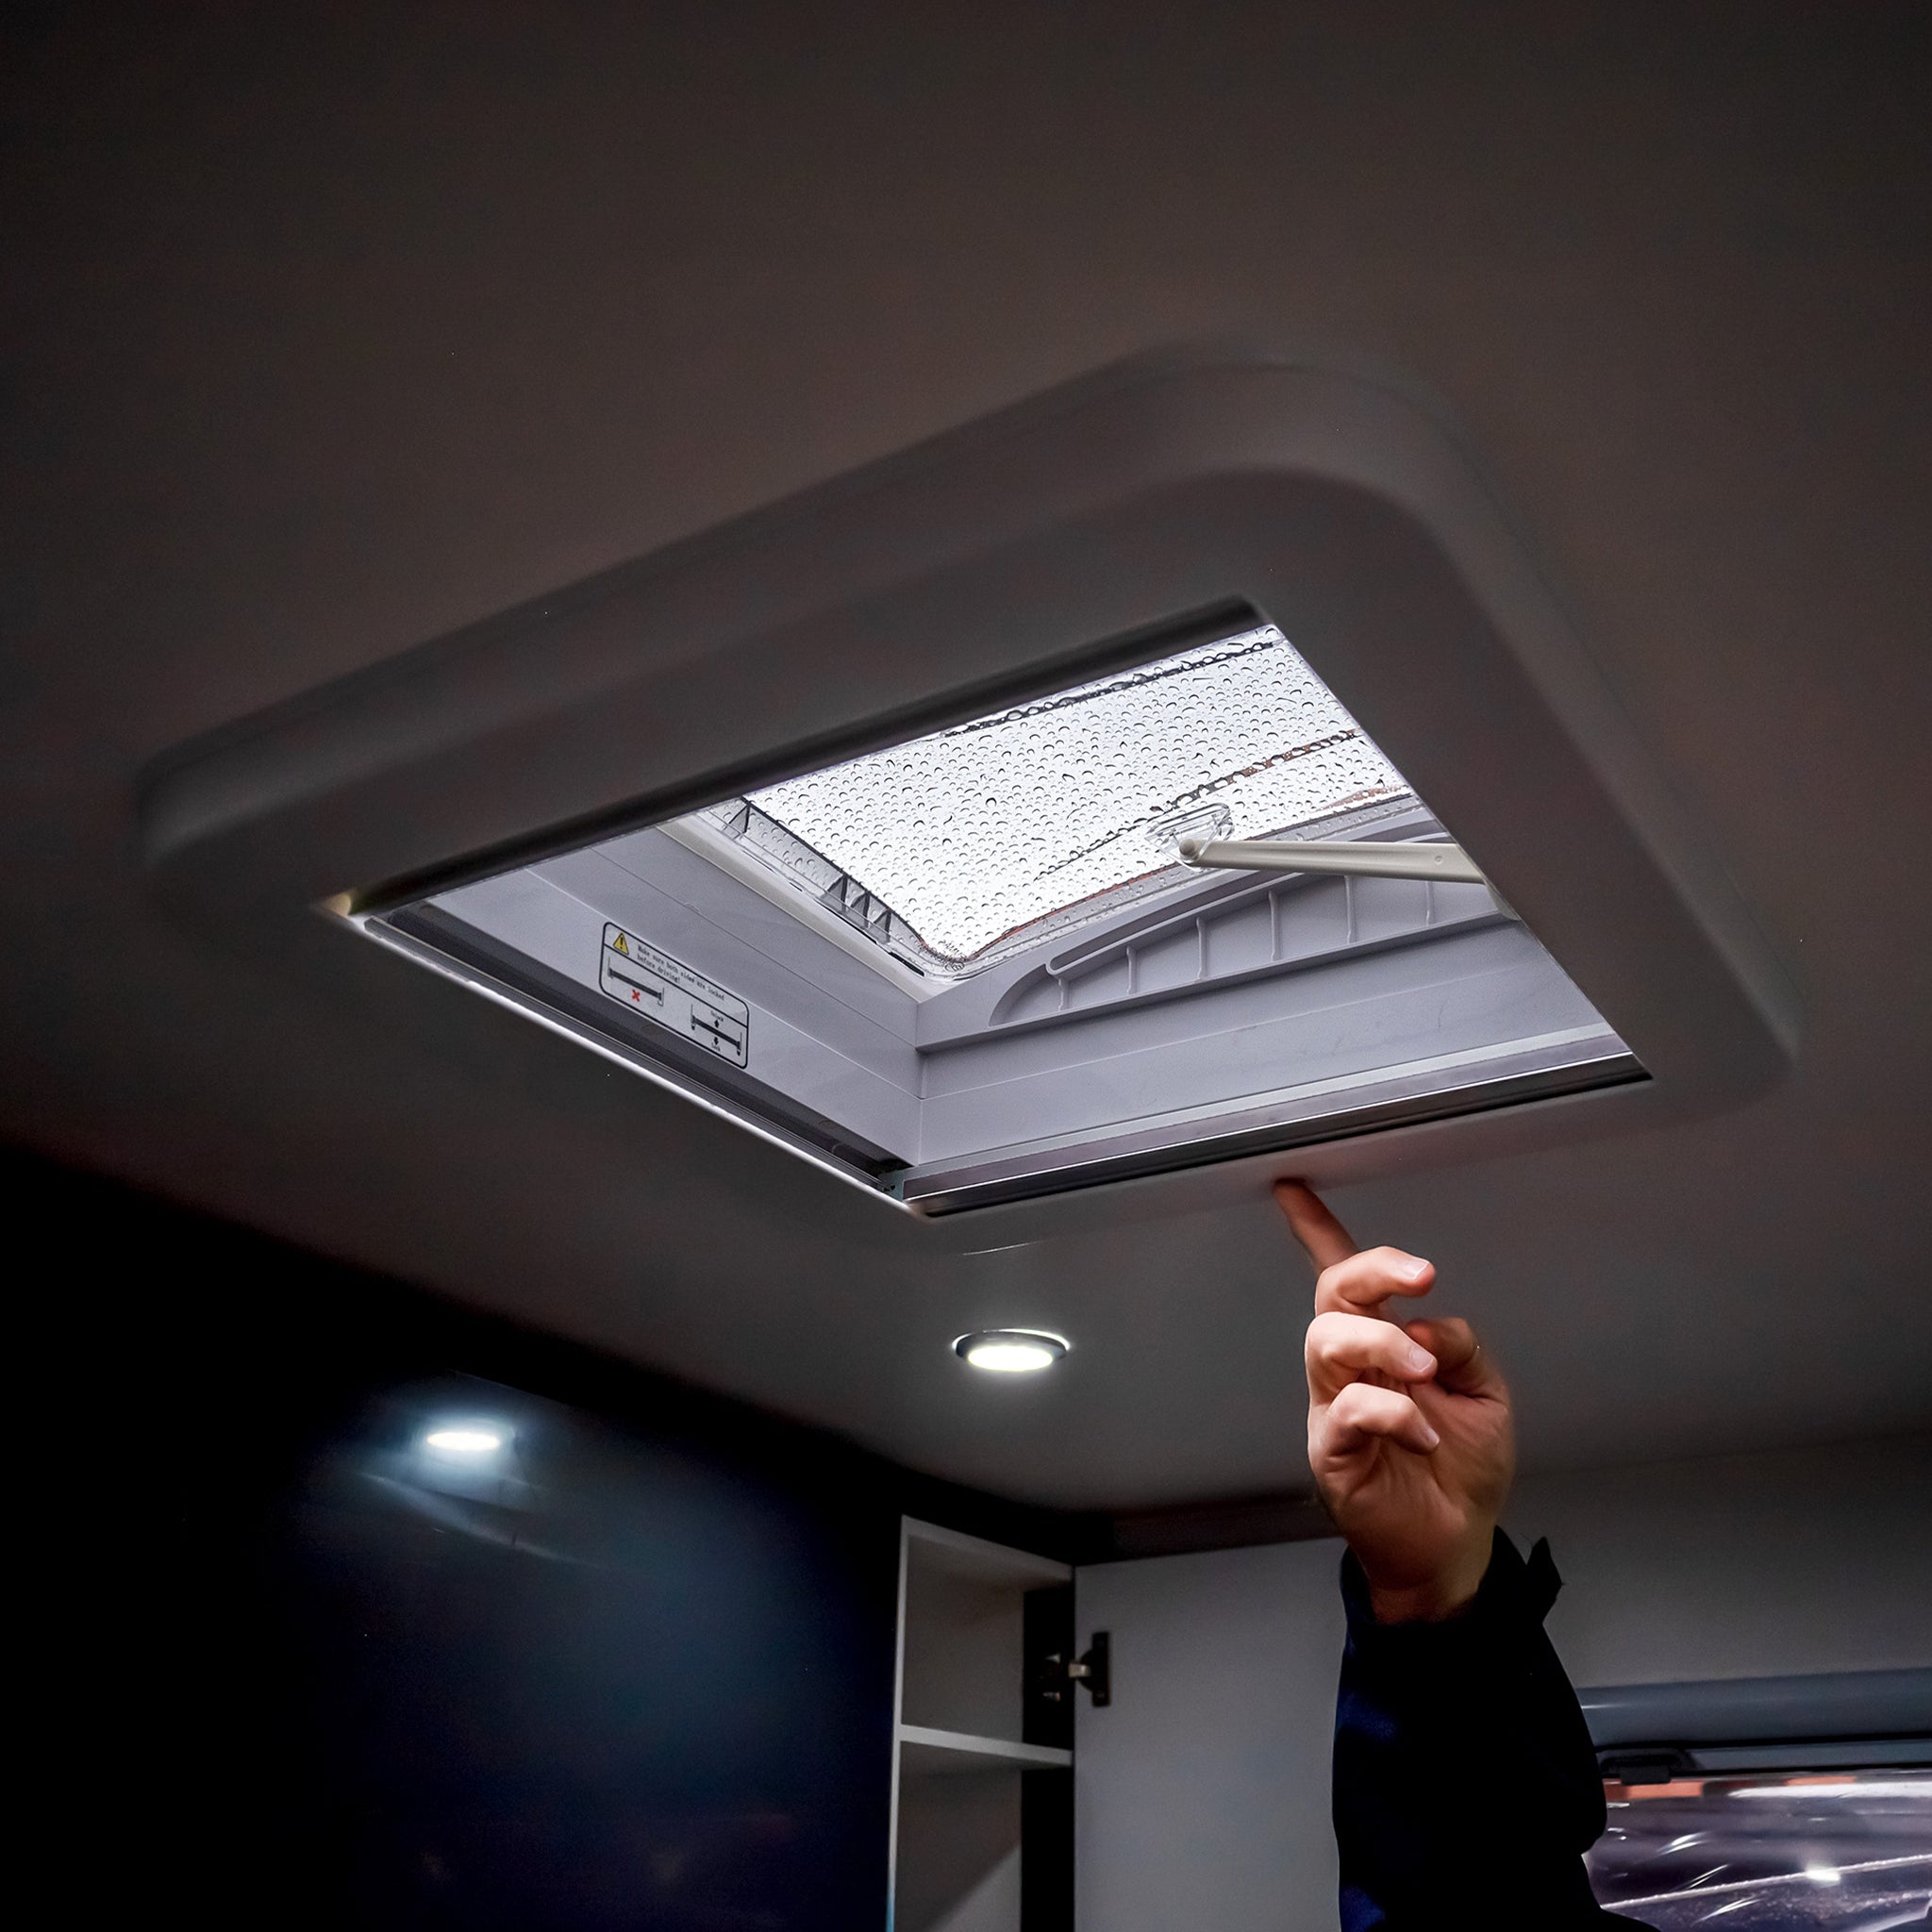
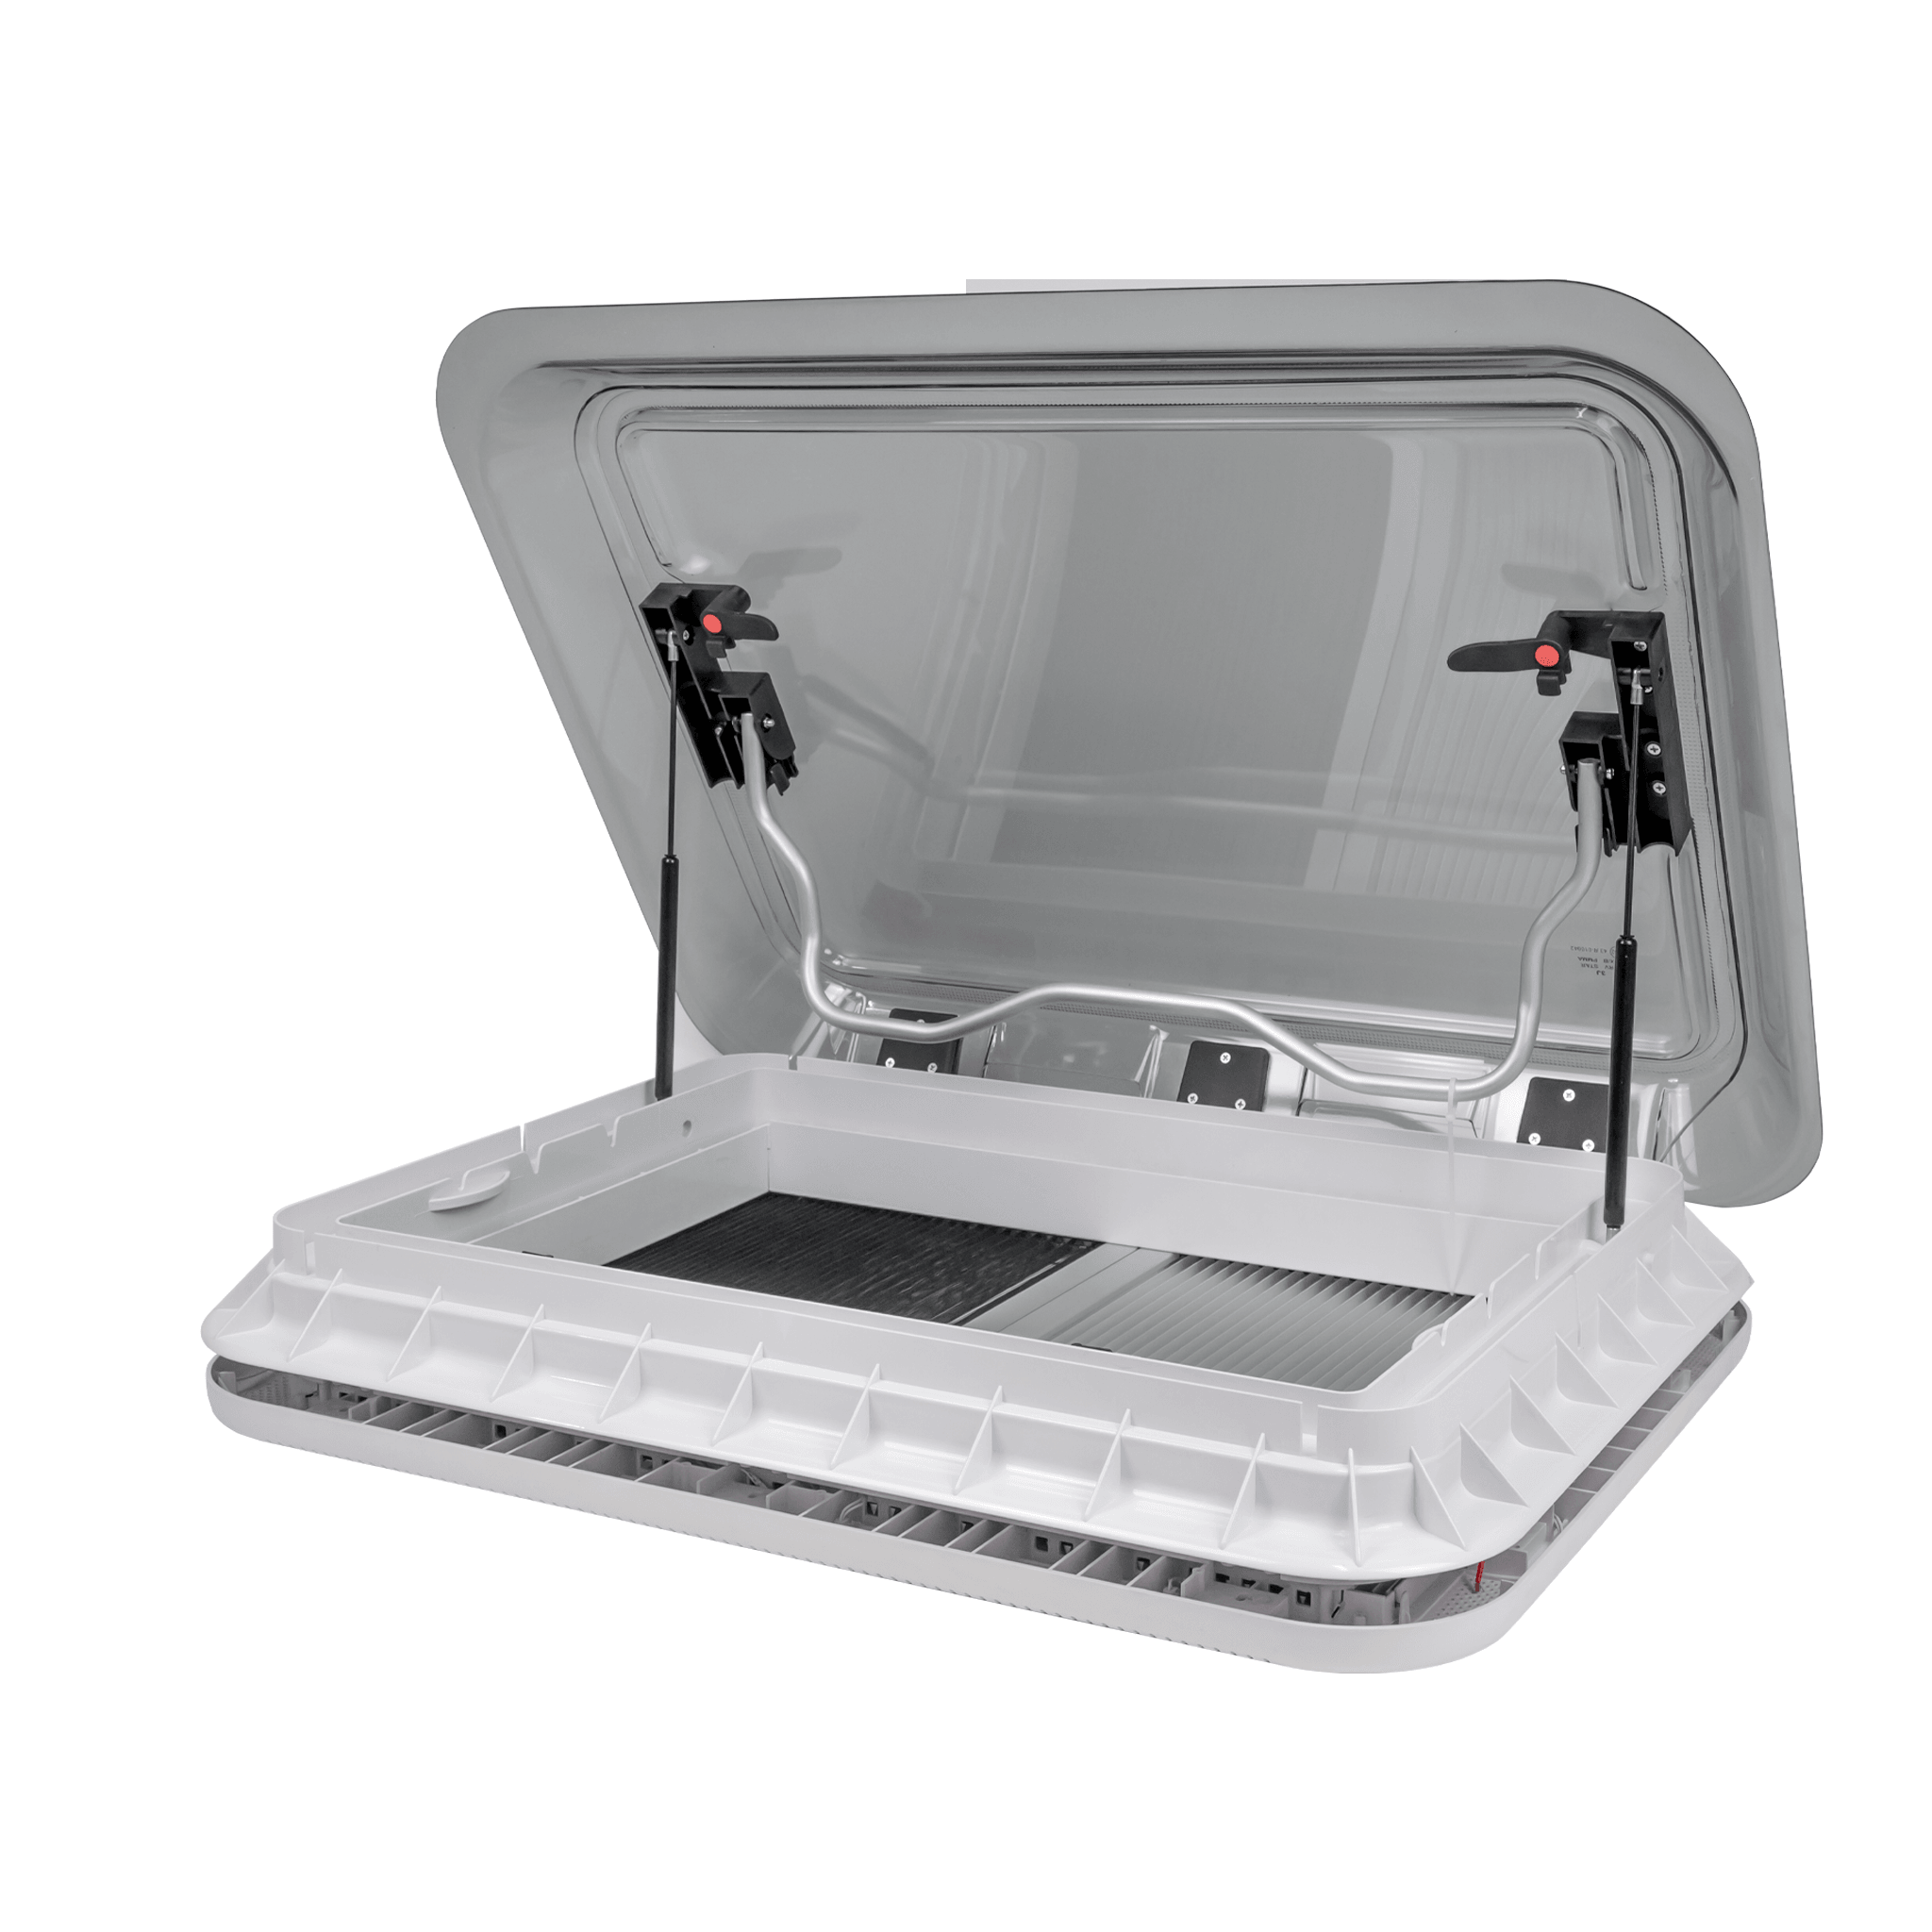
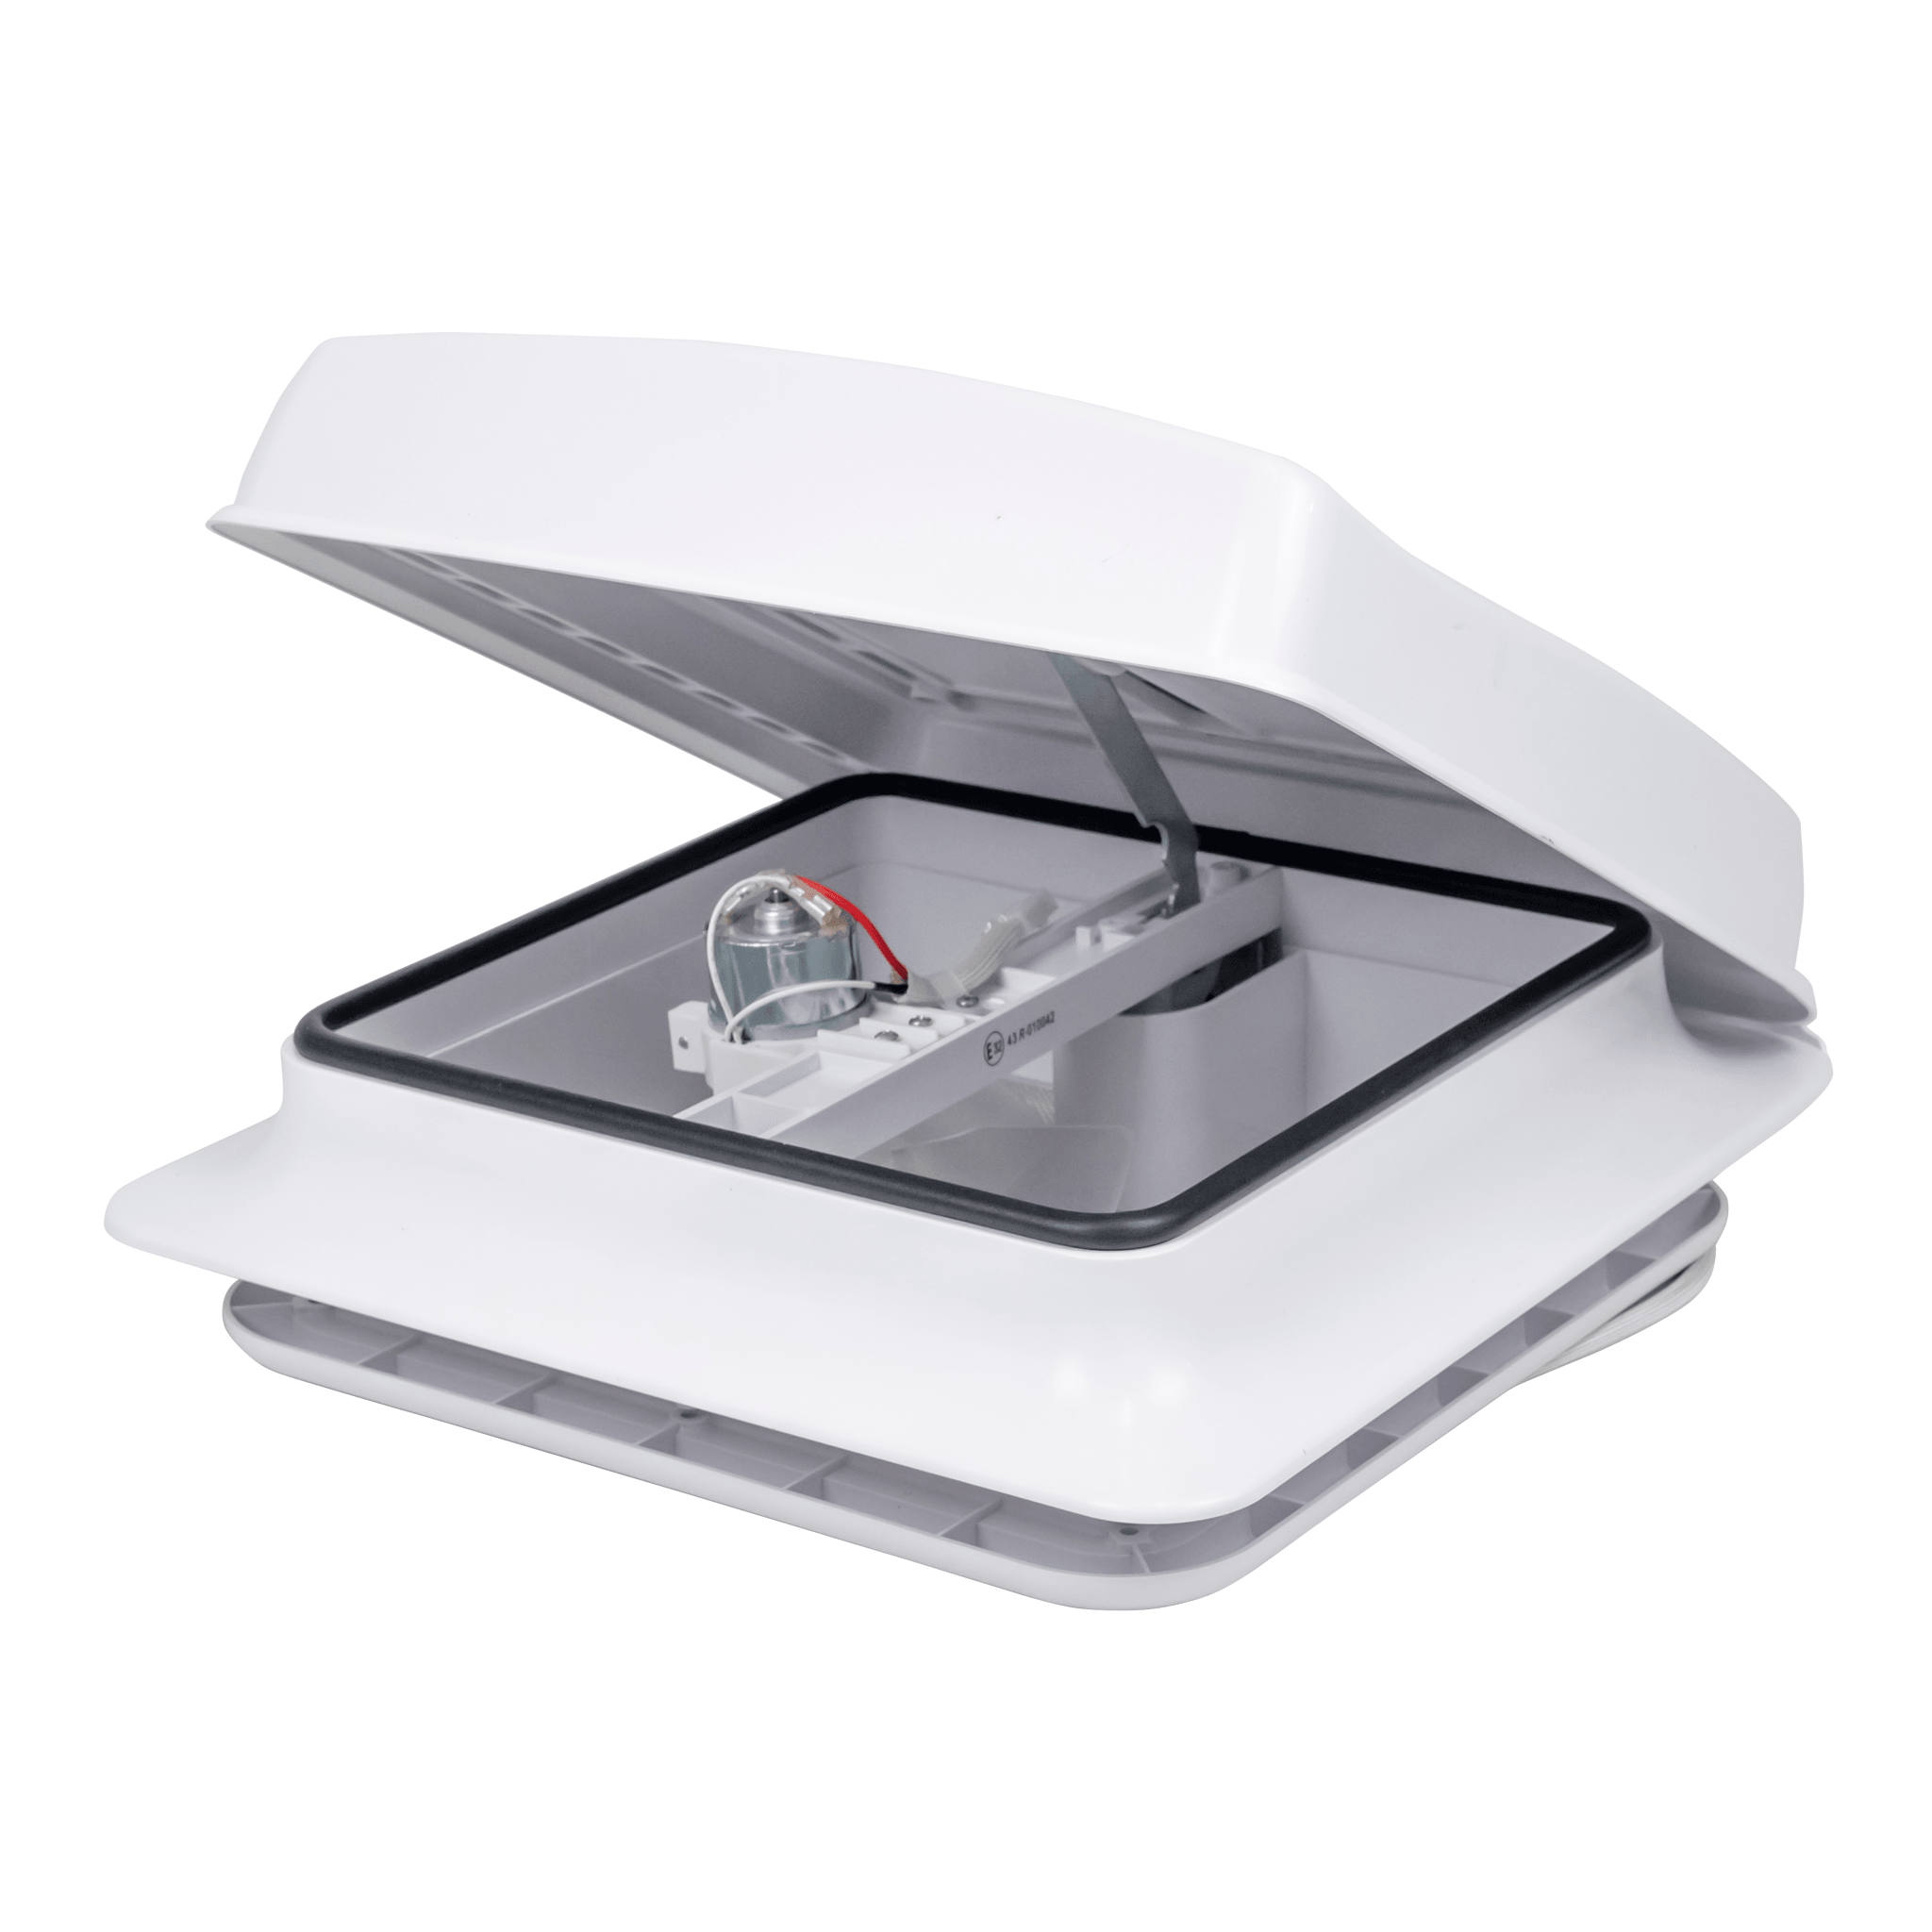
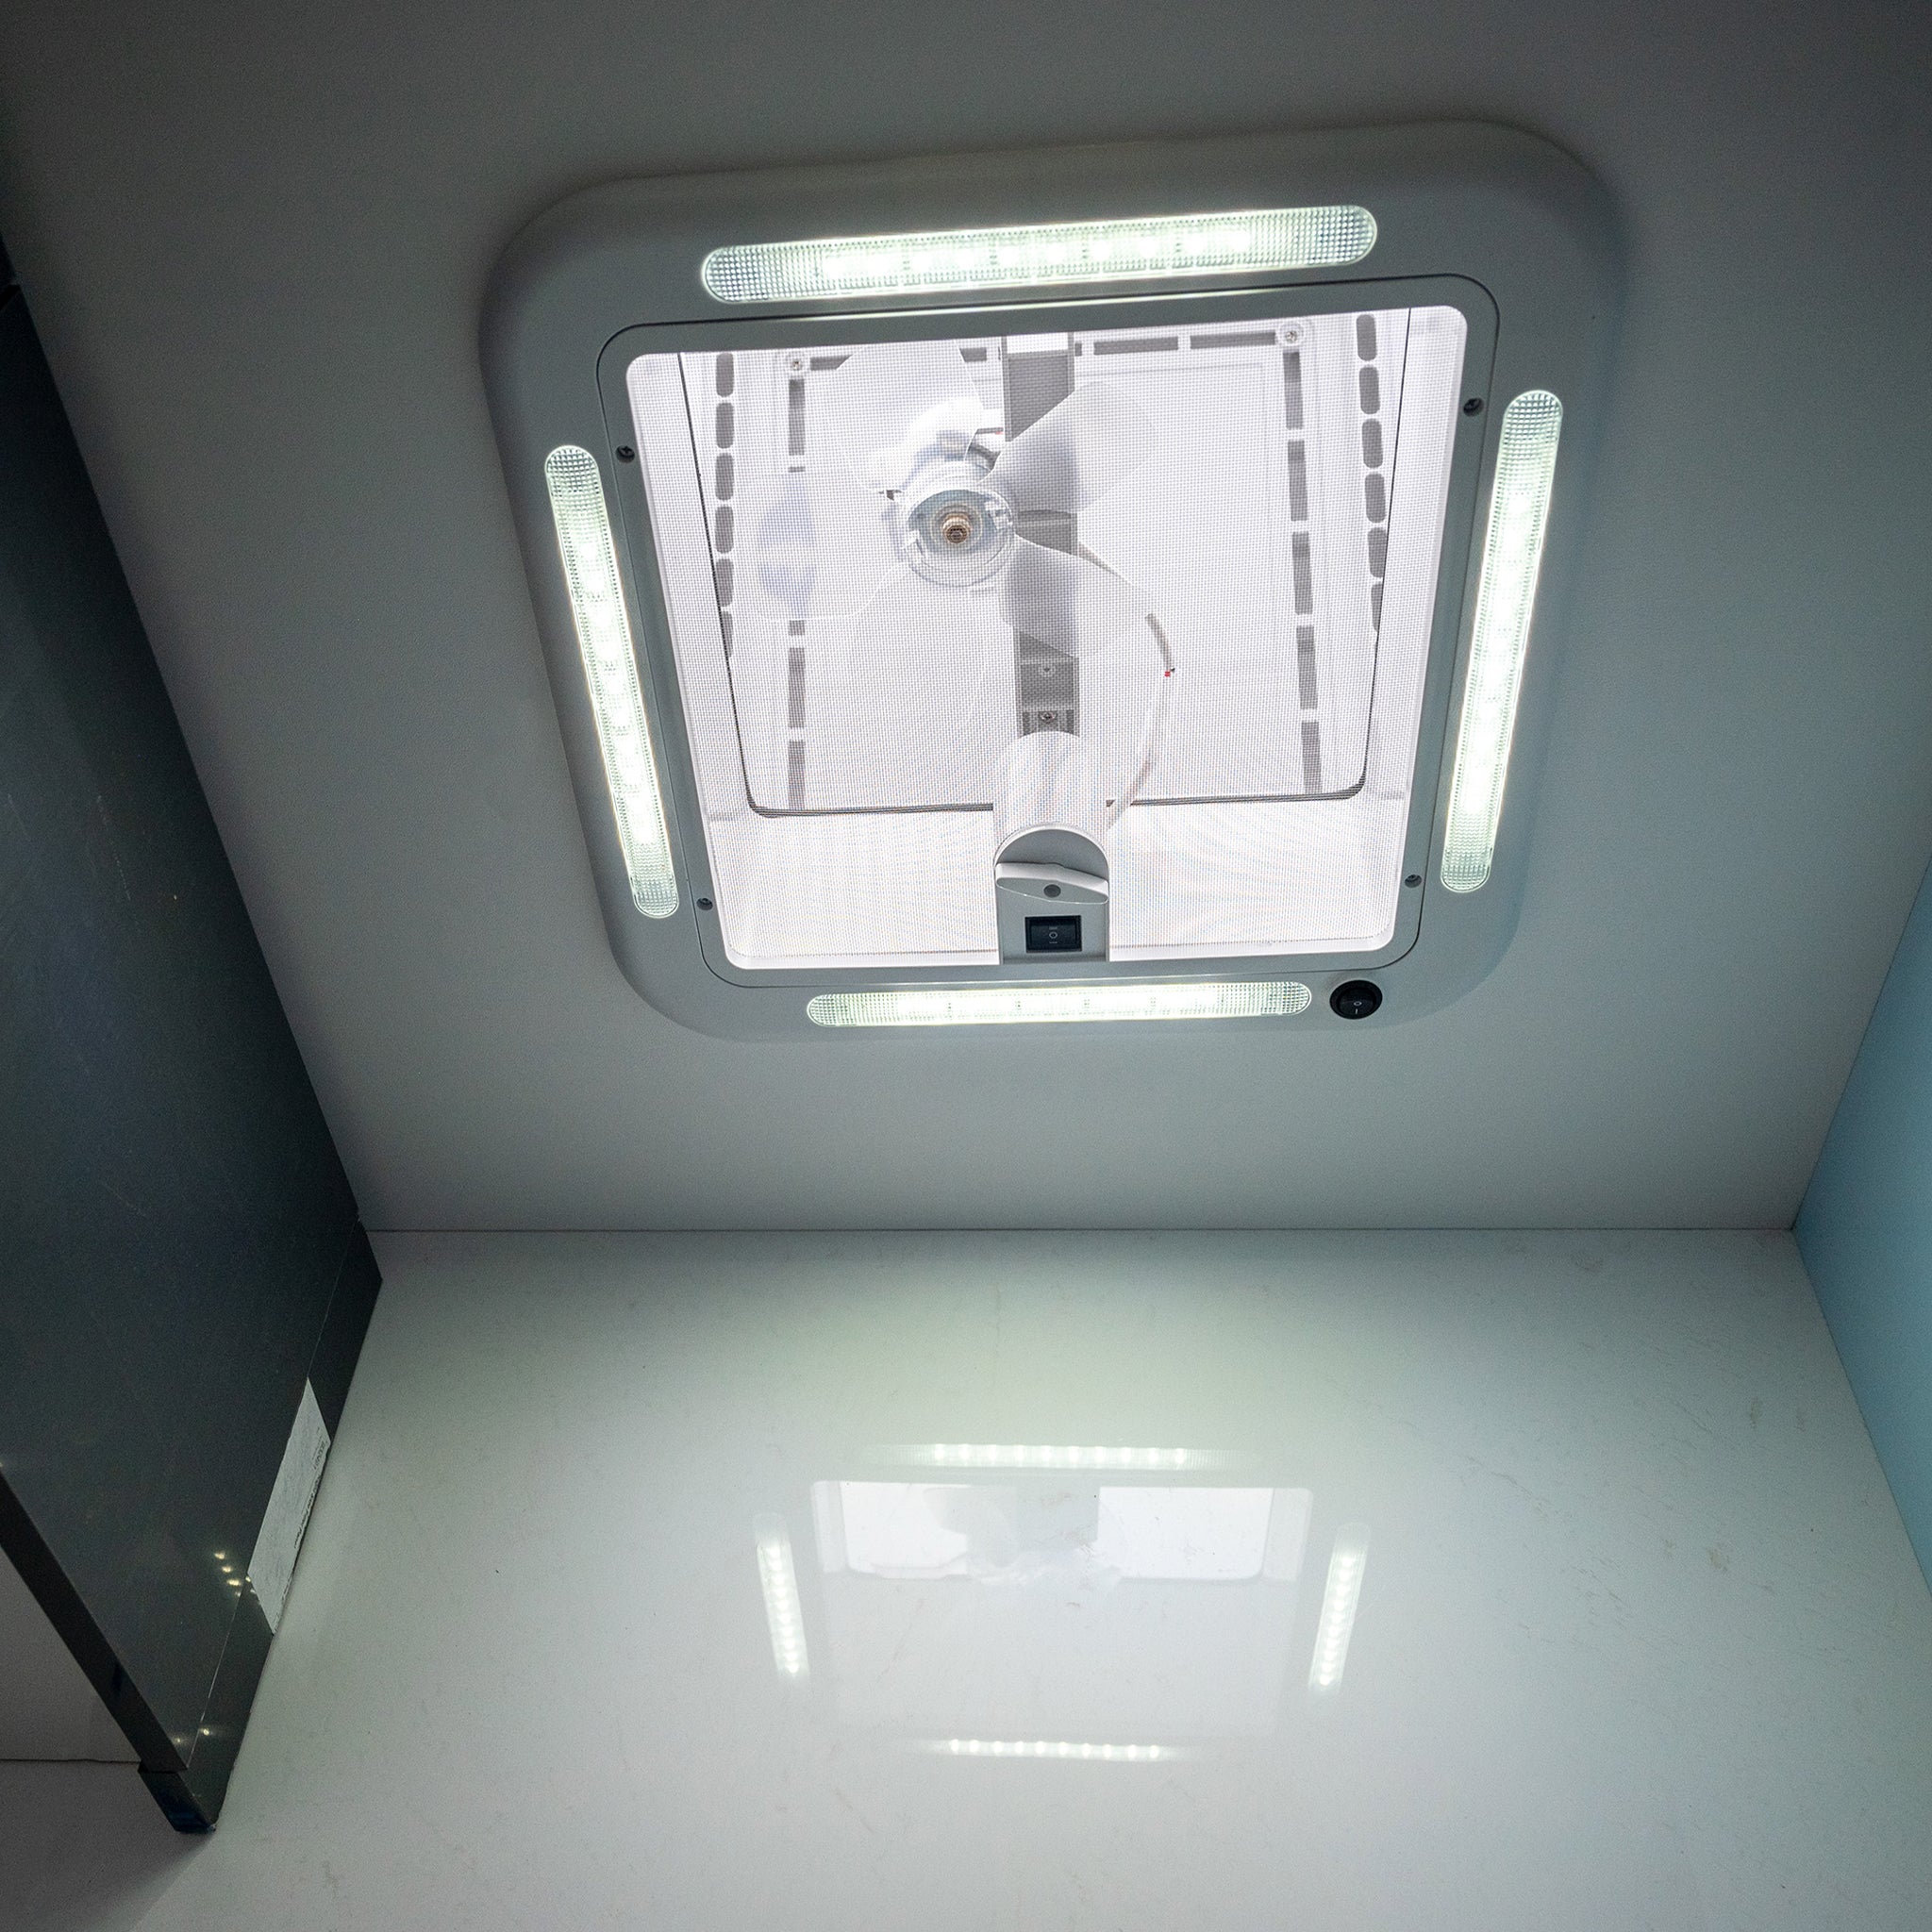
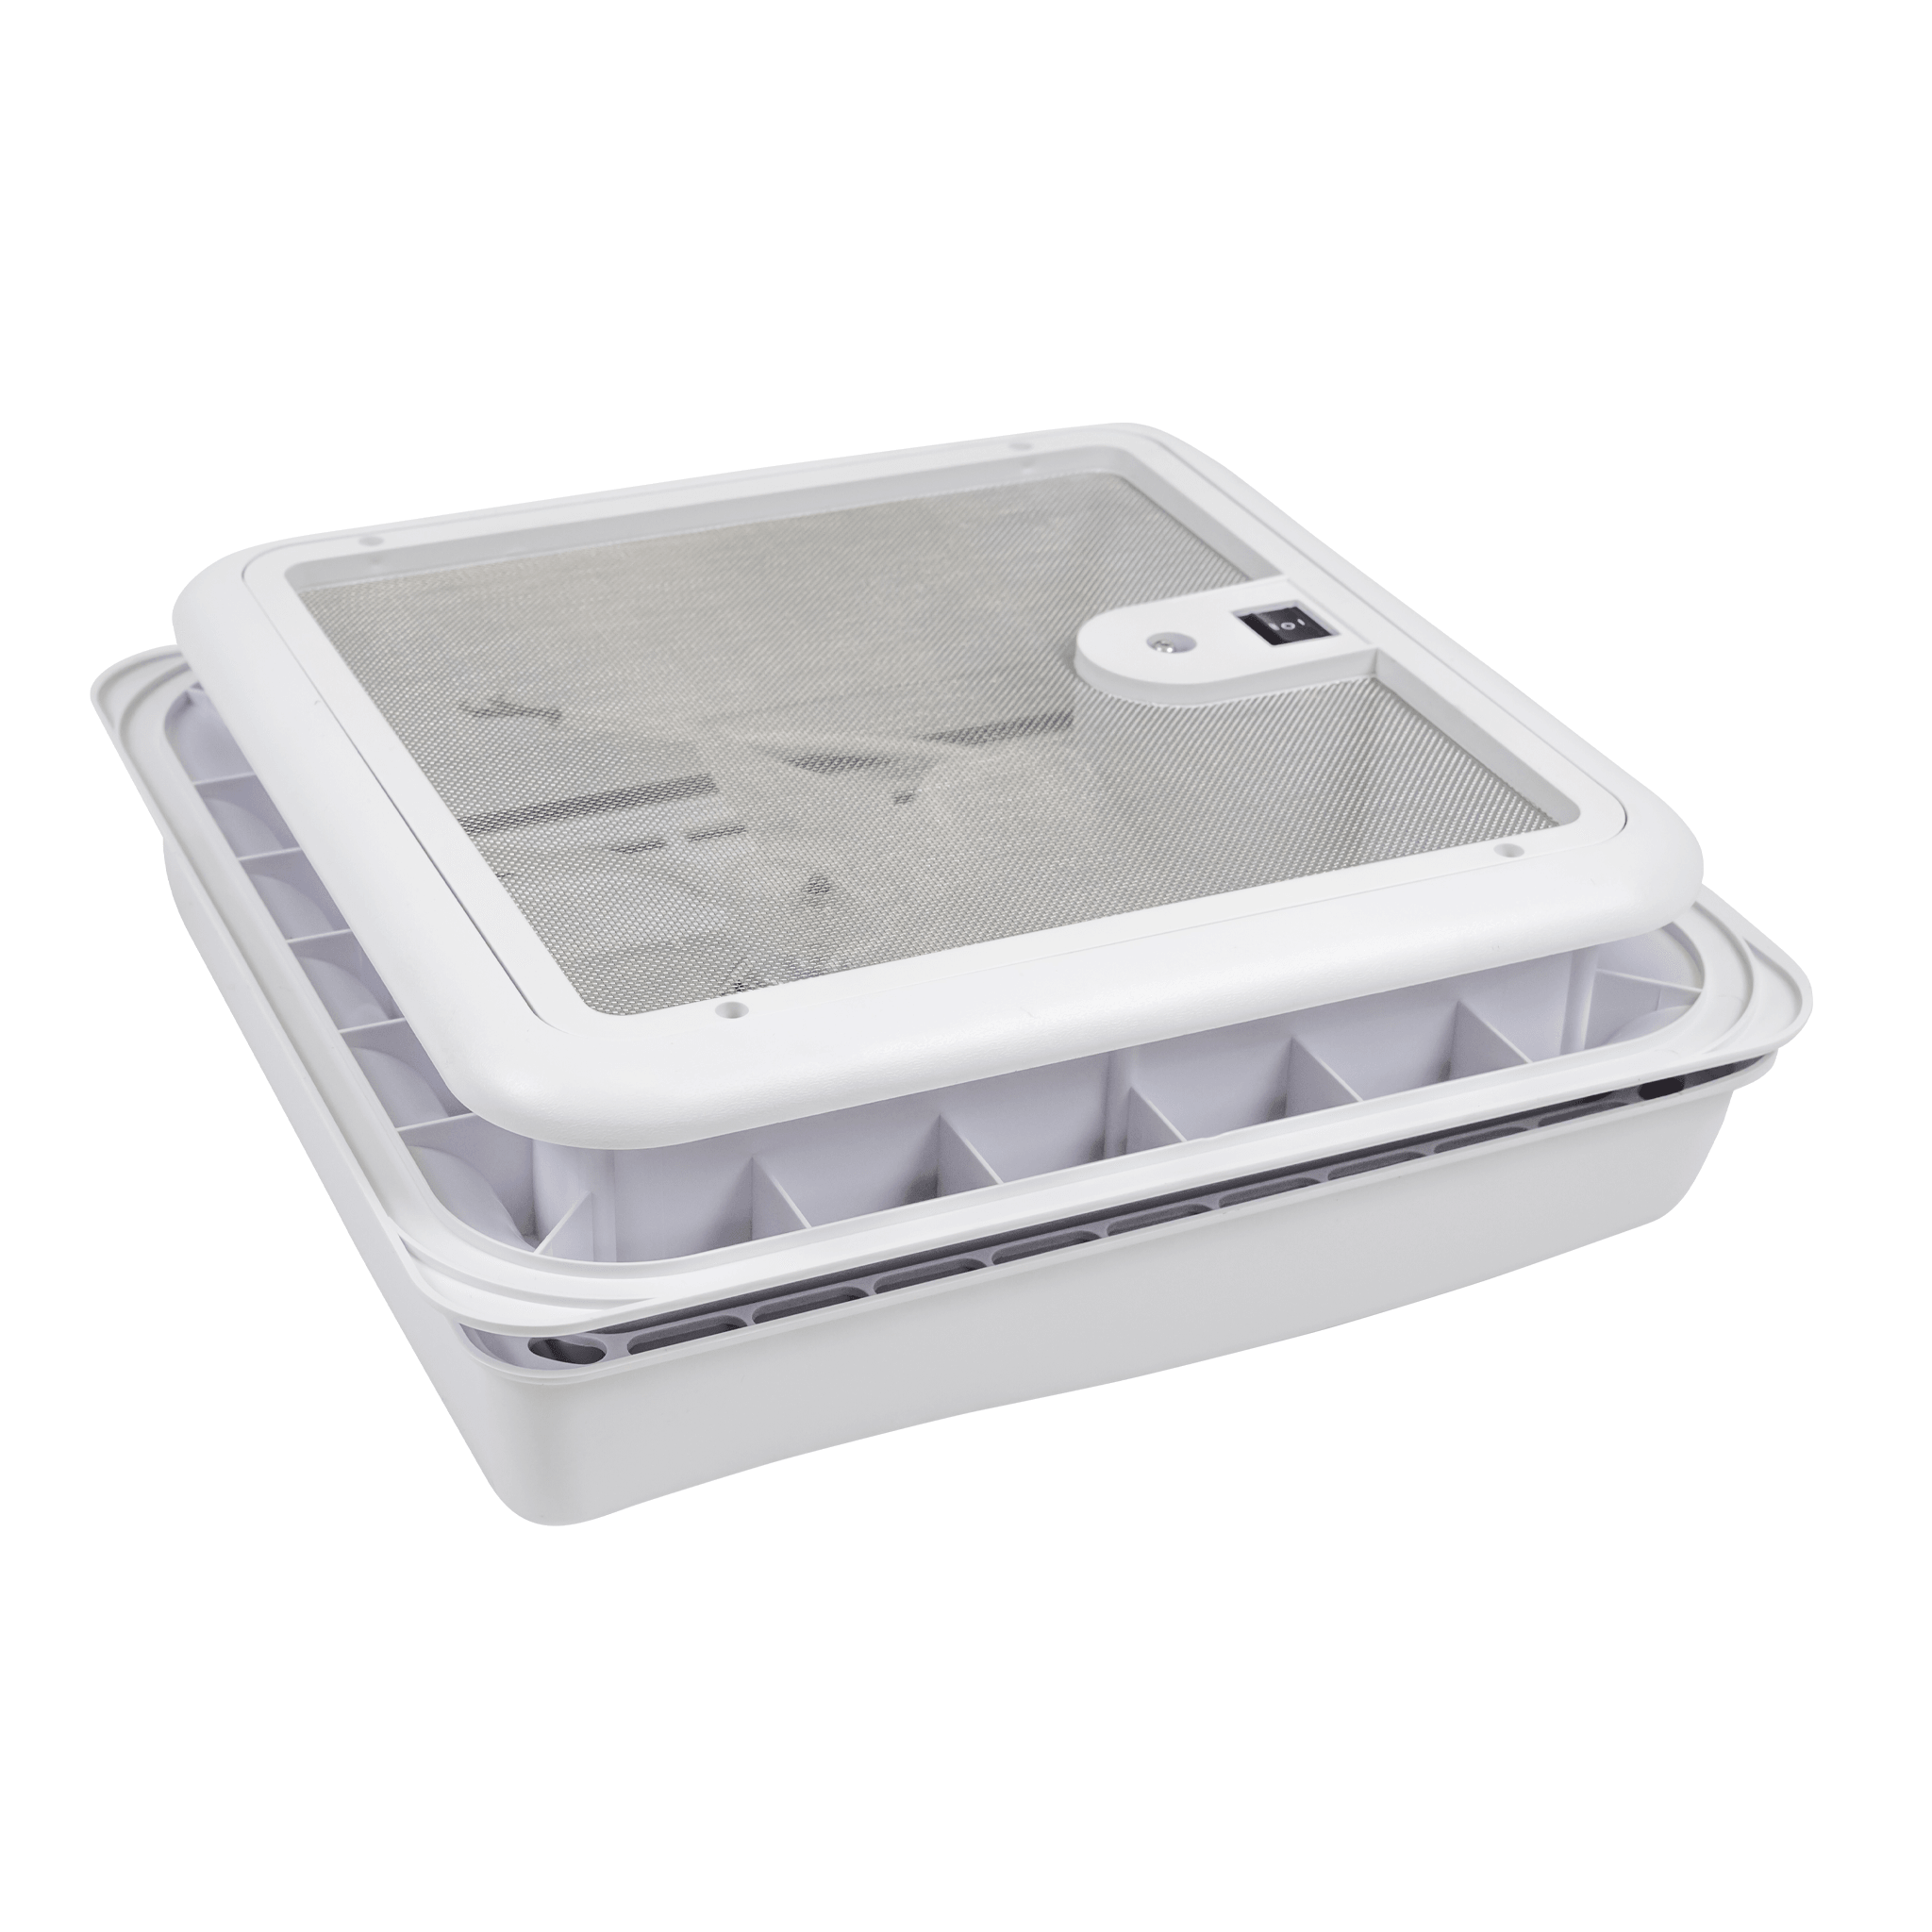
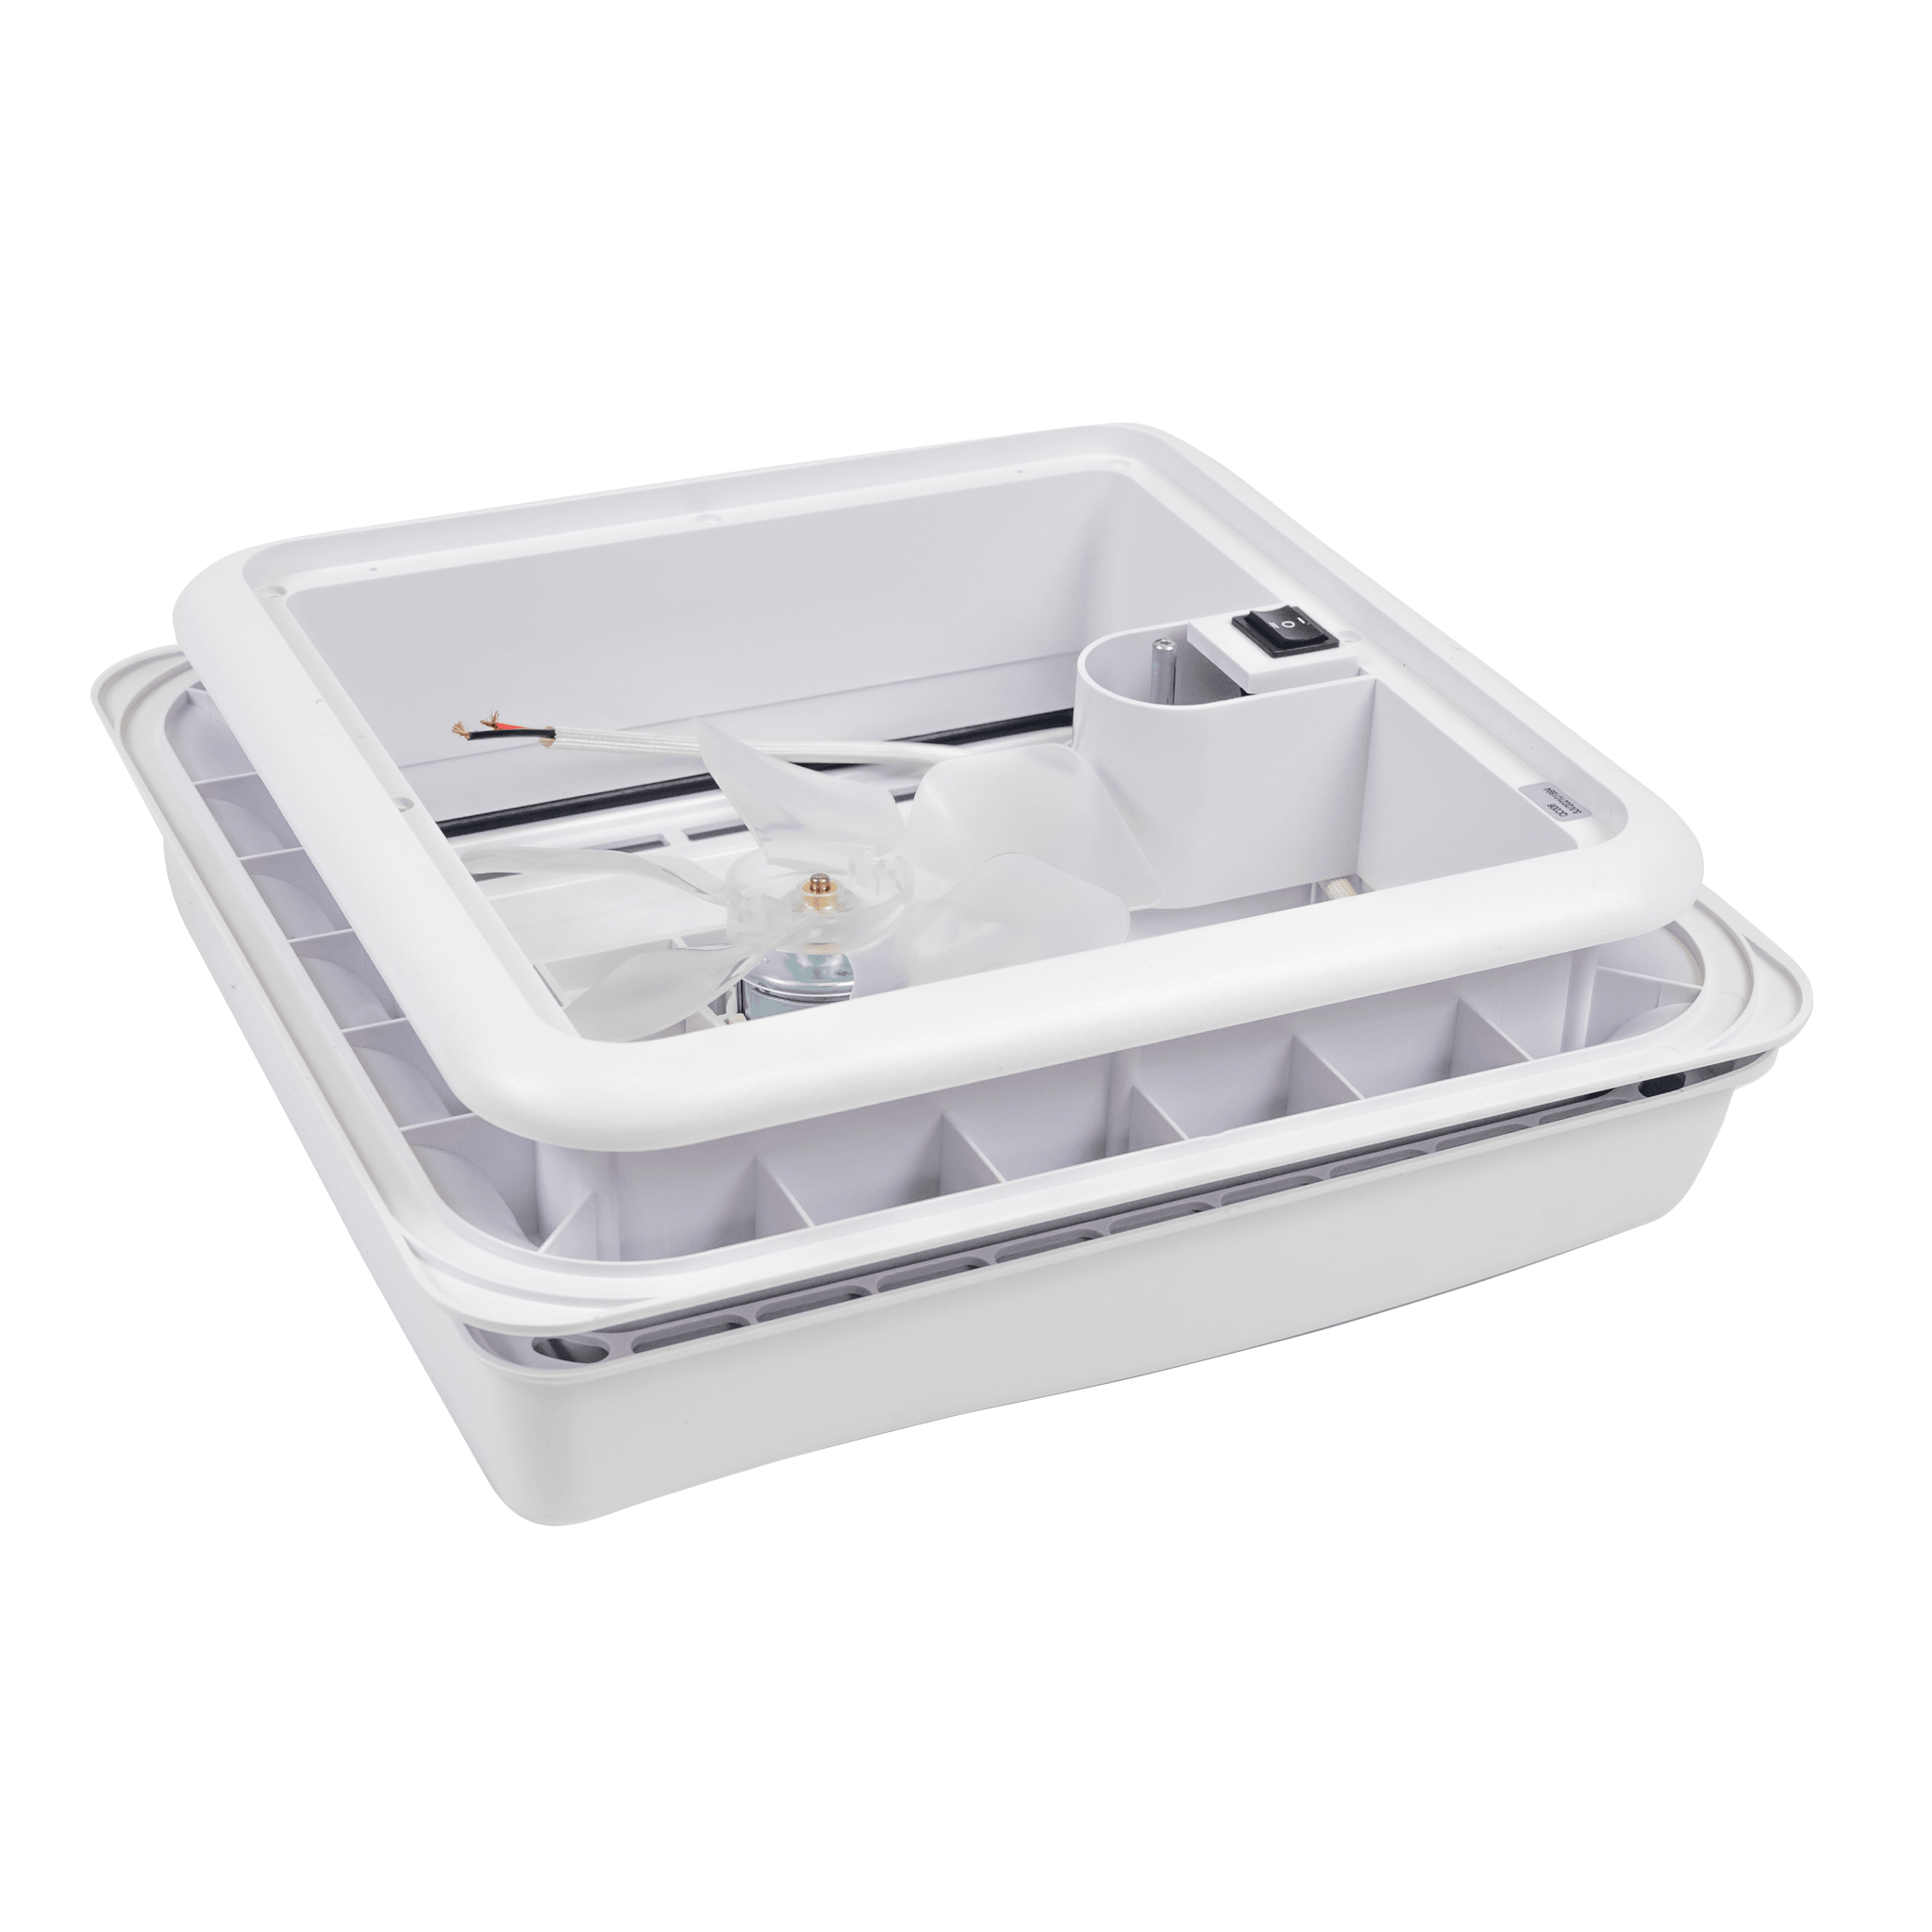
- Roof hatches are necessary to ensure proper ventilation in your caravan or RV, with features designed to optimise air circulation. These roof hatch openings are equipped with adjustable settings and, in some cases, motorised fans to effectively regulate the flow of air within the vehicle, some models can also include a fly screen, so you can sit back and relax and not worry about pesky flies or mozzies entering your mobile RV or caravan.
Natural Skylight
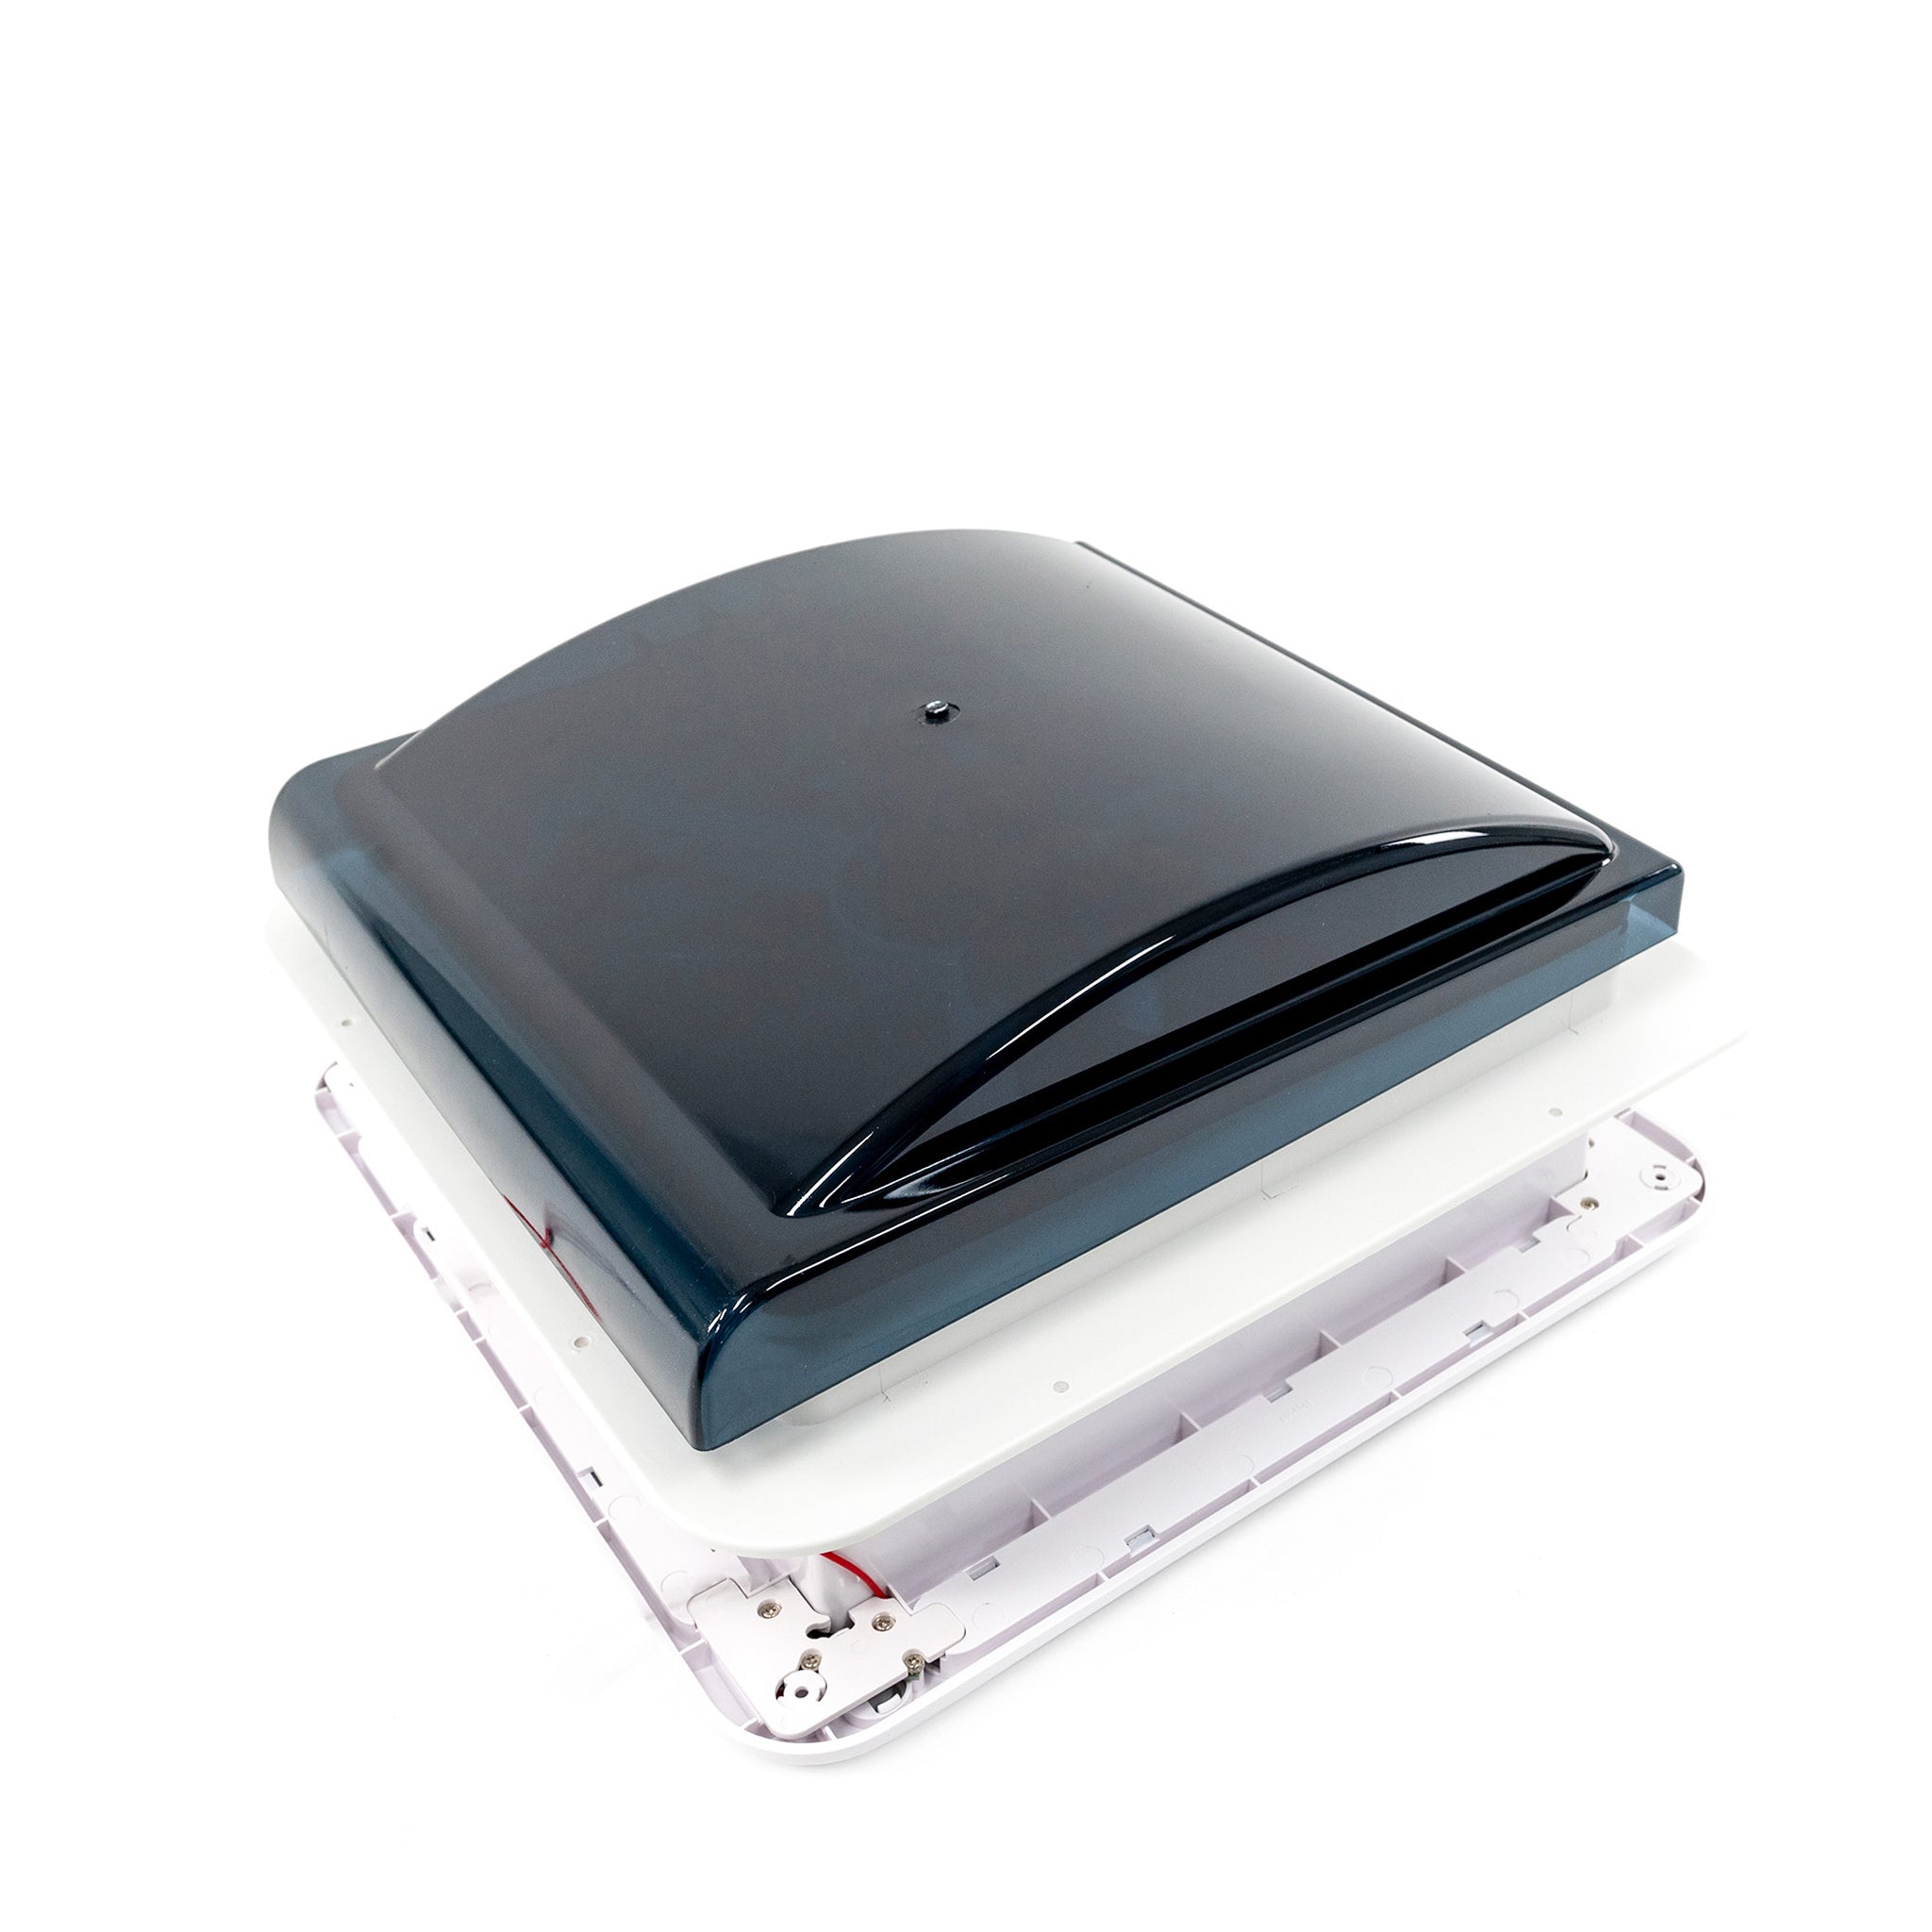
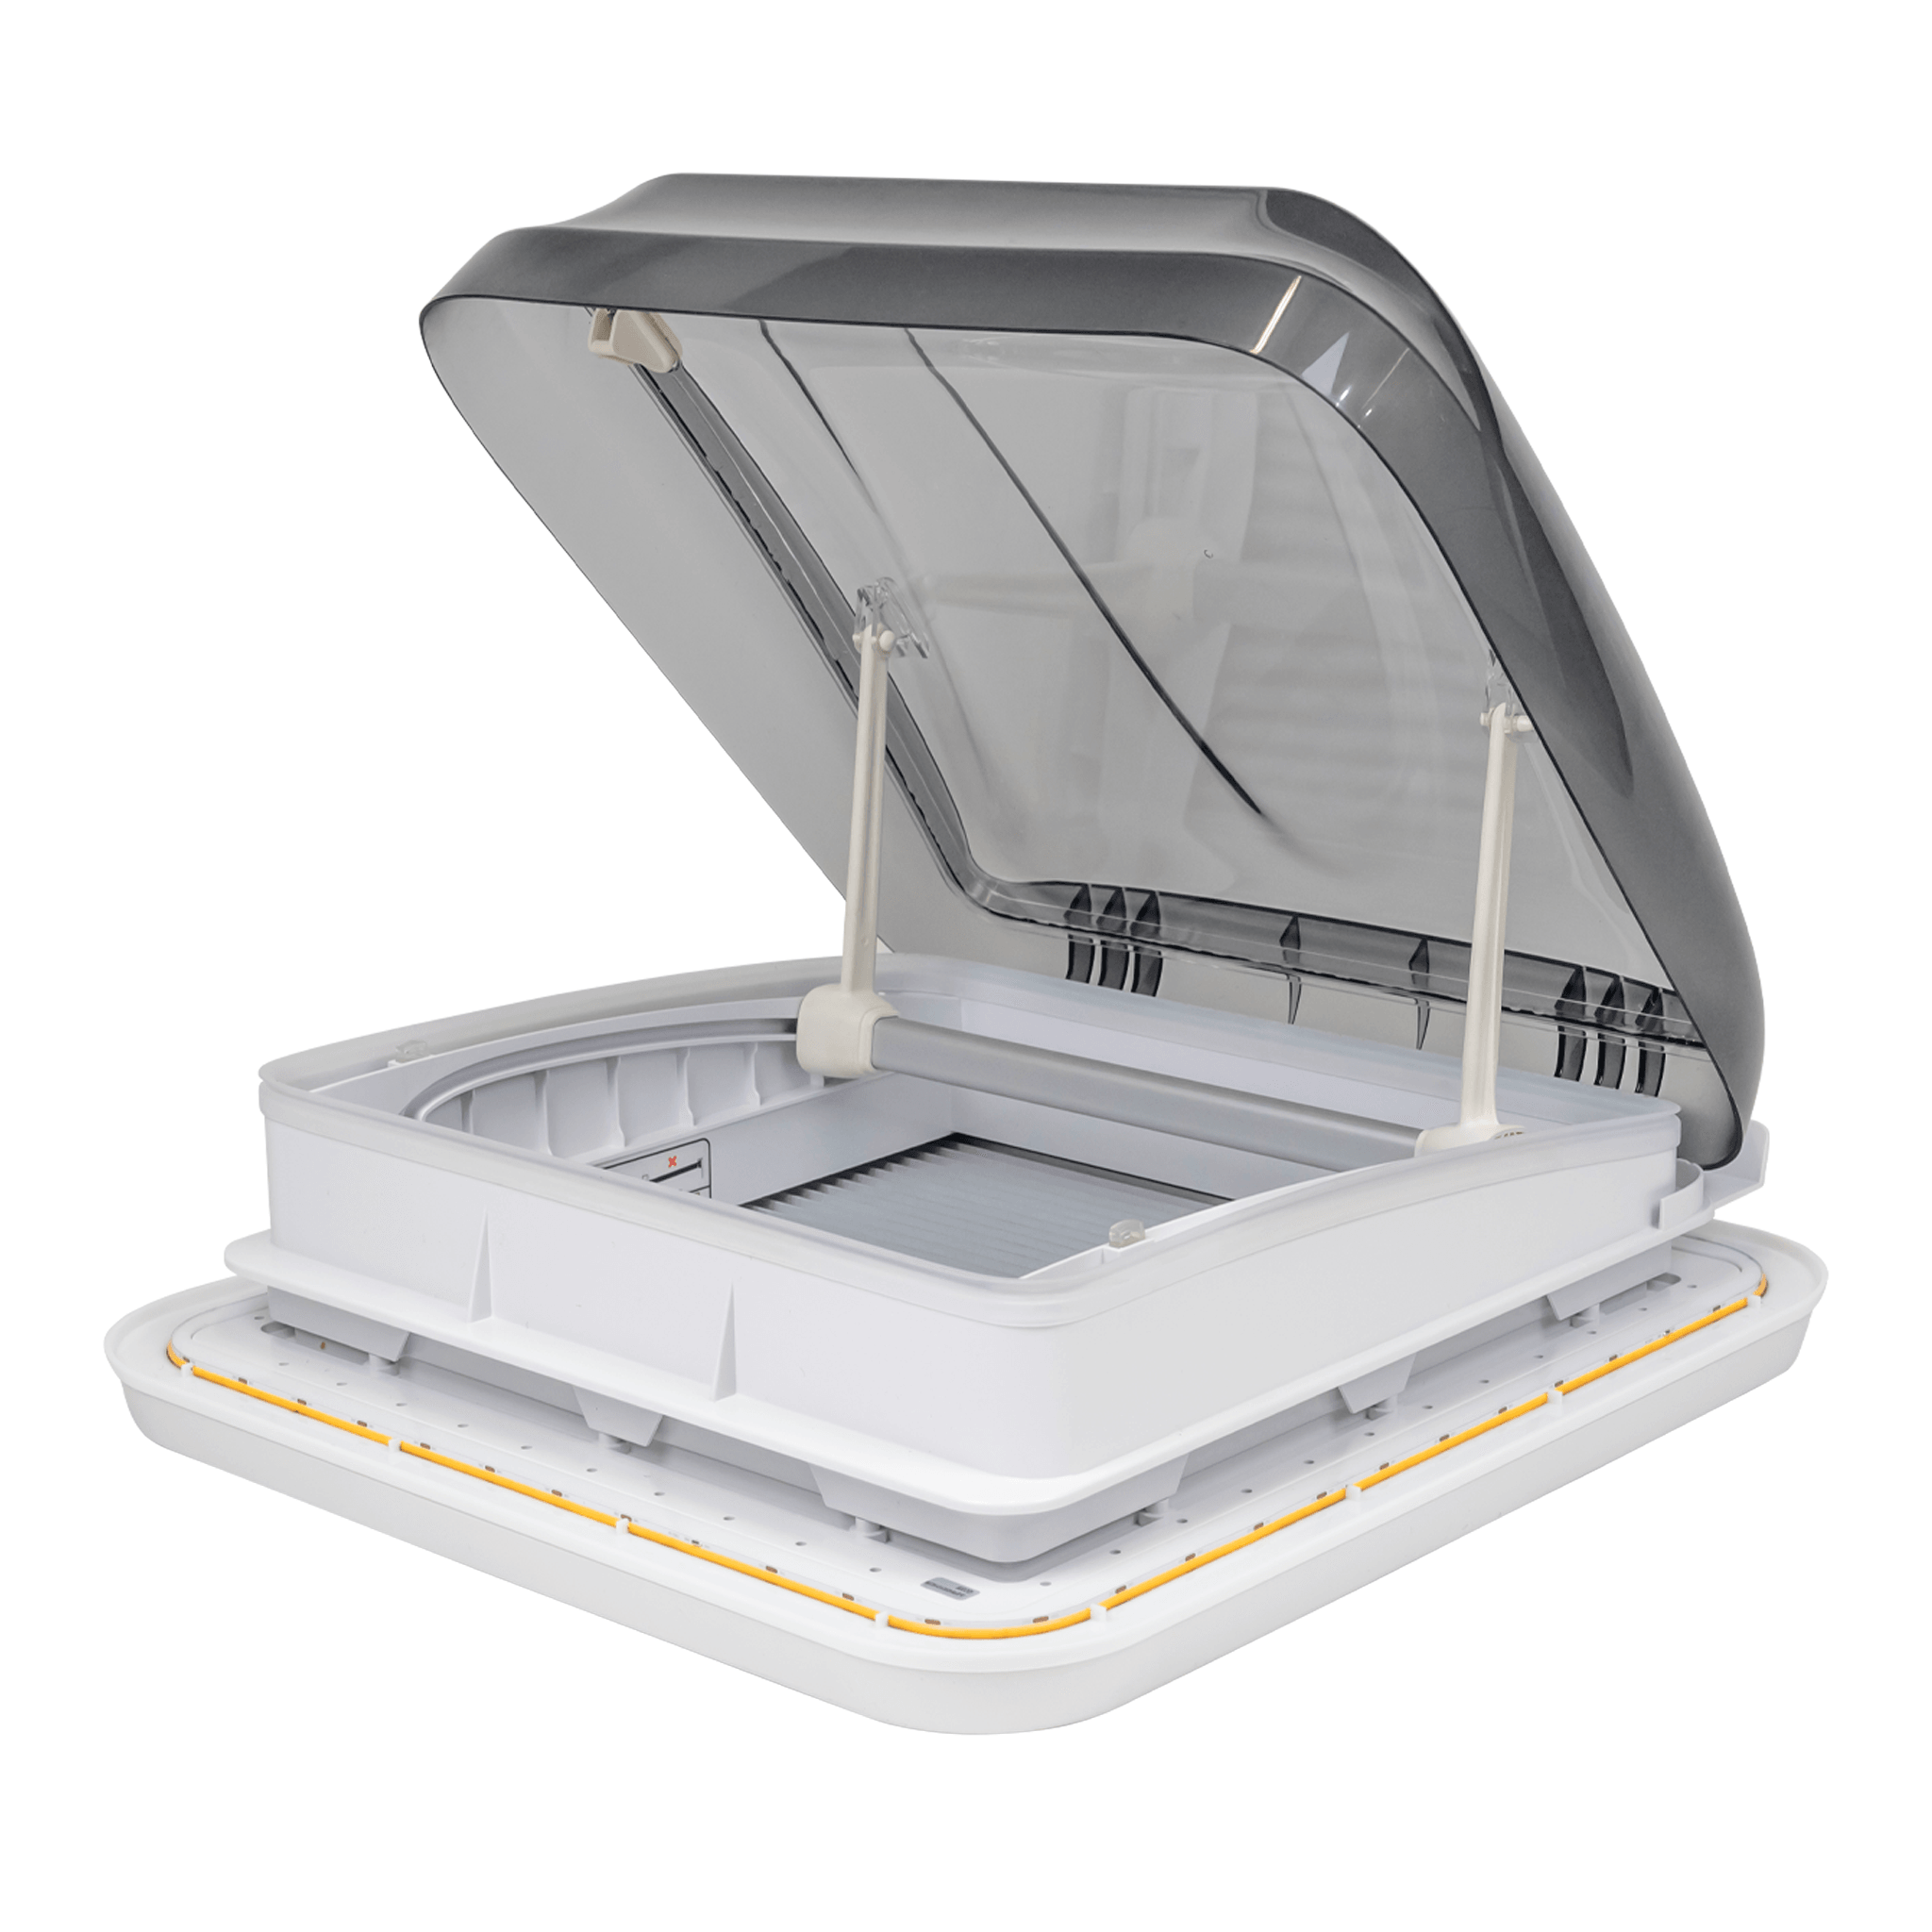
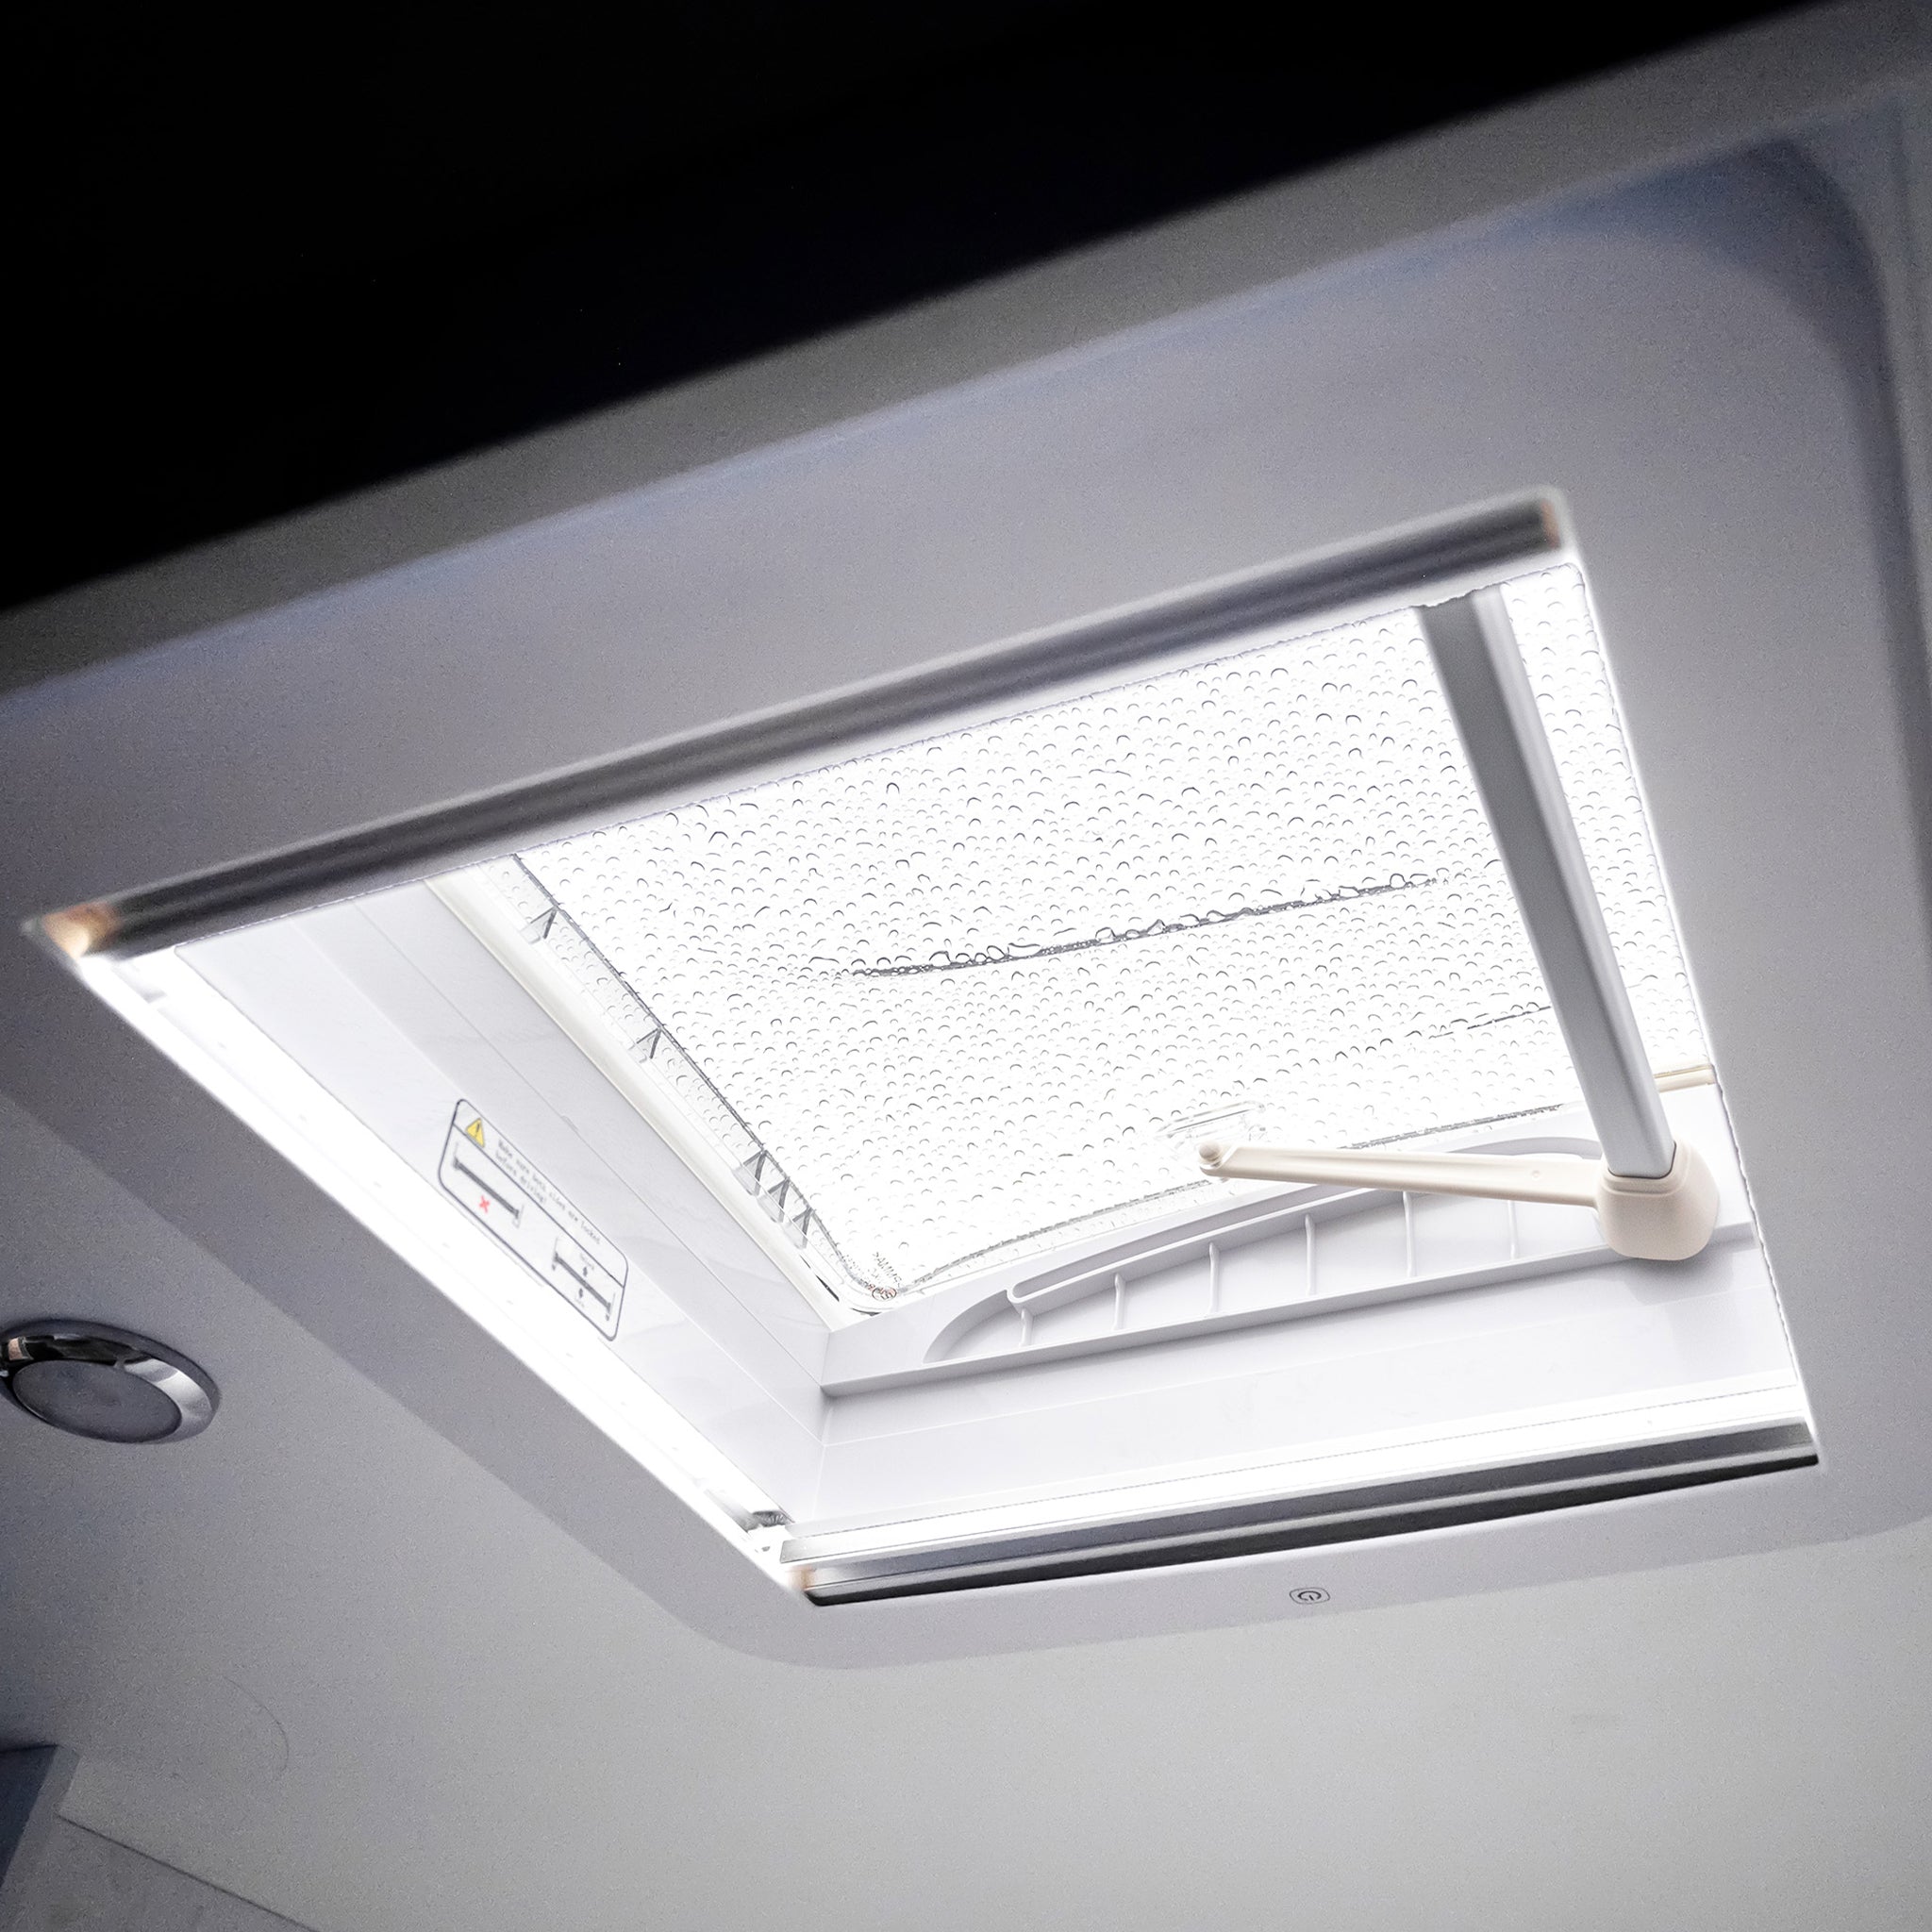
- Certain caravan roof hatches, often referred to as skylights, include transparent materials. This design allows ample natural light to illuminate the caravan, creating a brighter interior and diminishing the reliance on artificial lighting throughout the day, making these skylights also great at contributing to energy efficiency.
The Aussie Traveller Roof Hatch Range
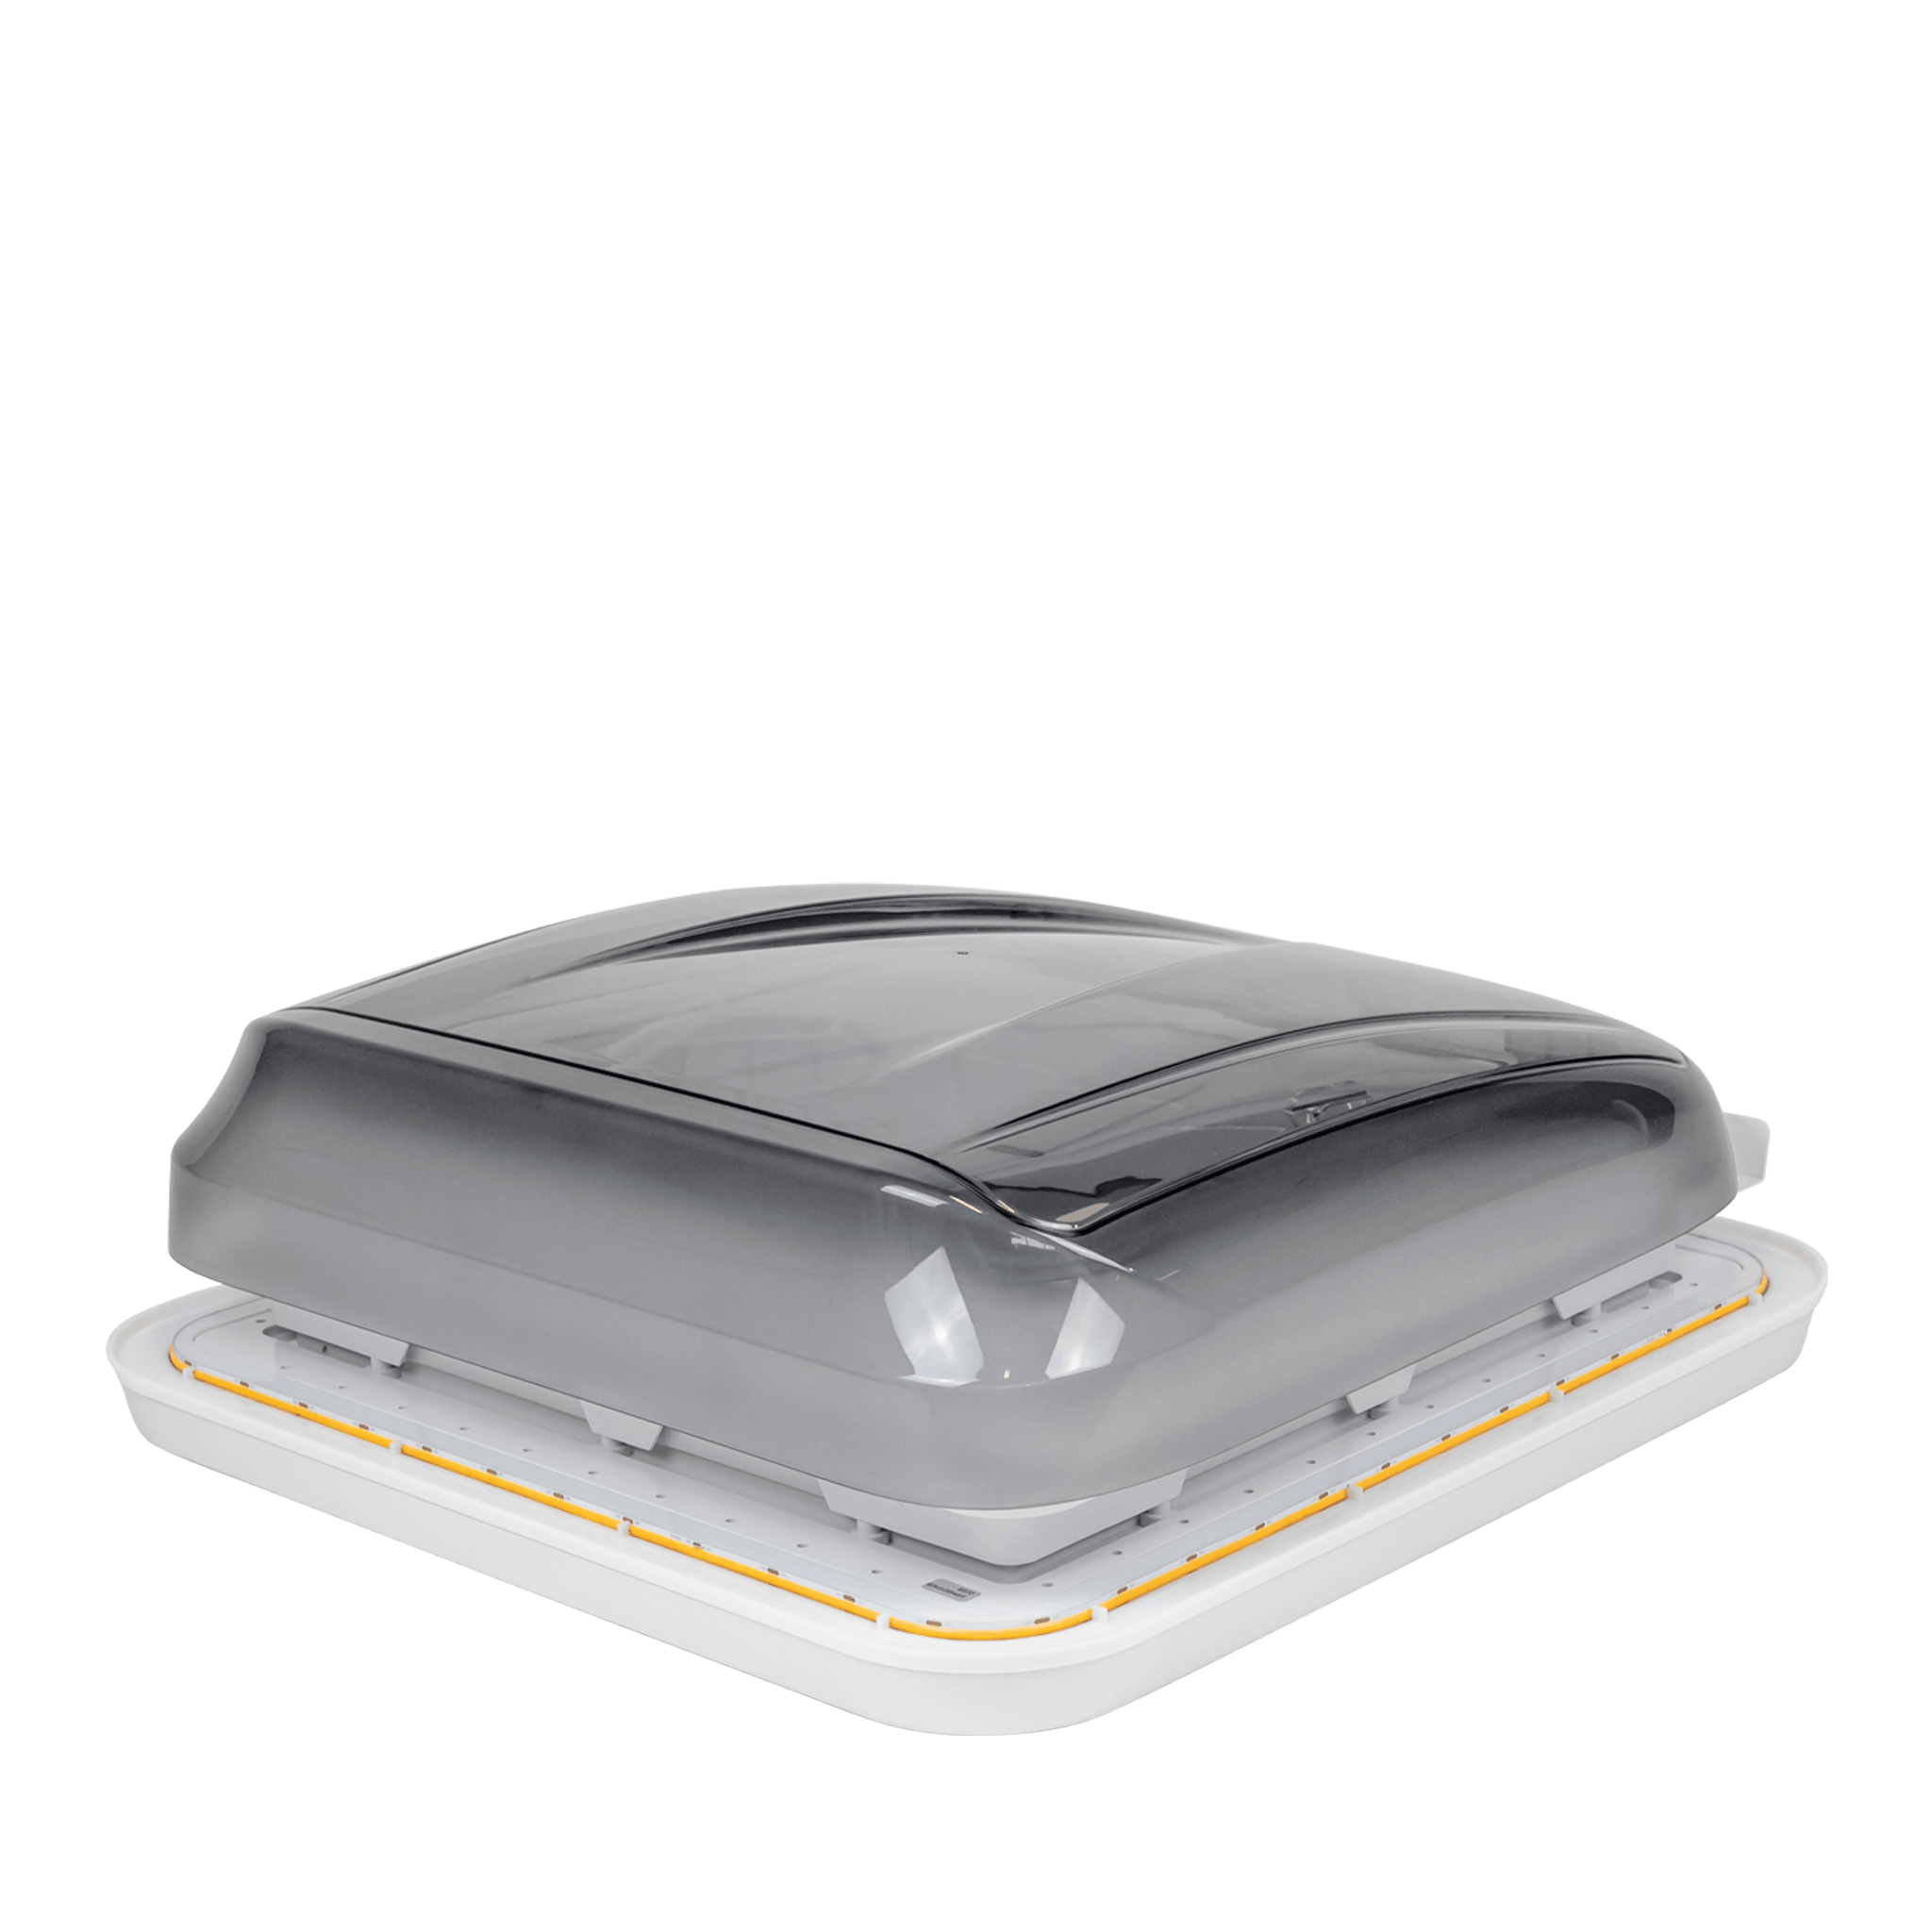
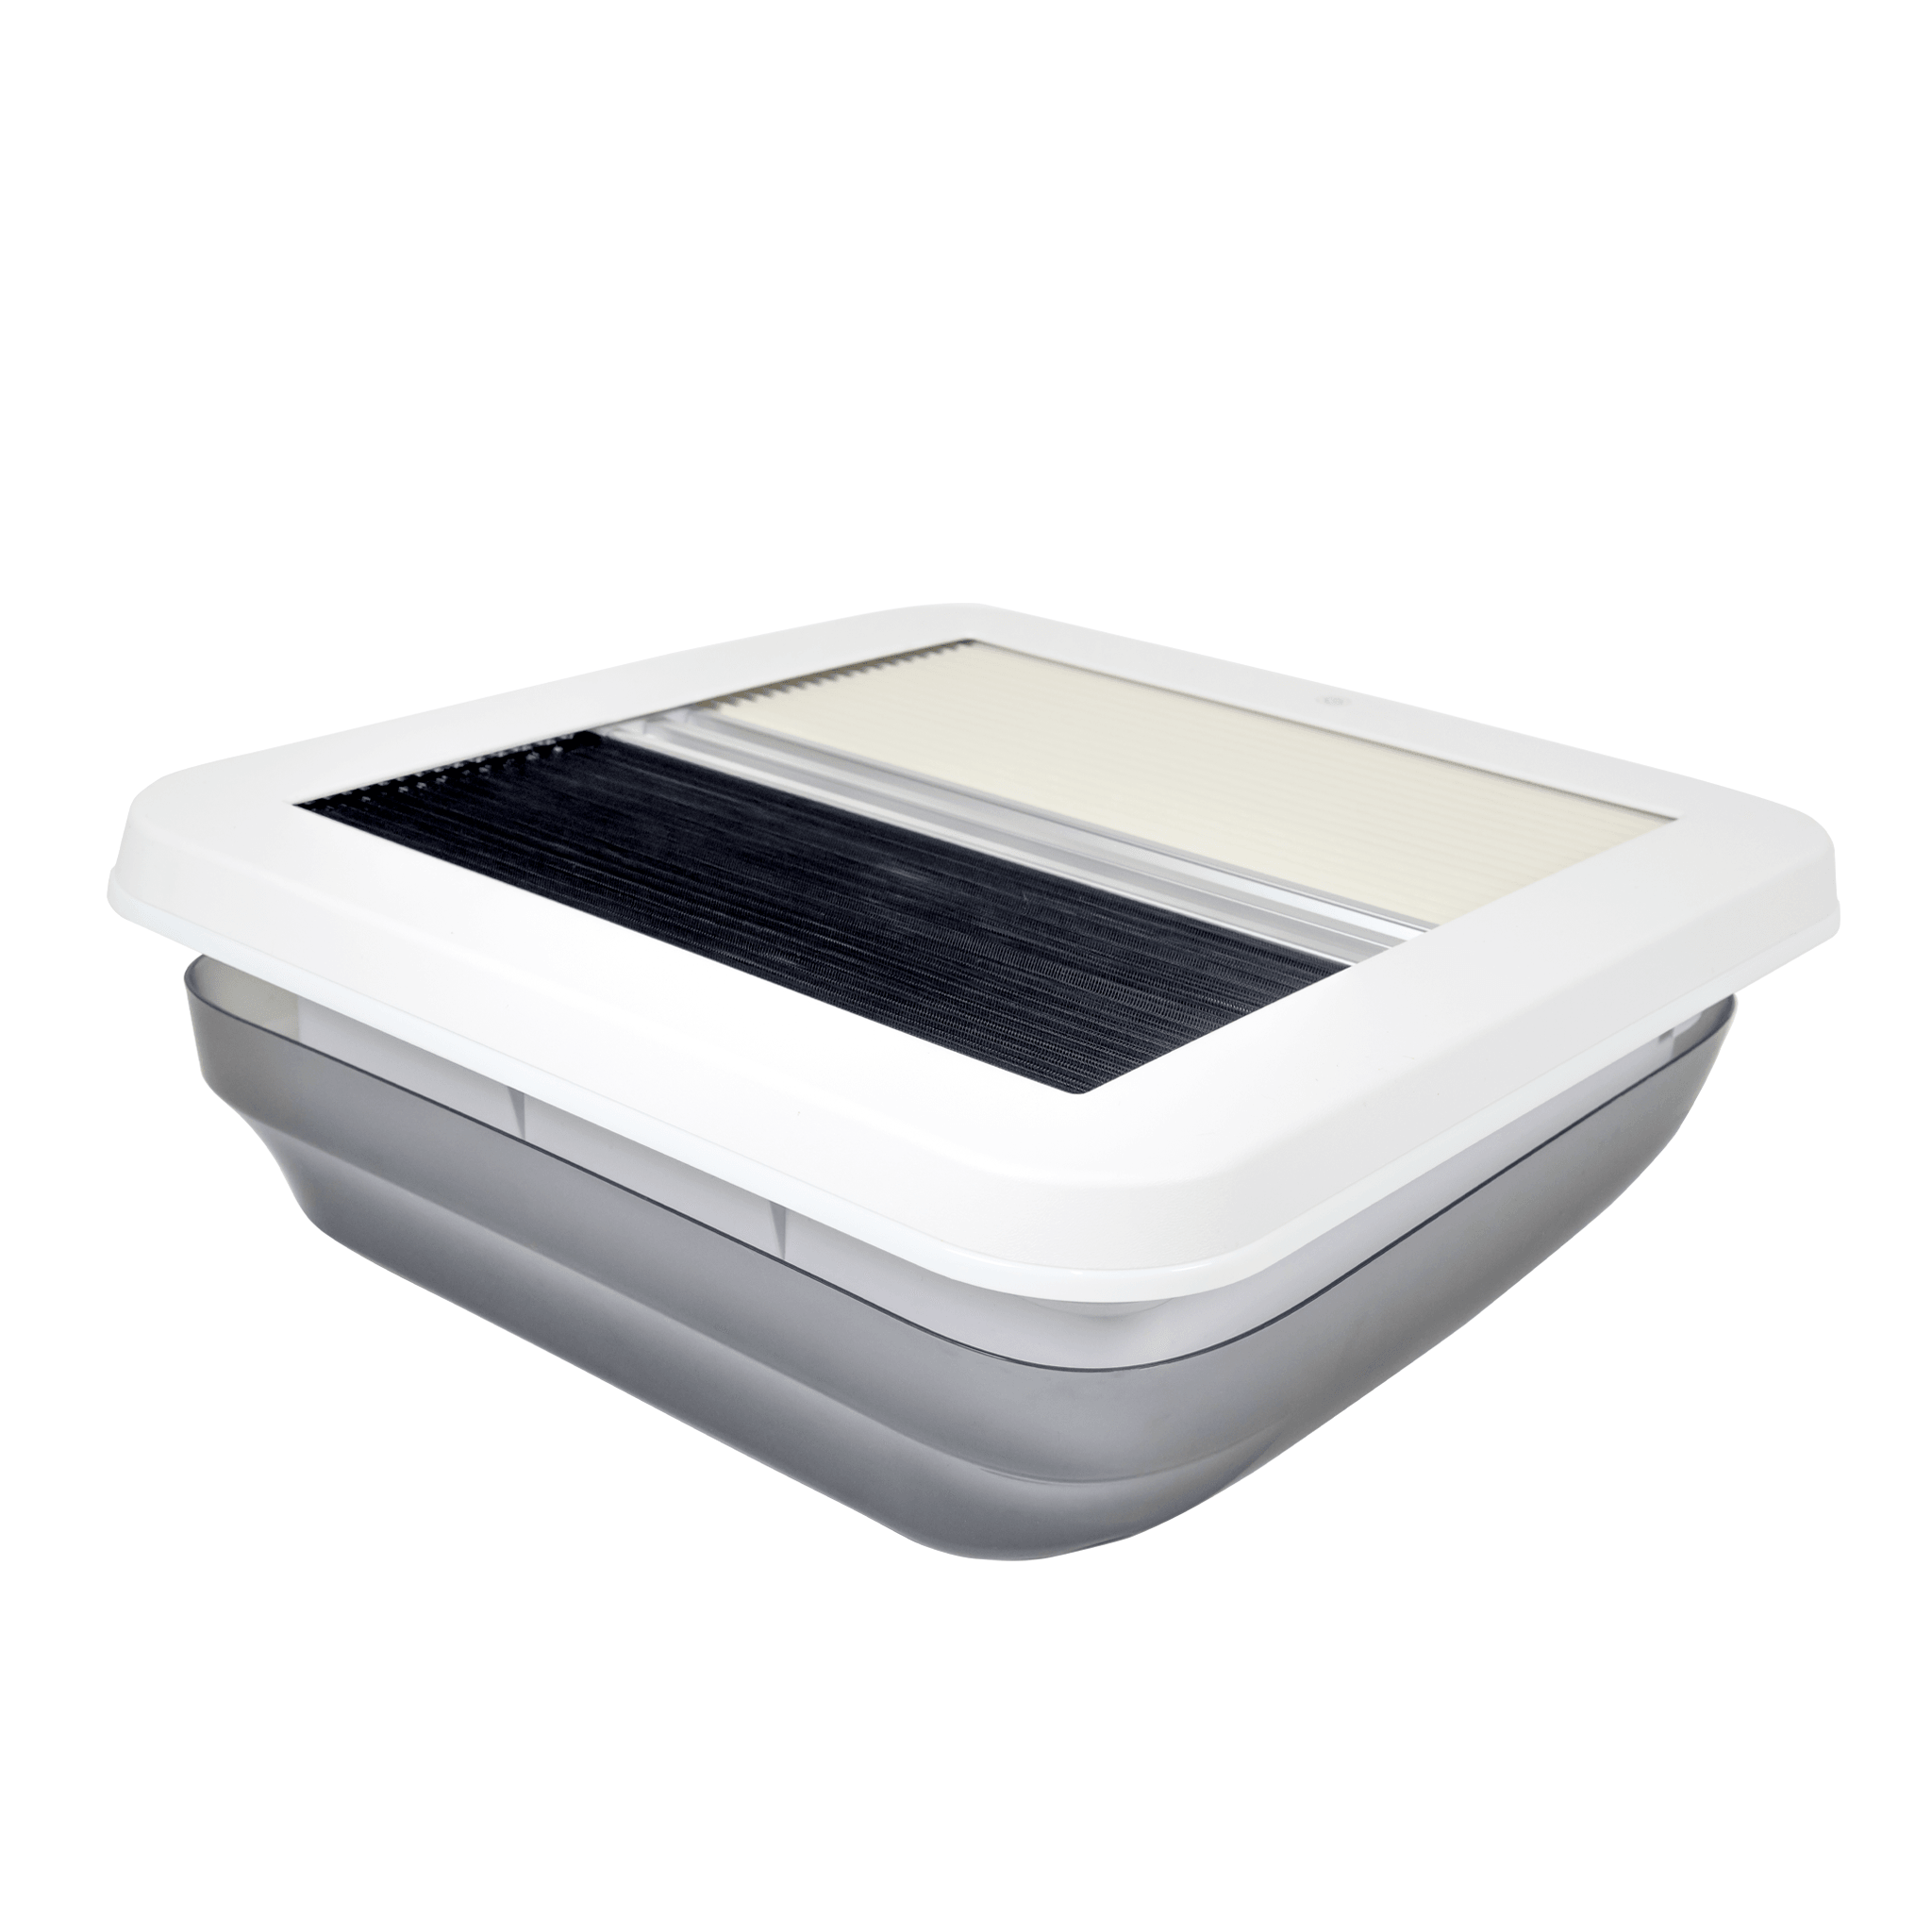
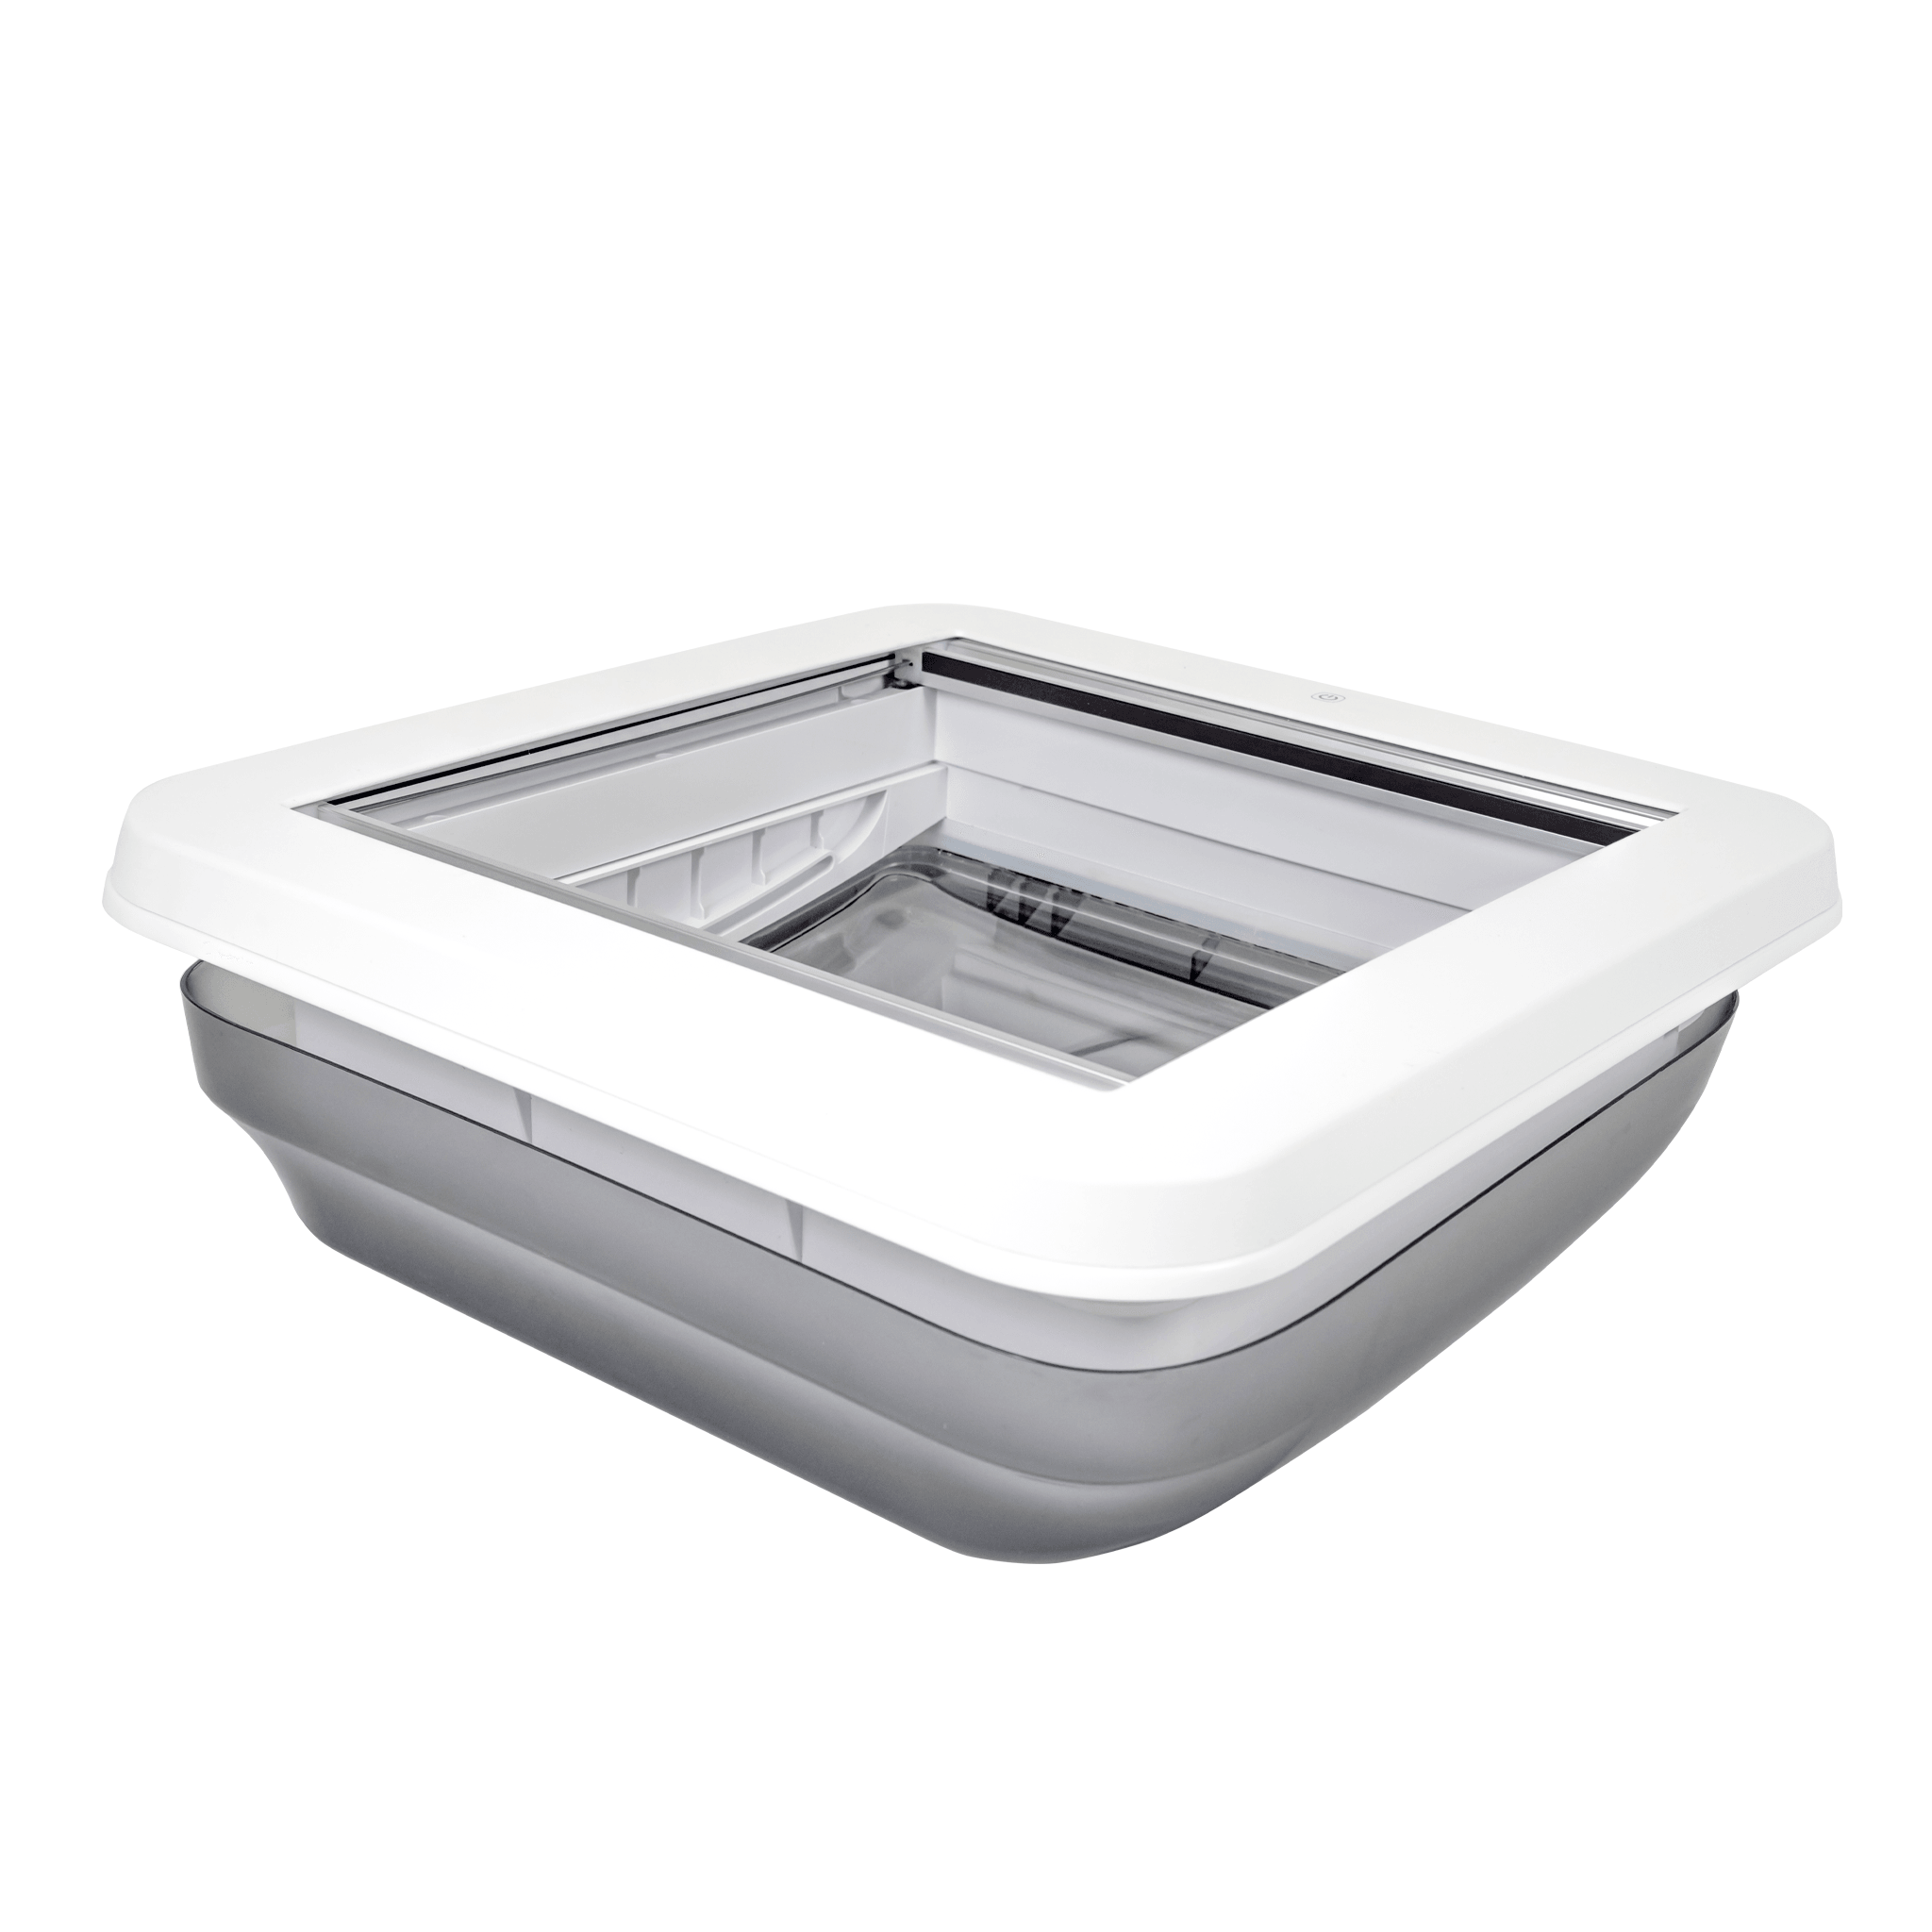
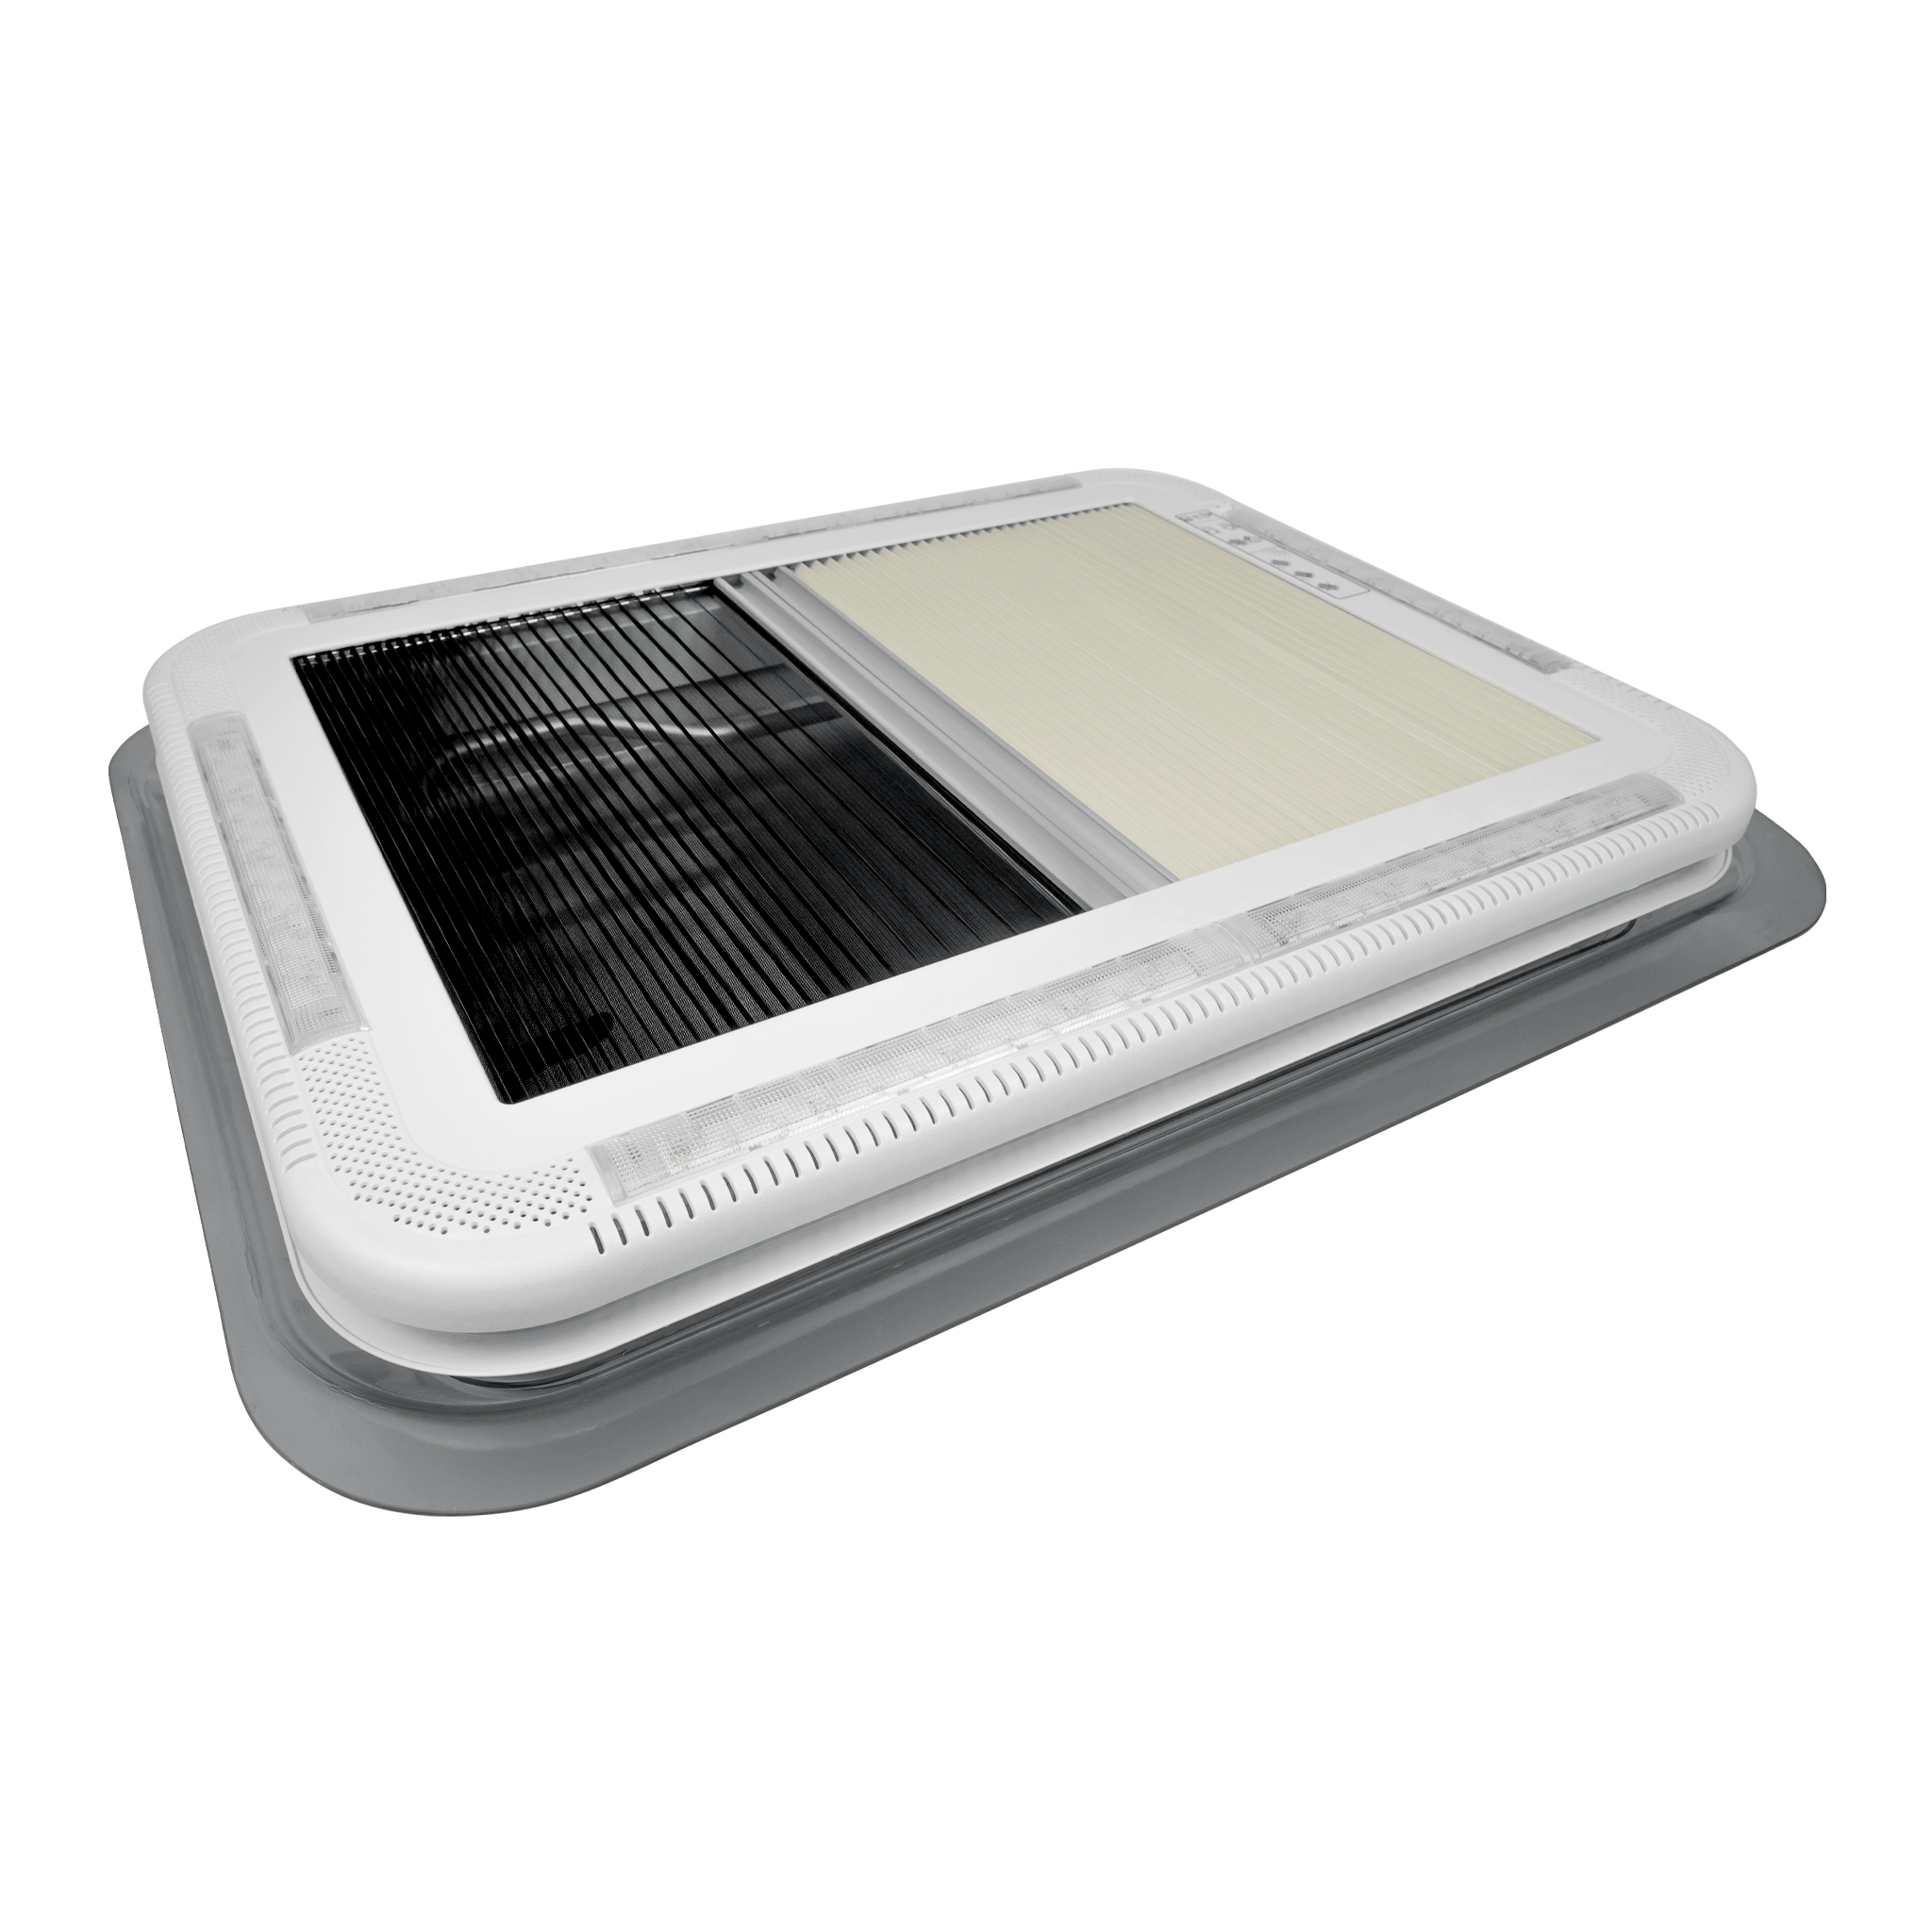
Holiday throughout Australia, from Melbourne to Brisbane in comfort and style with the Aussie Traveller caravan hatches range. Inspired by European style, Aussie Traveller’s Skylight Hatch and Shower & Bathroom Hatch elevate any caravan space or RV living area. The Aussie Traveller LED Air Vents in both Manual and Electric operation also offer unique and high-quality designs providing essential ventilation and natural light, creating a comfortable and stylish environment.Skylight Hatch
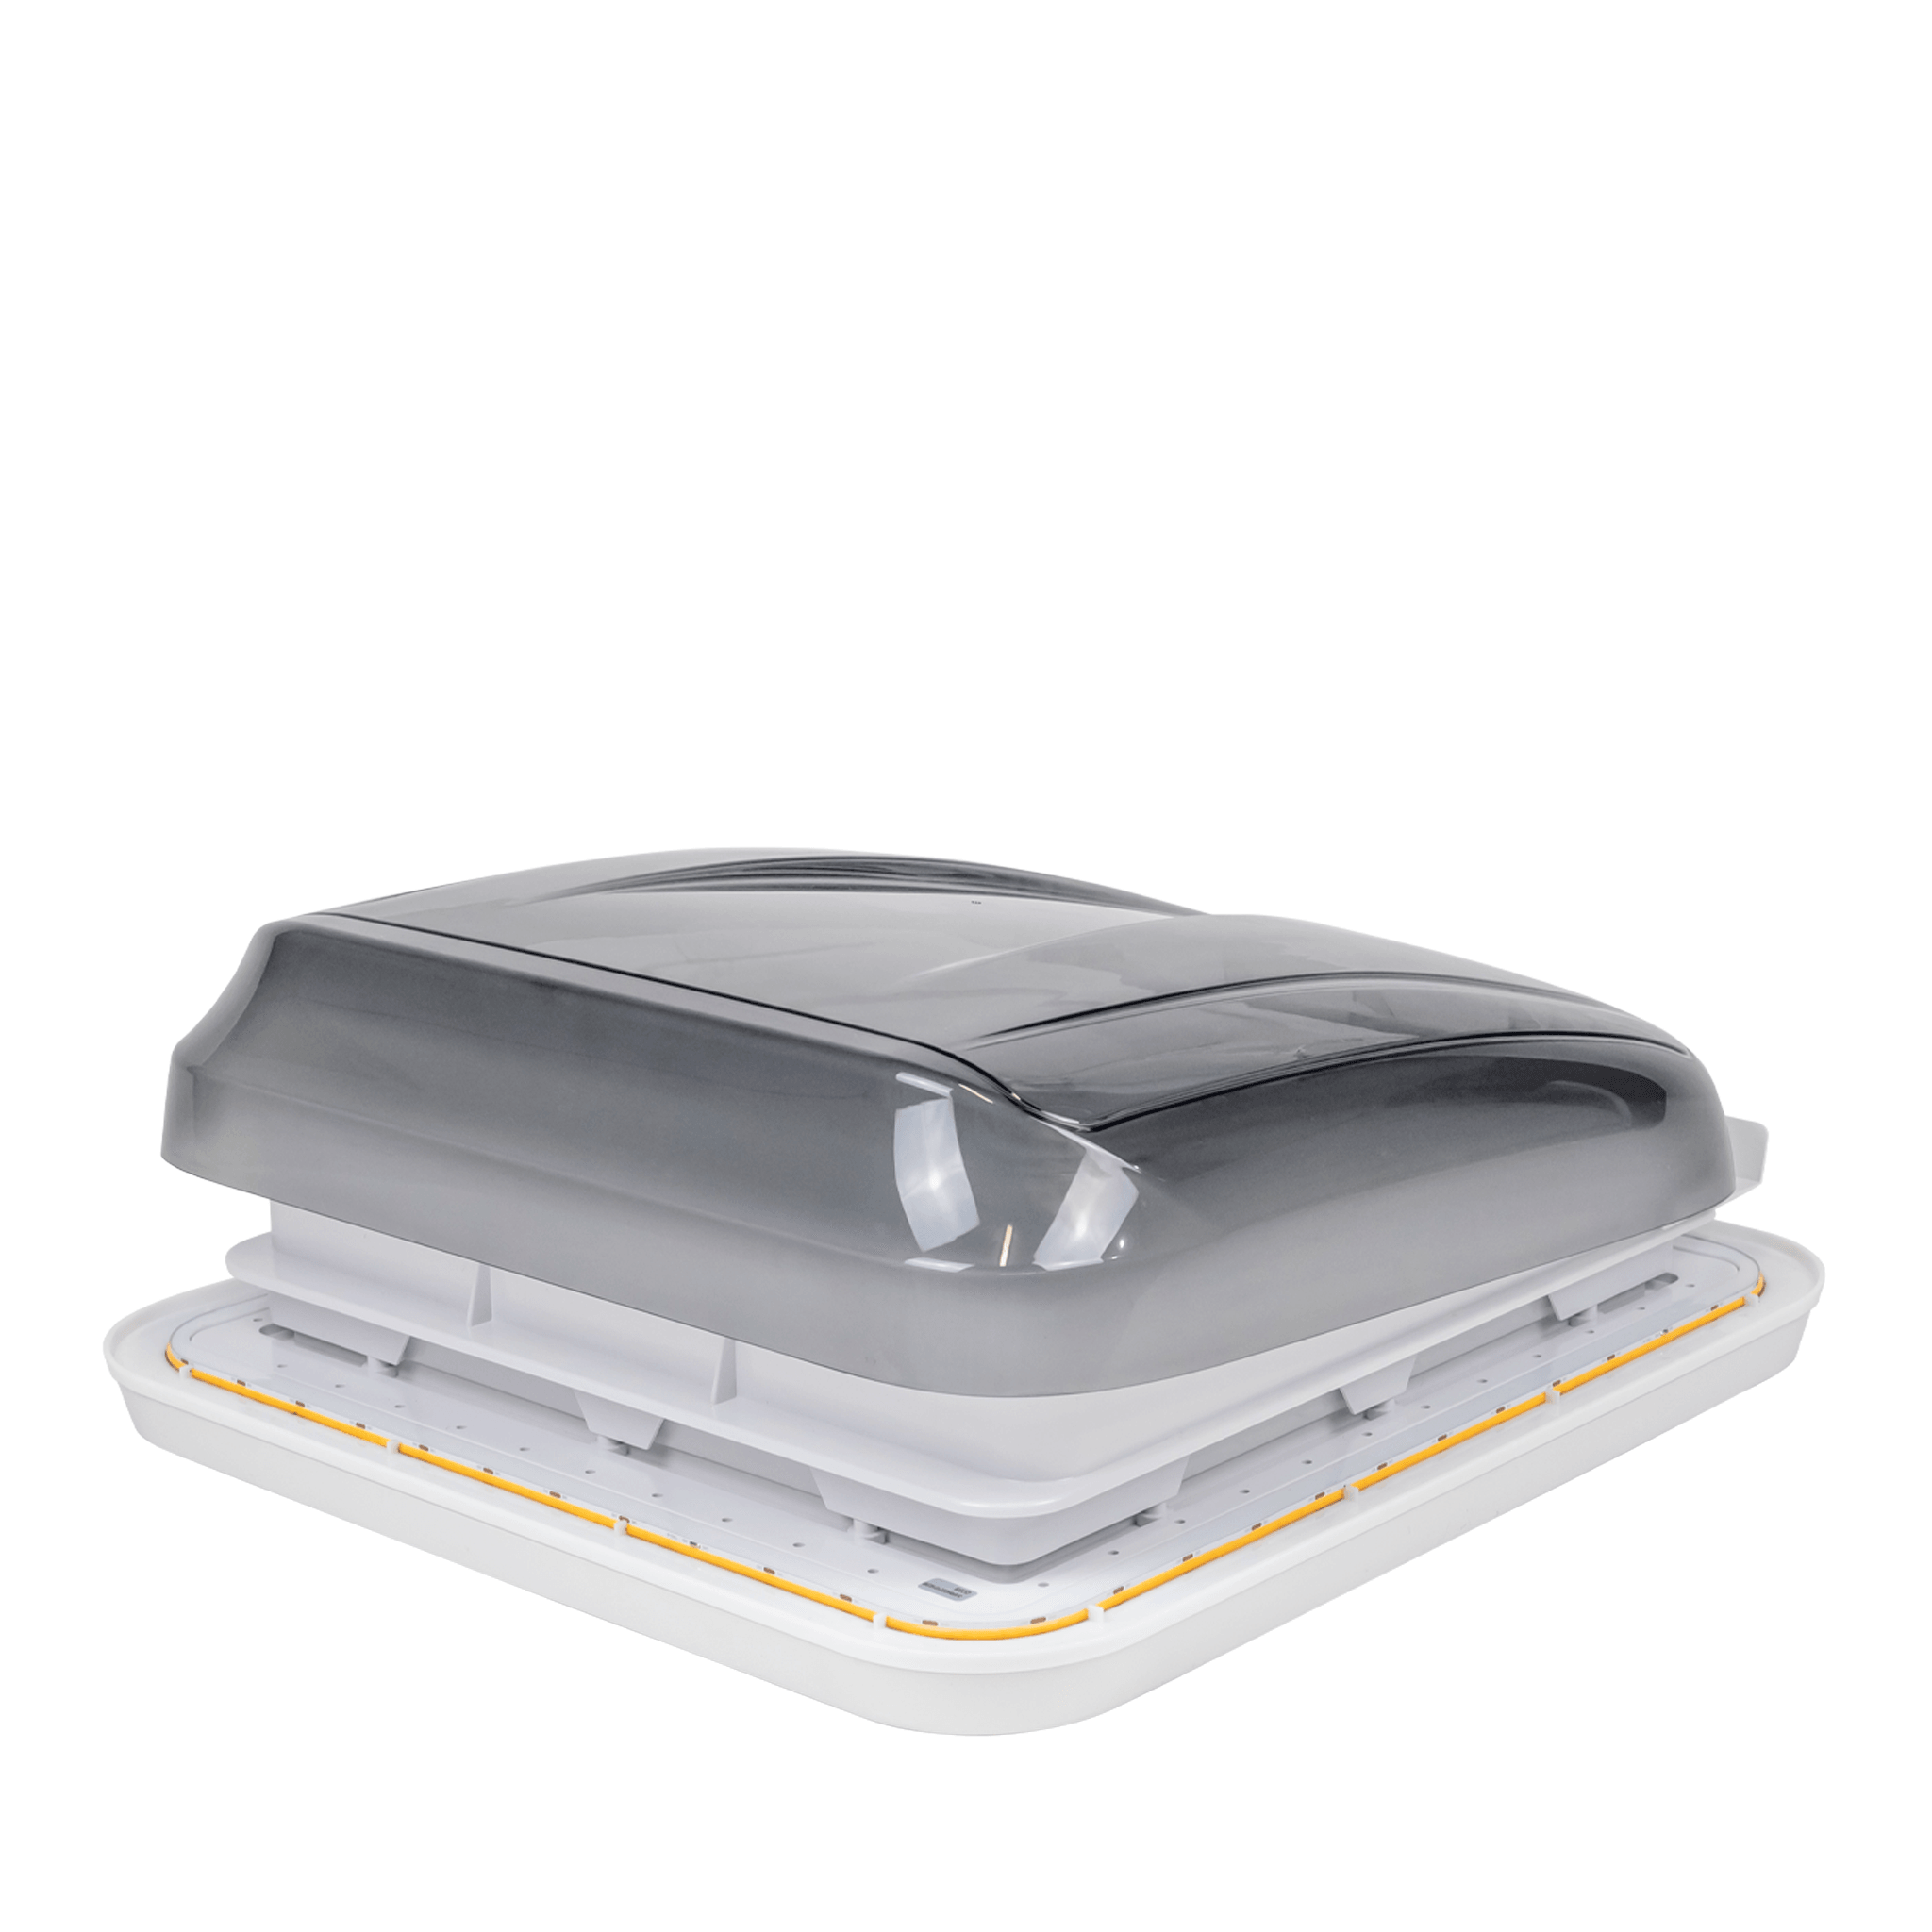
Open up your world to endless sky views and refreshing air with our Aussie Traveller Skylight Hatch, available in three sizes. Dimensions and specifications available:- Small size caravan roof hatch: 400 x 400mm
- Medium size caravan roof hatch: 450 x 400mm
- Large size caravan roof hatch: 700 x 500mm
Shower & Bathroom Hatch
Keep the steam out and let the fresh air and natural light in while enjoying the comfort of your own caravan. Dimensions and specifications available:- 280 x 280mm
- 320 x 320mm
Manual Air Vent LED Hatch
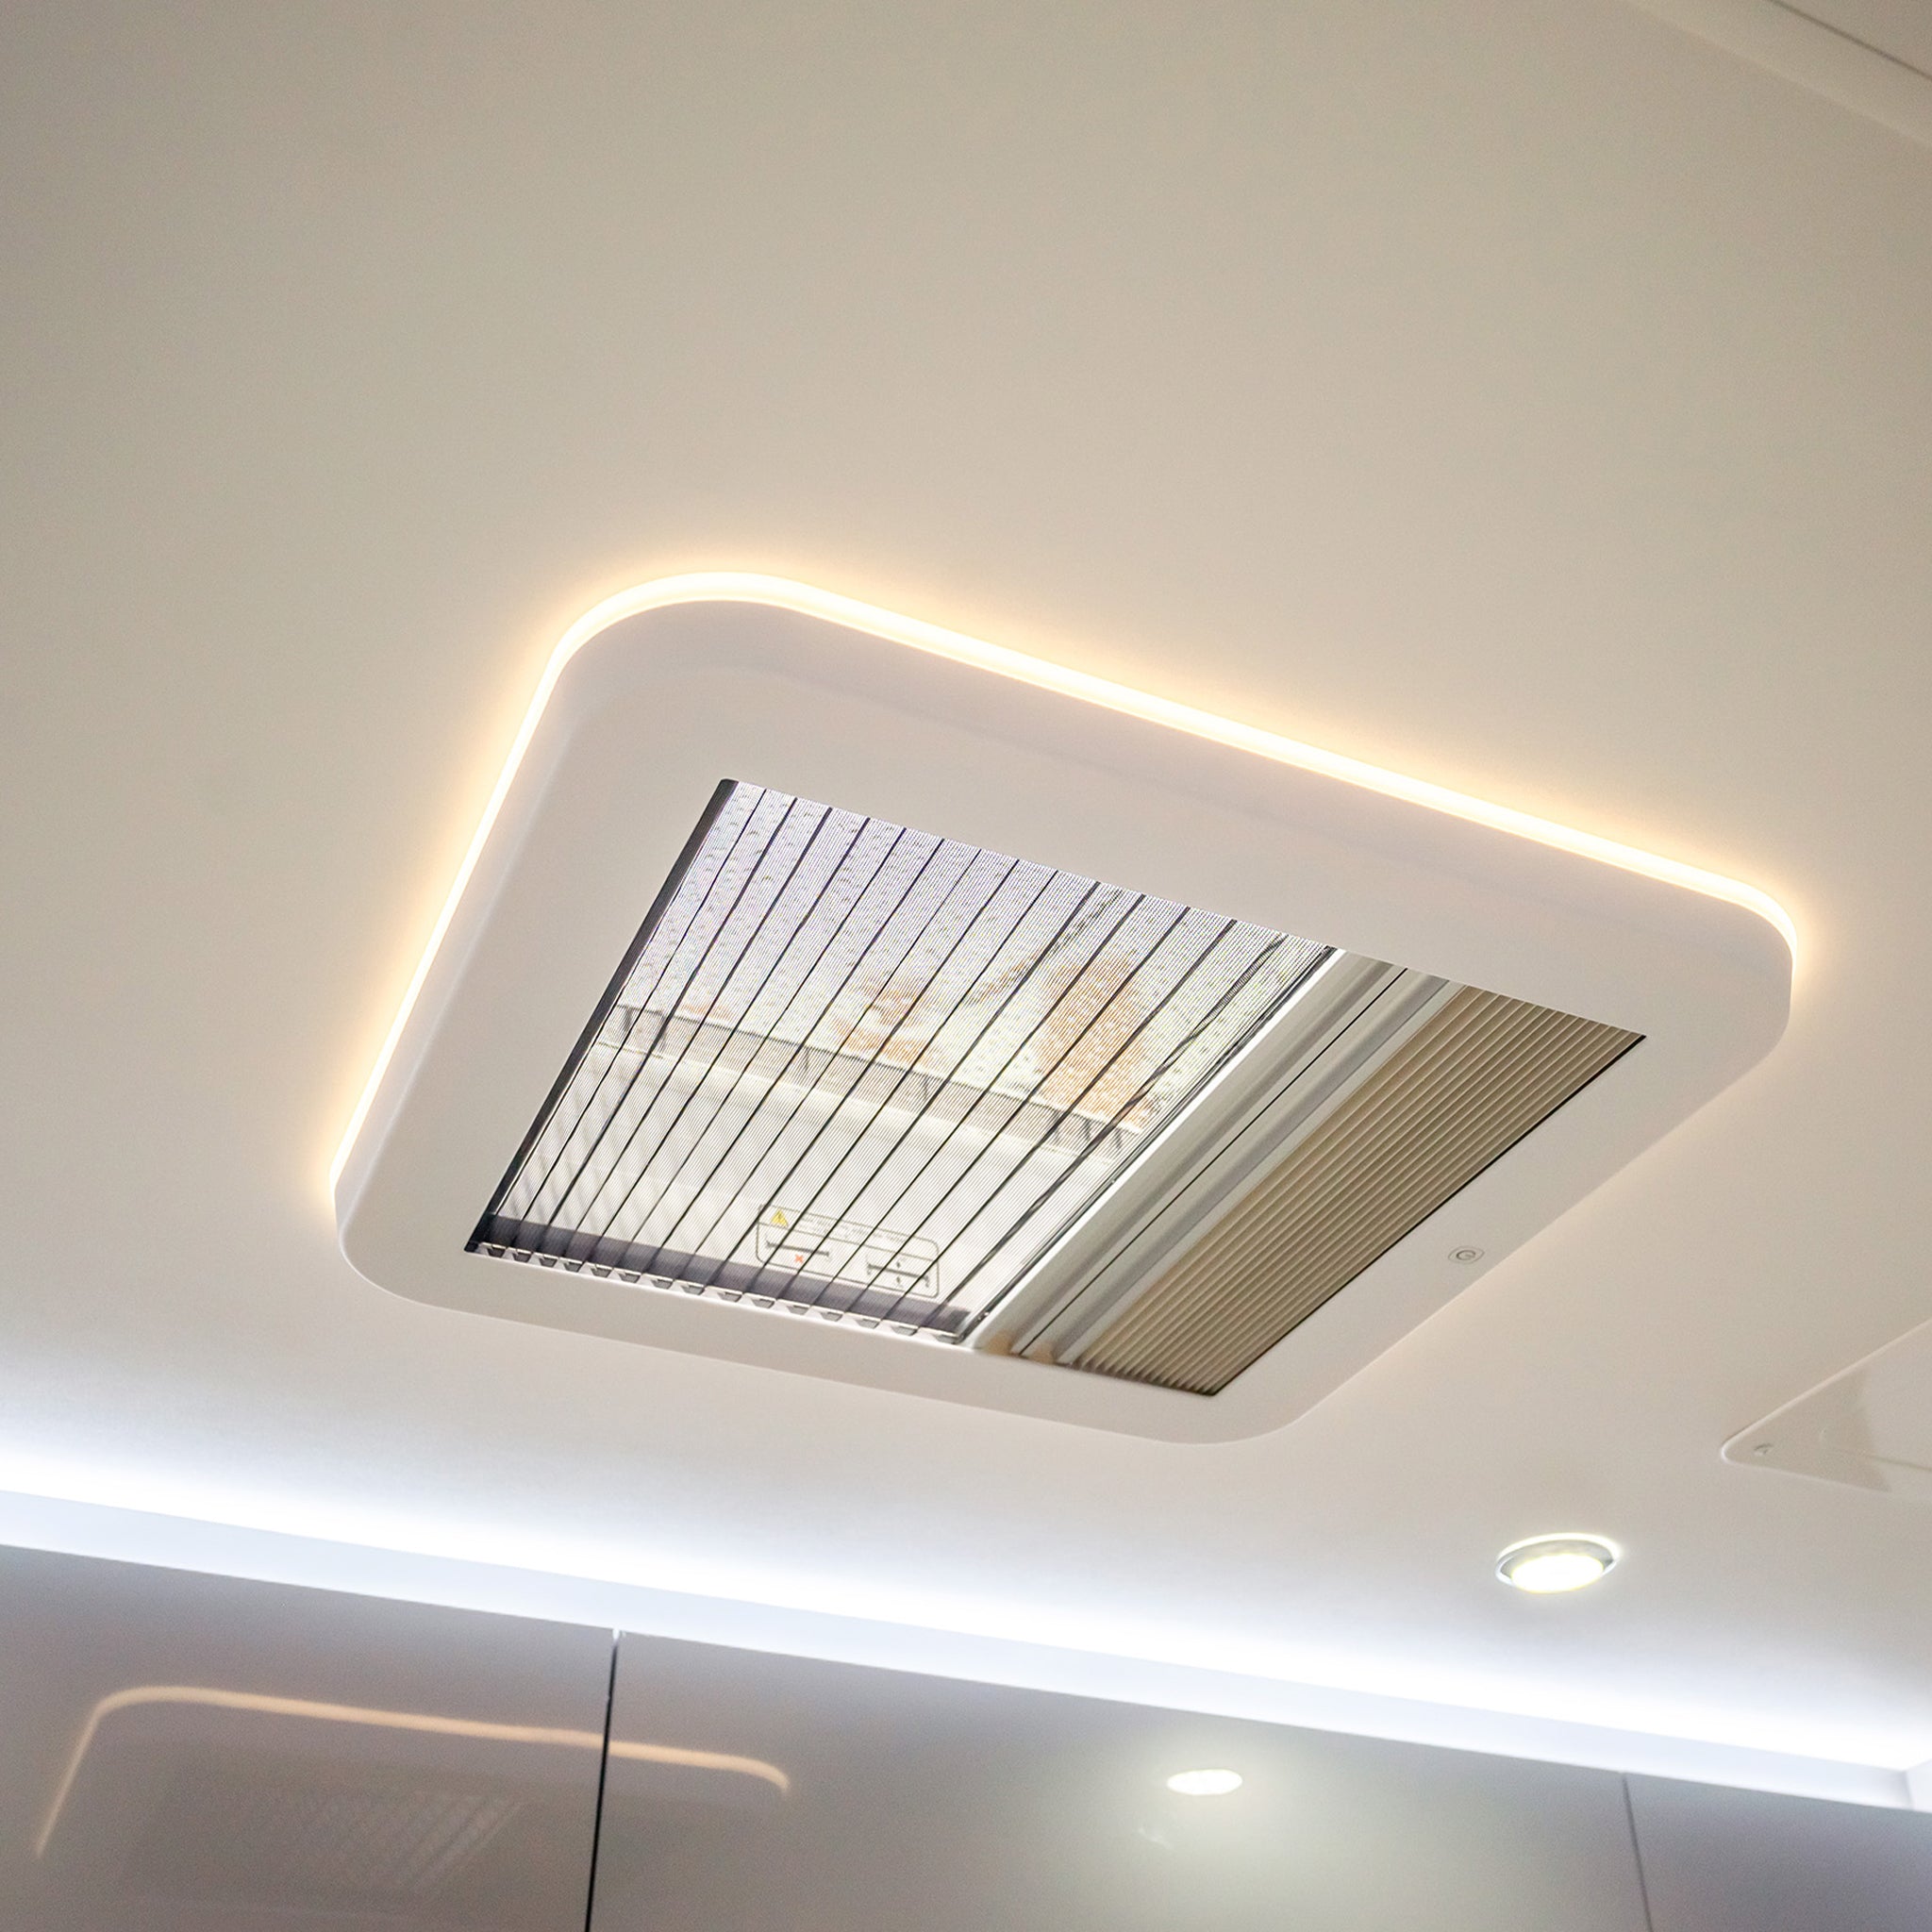
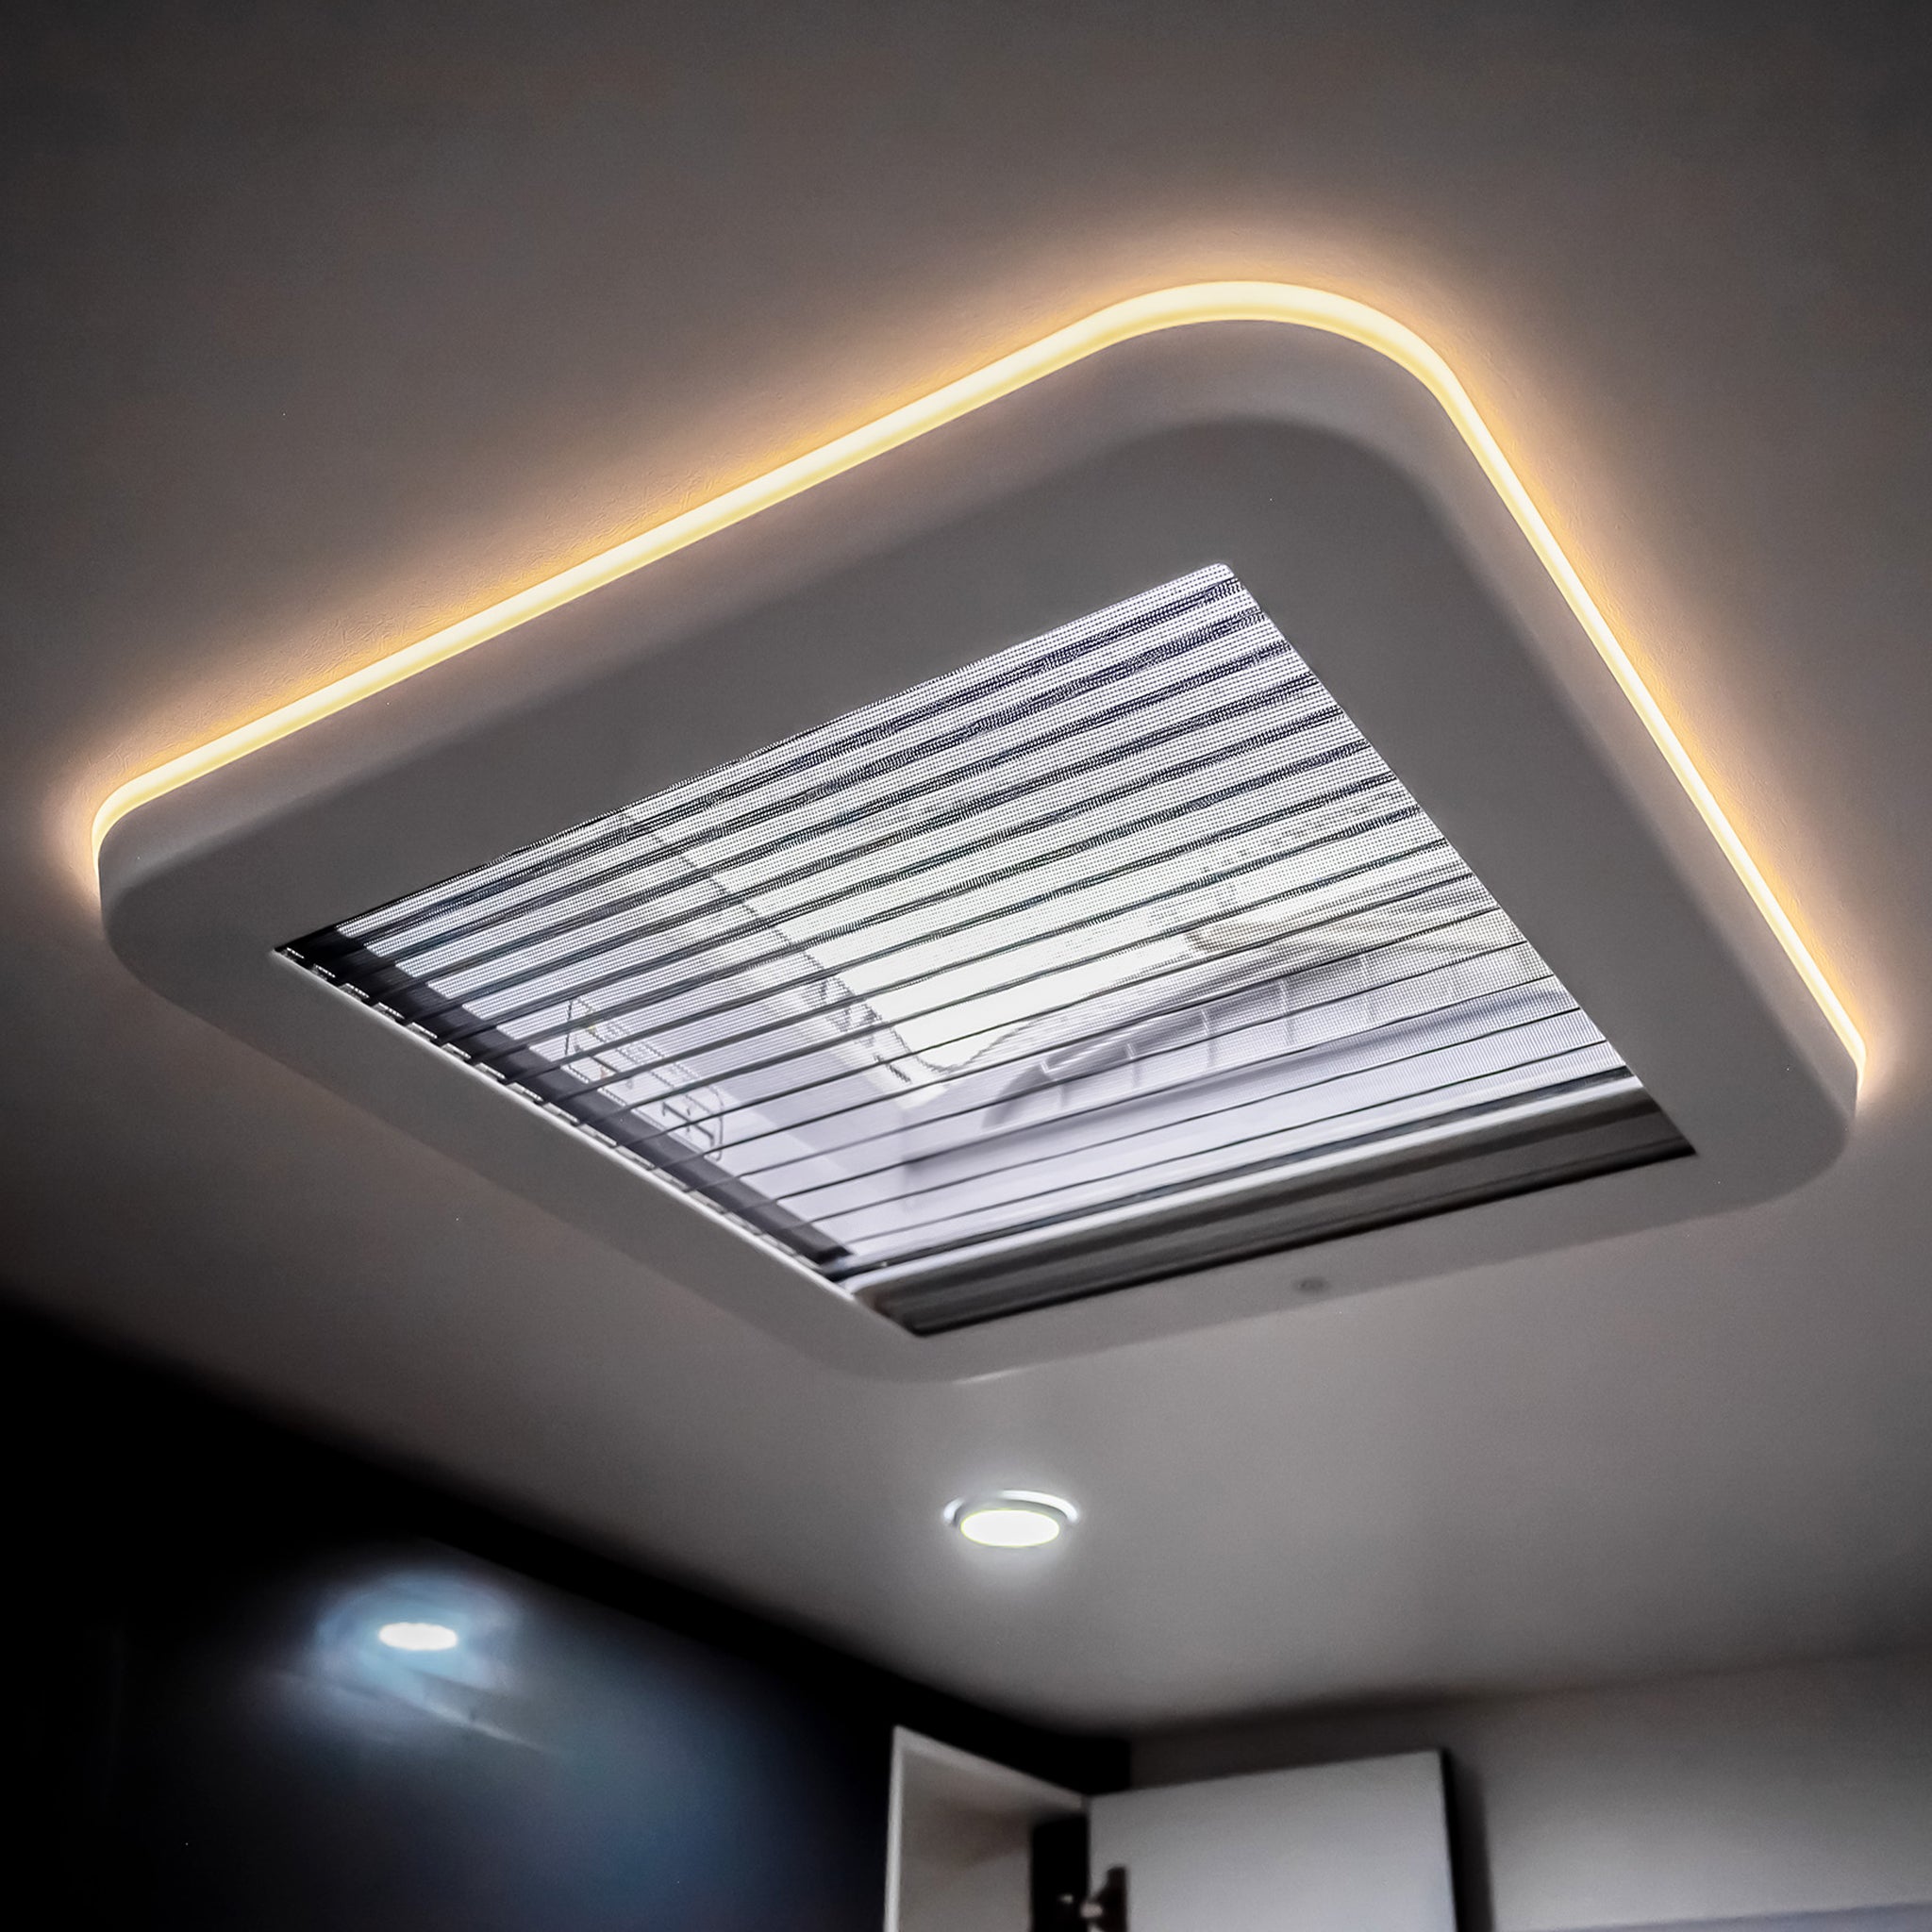
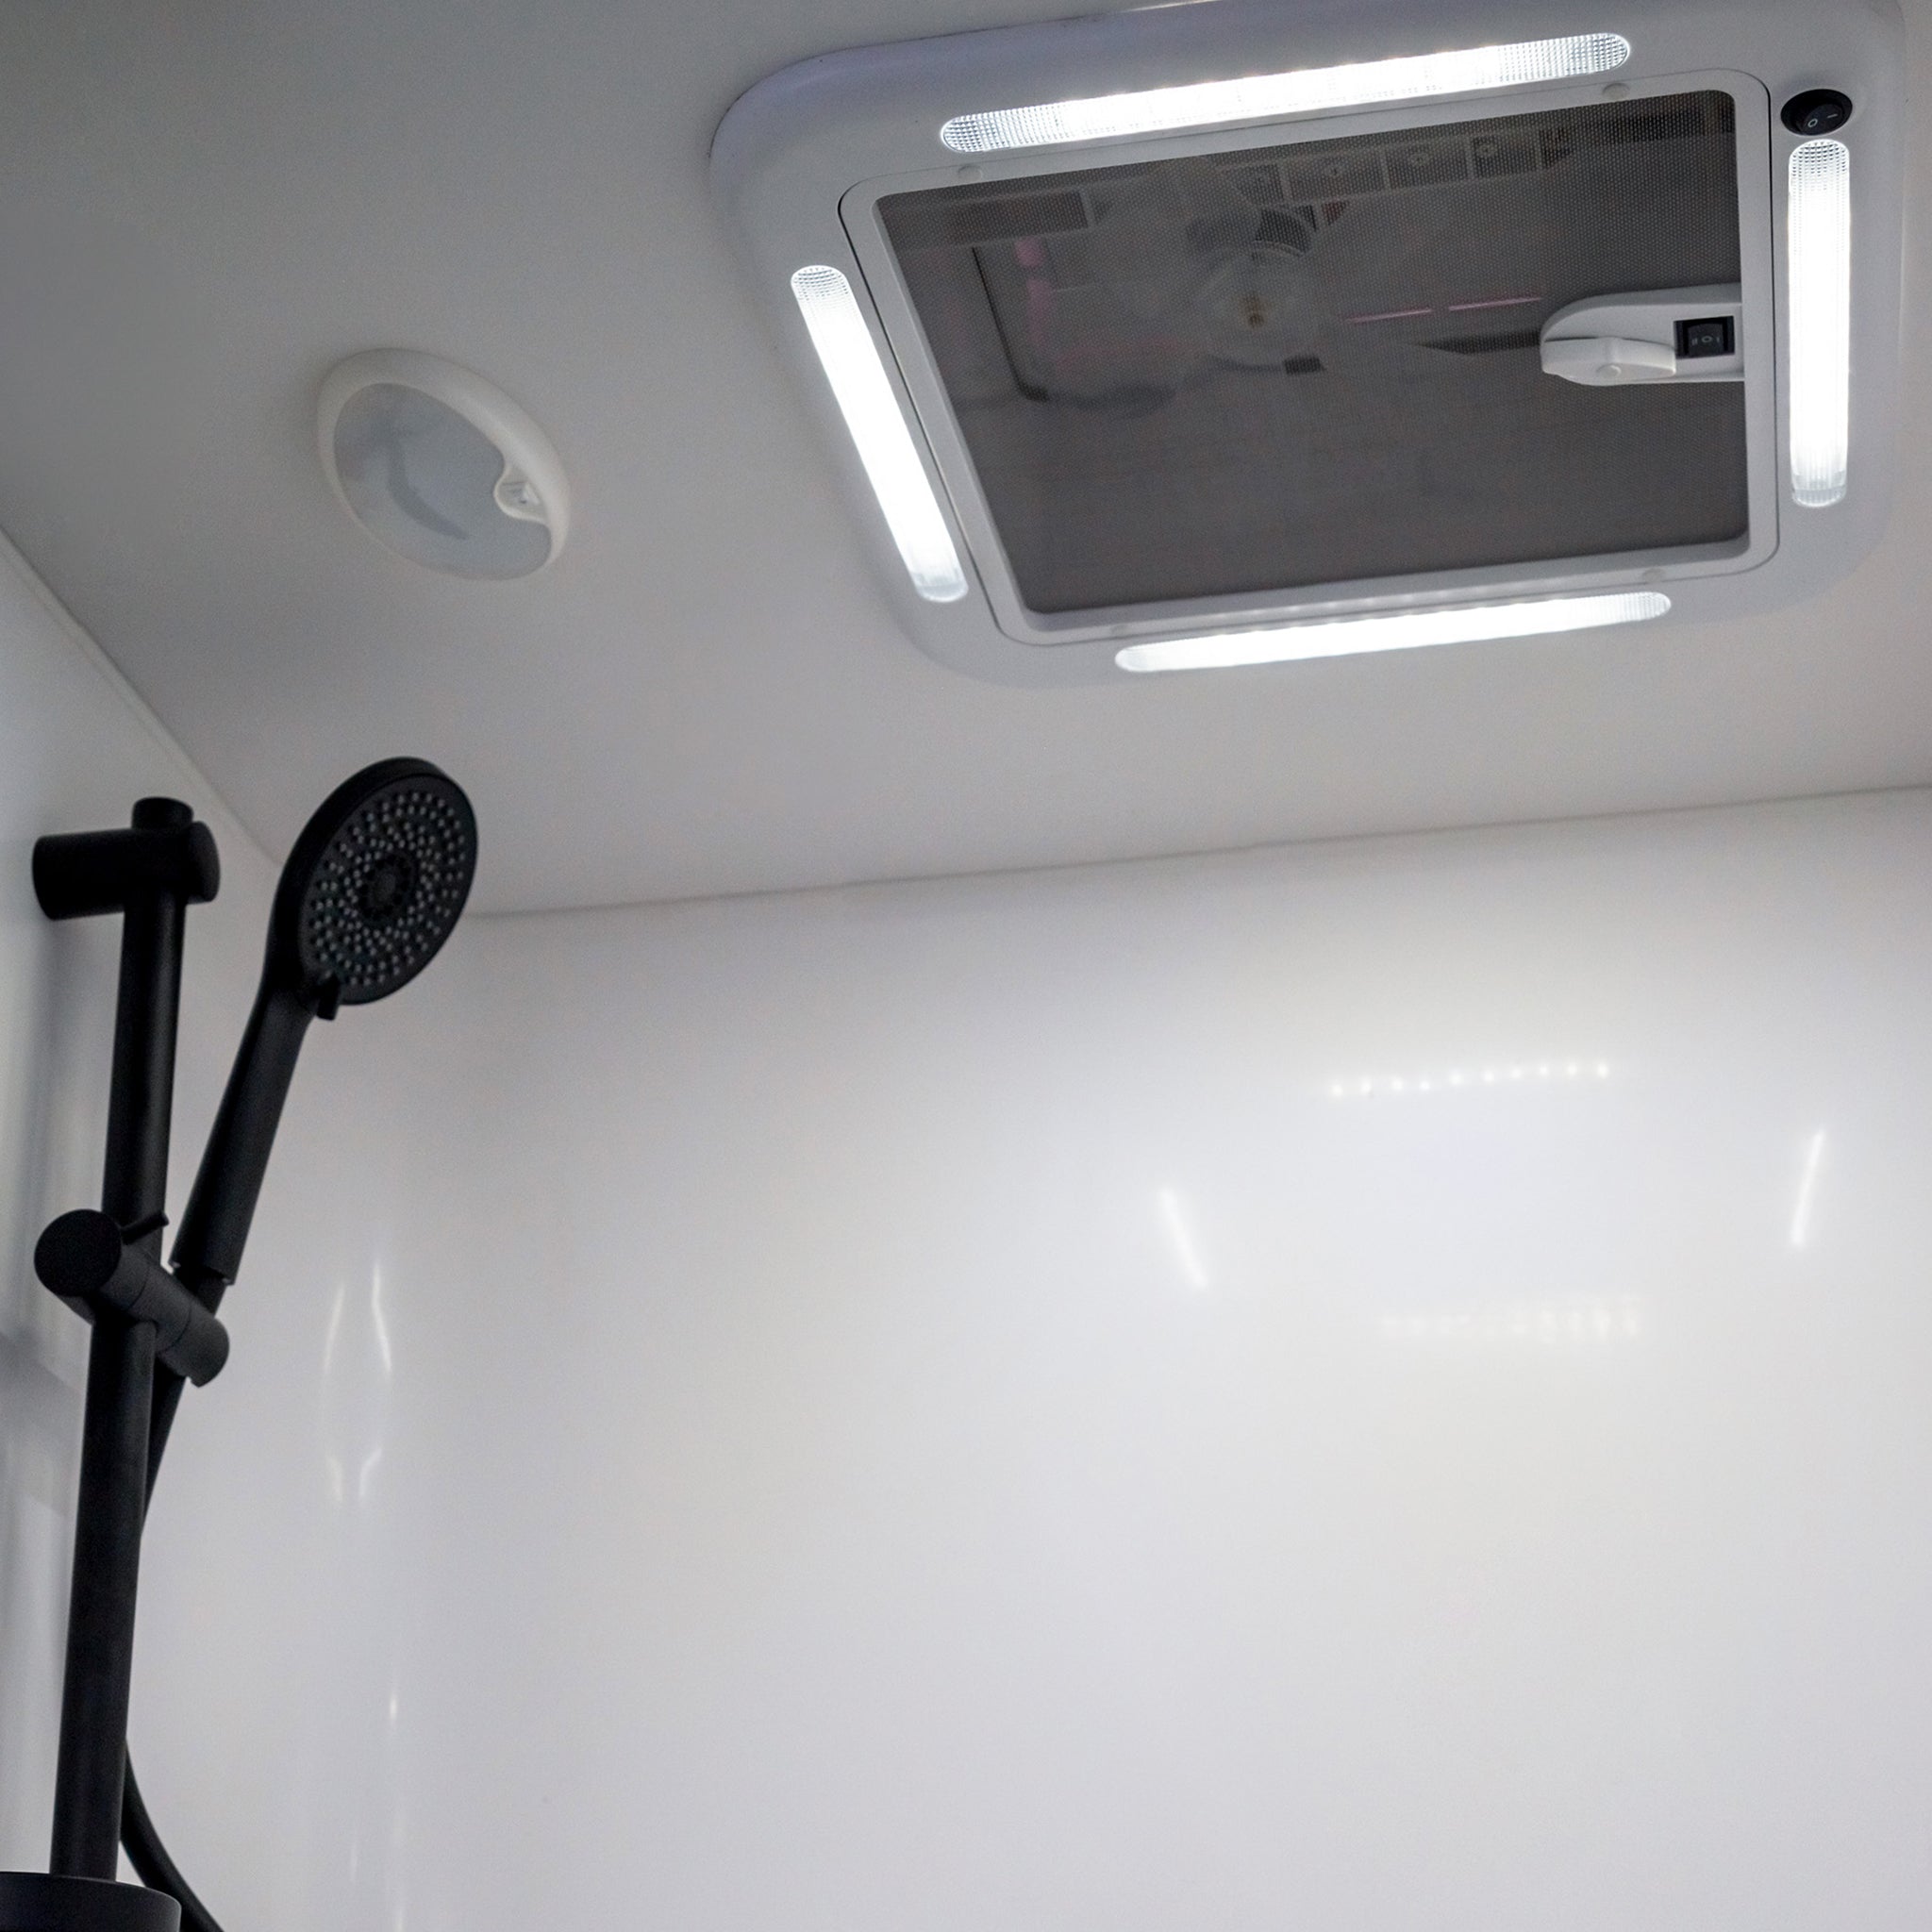
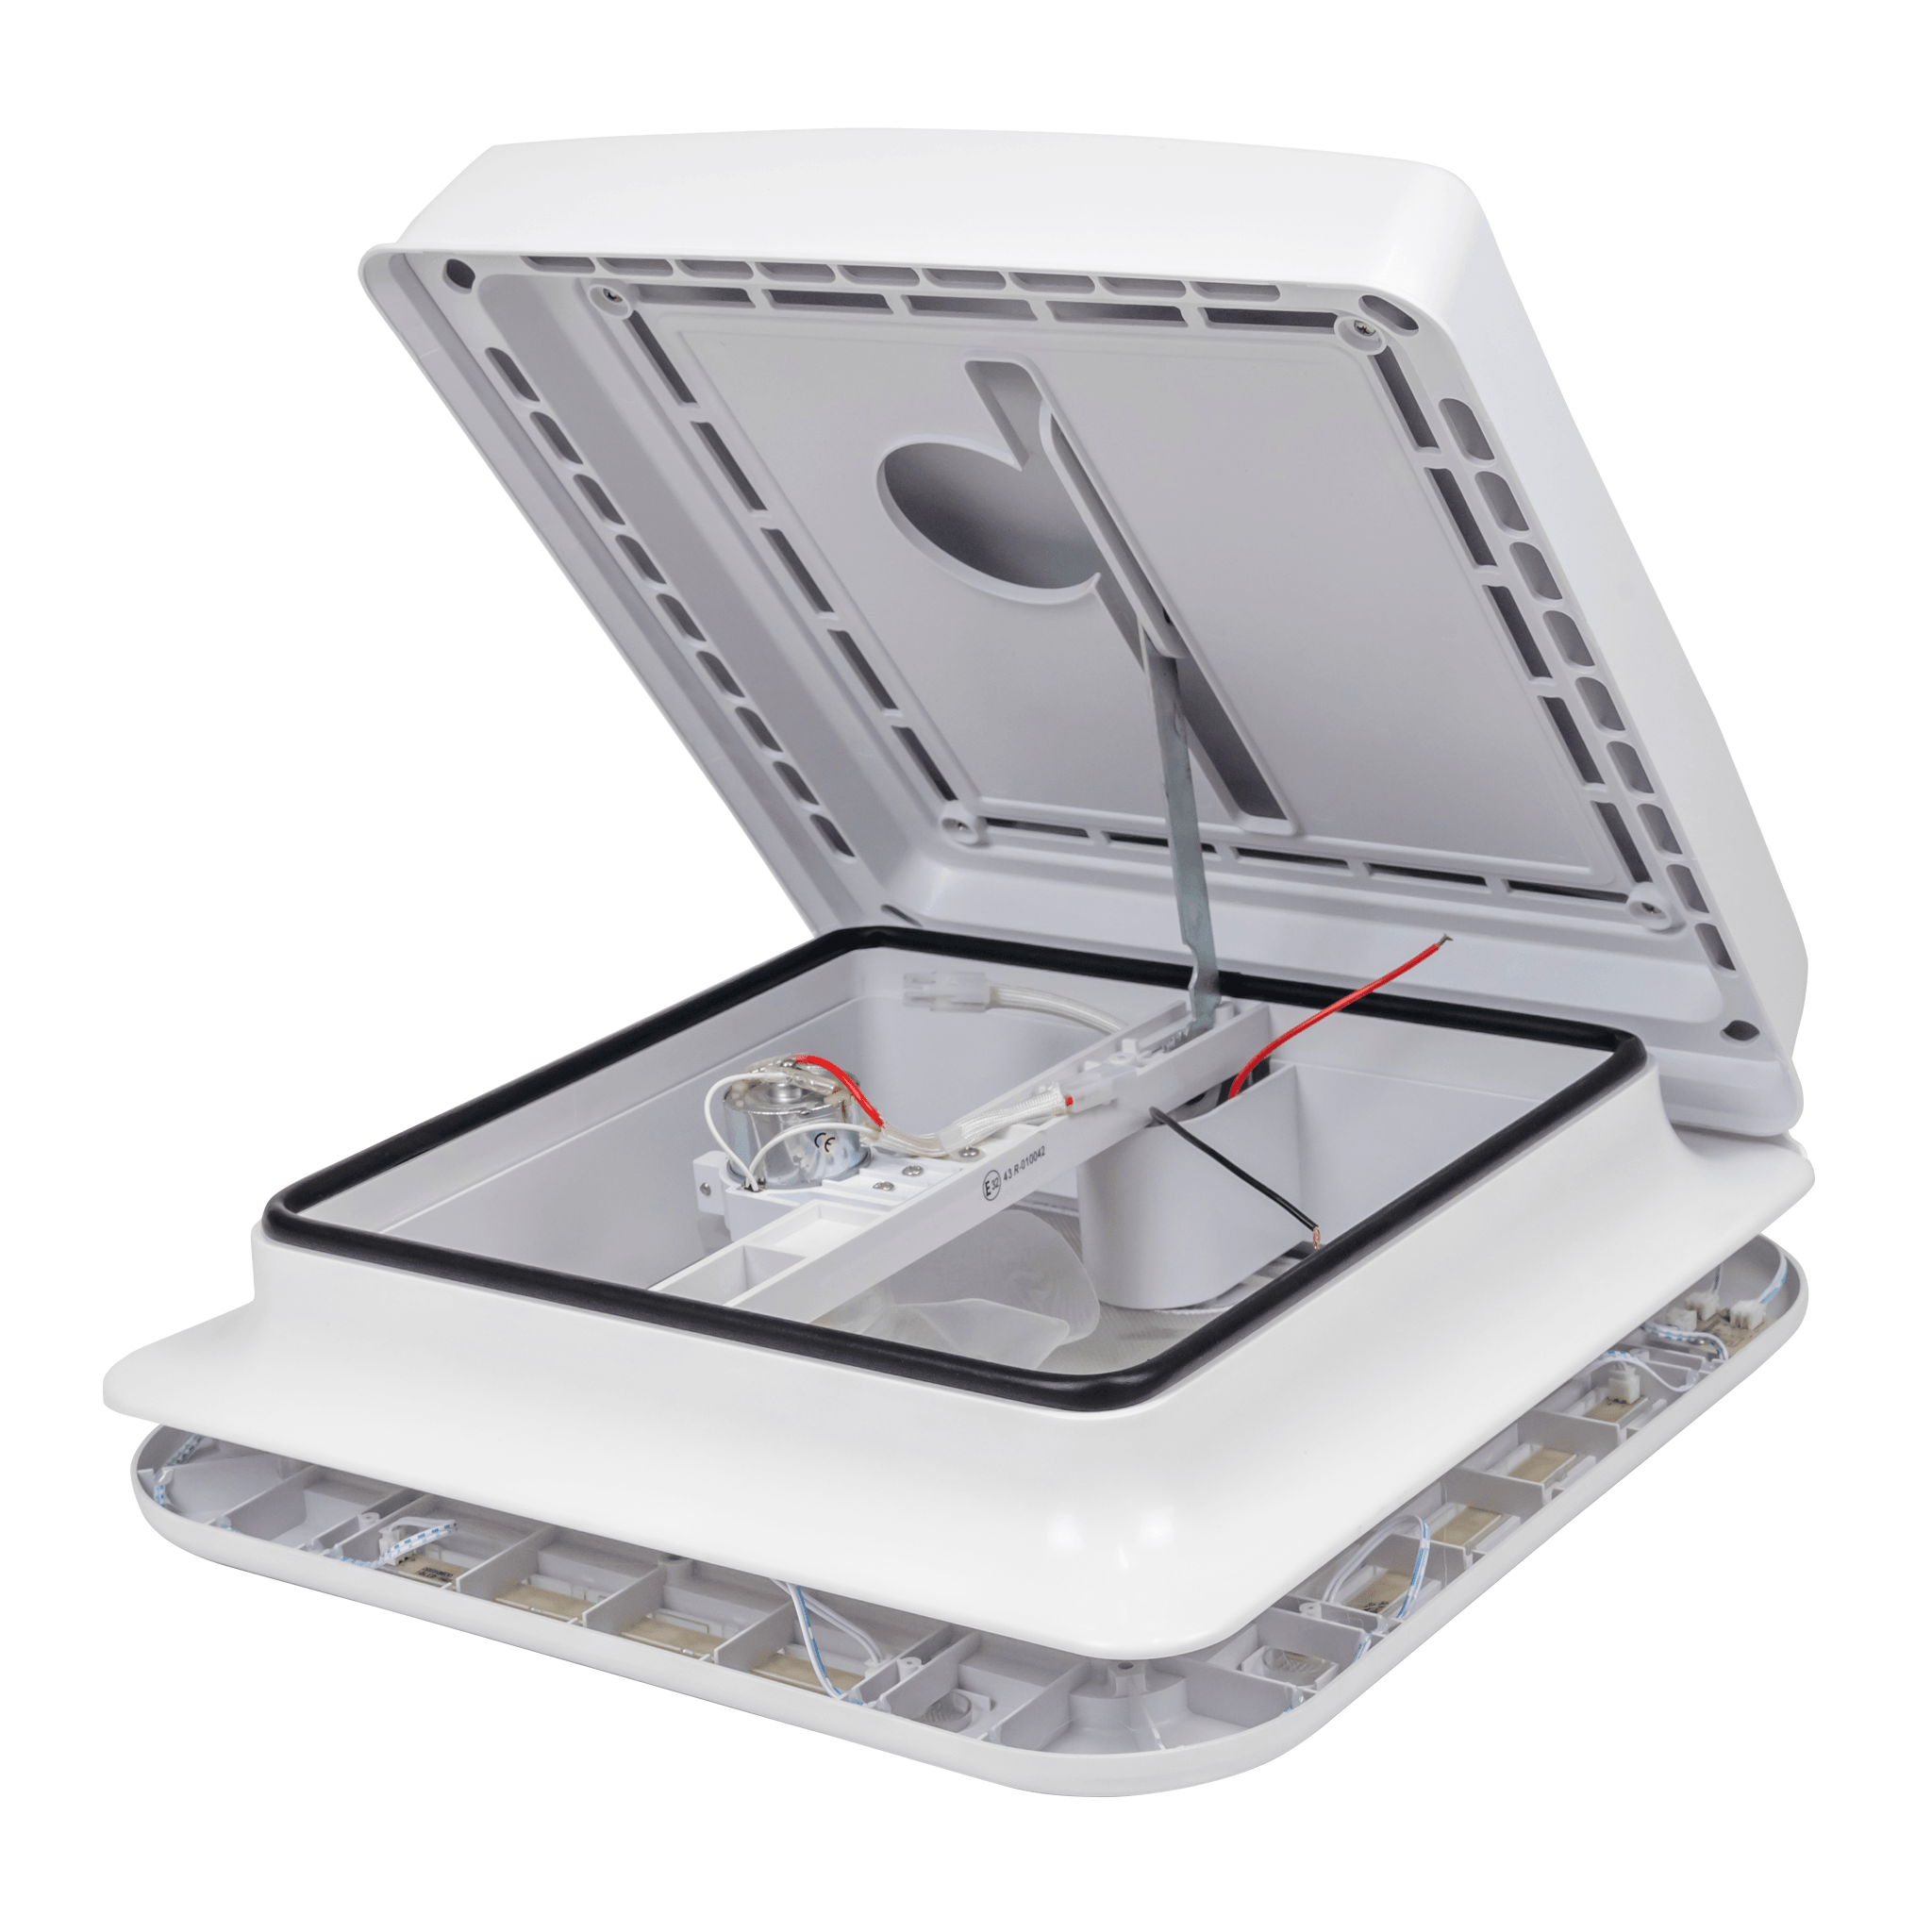
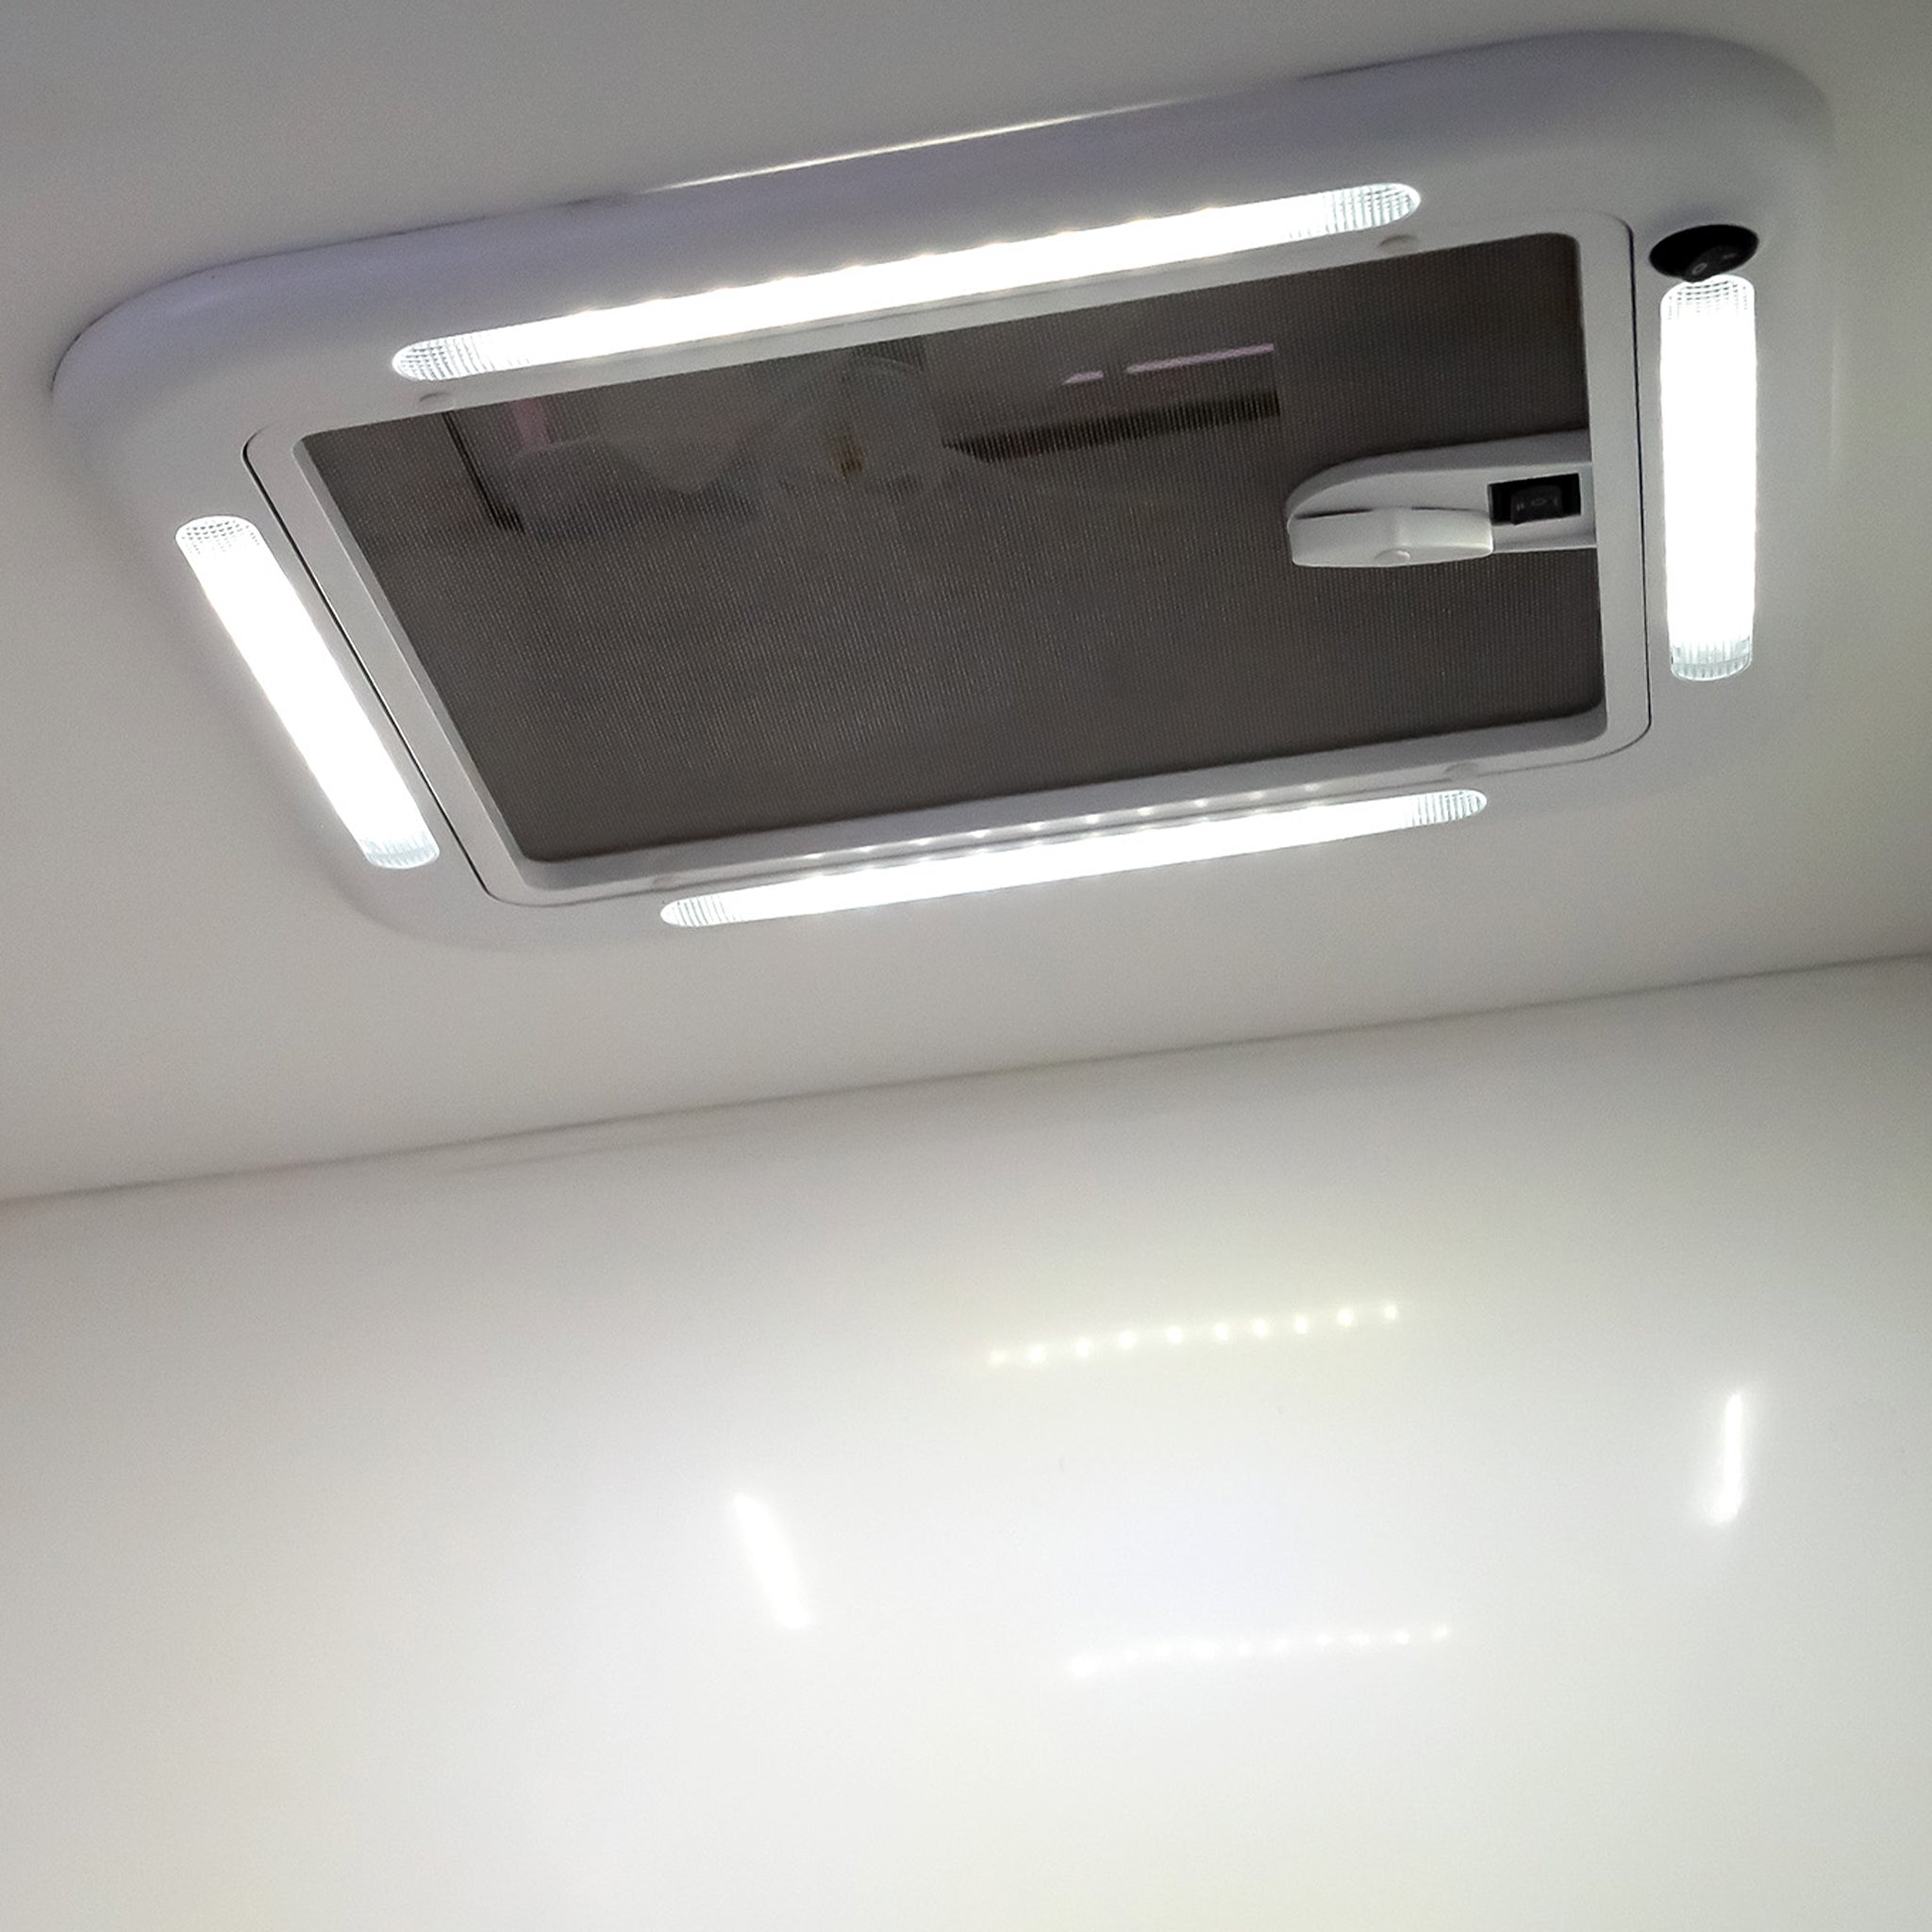
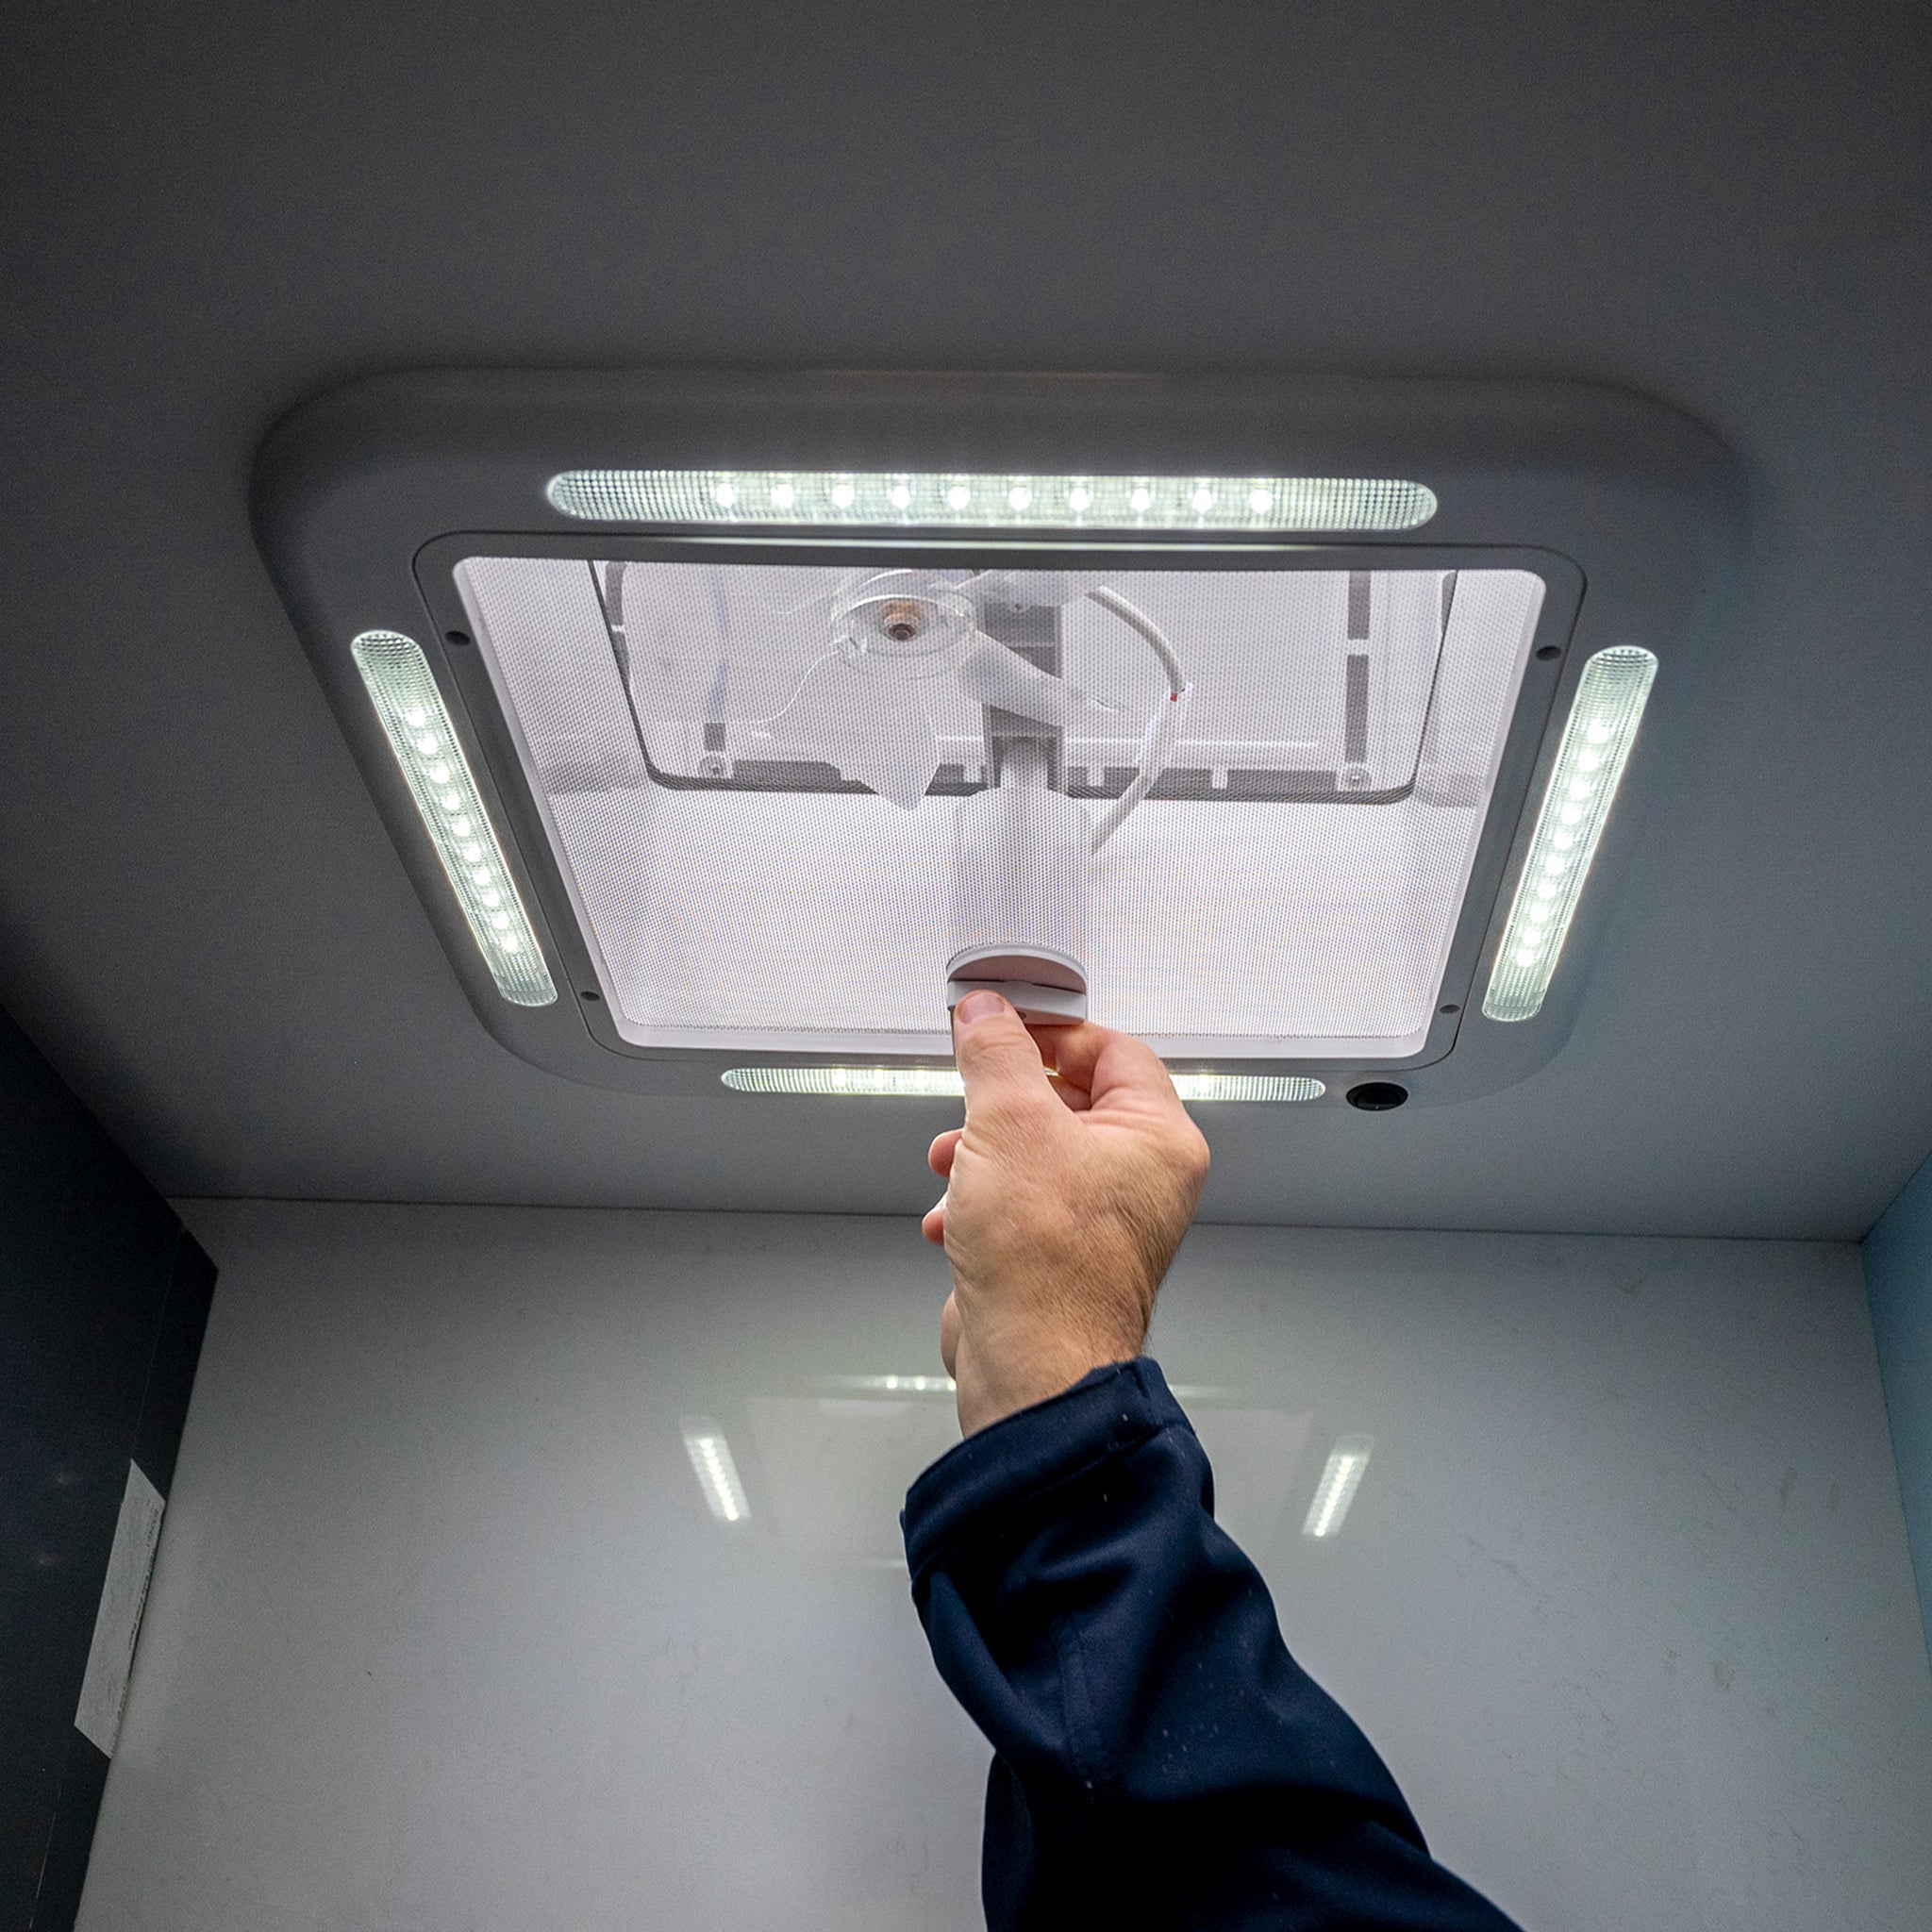
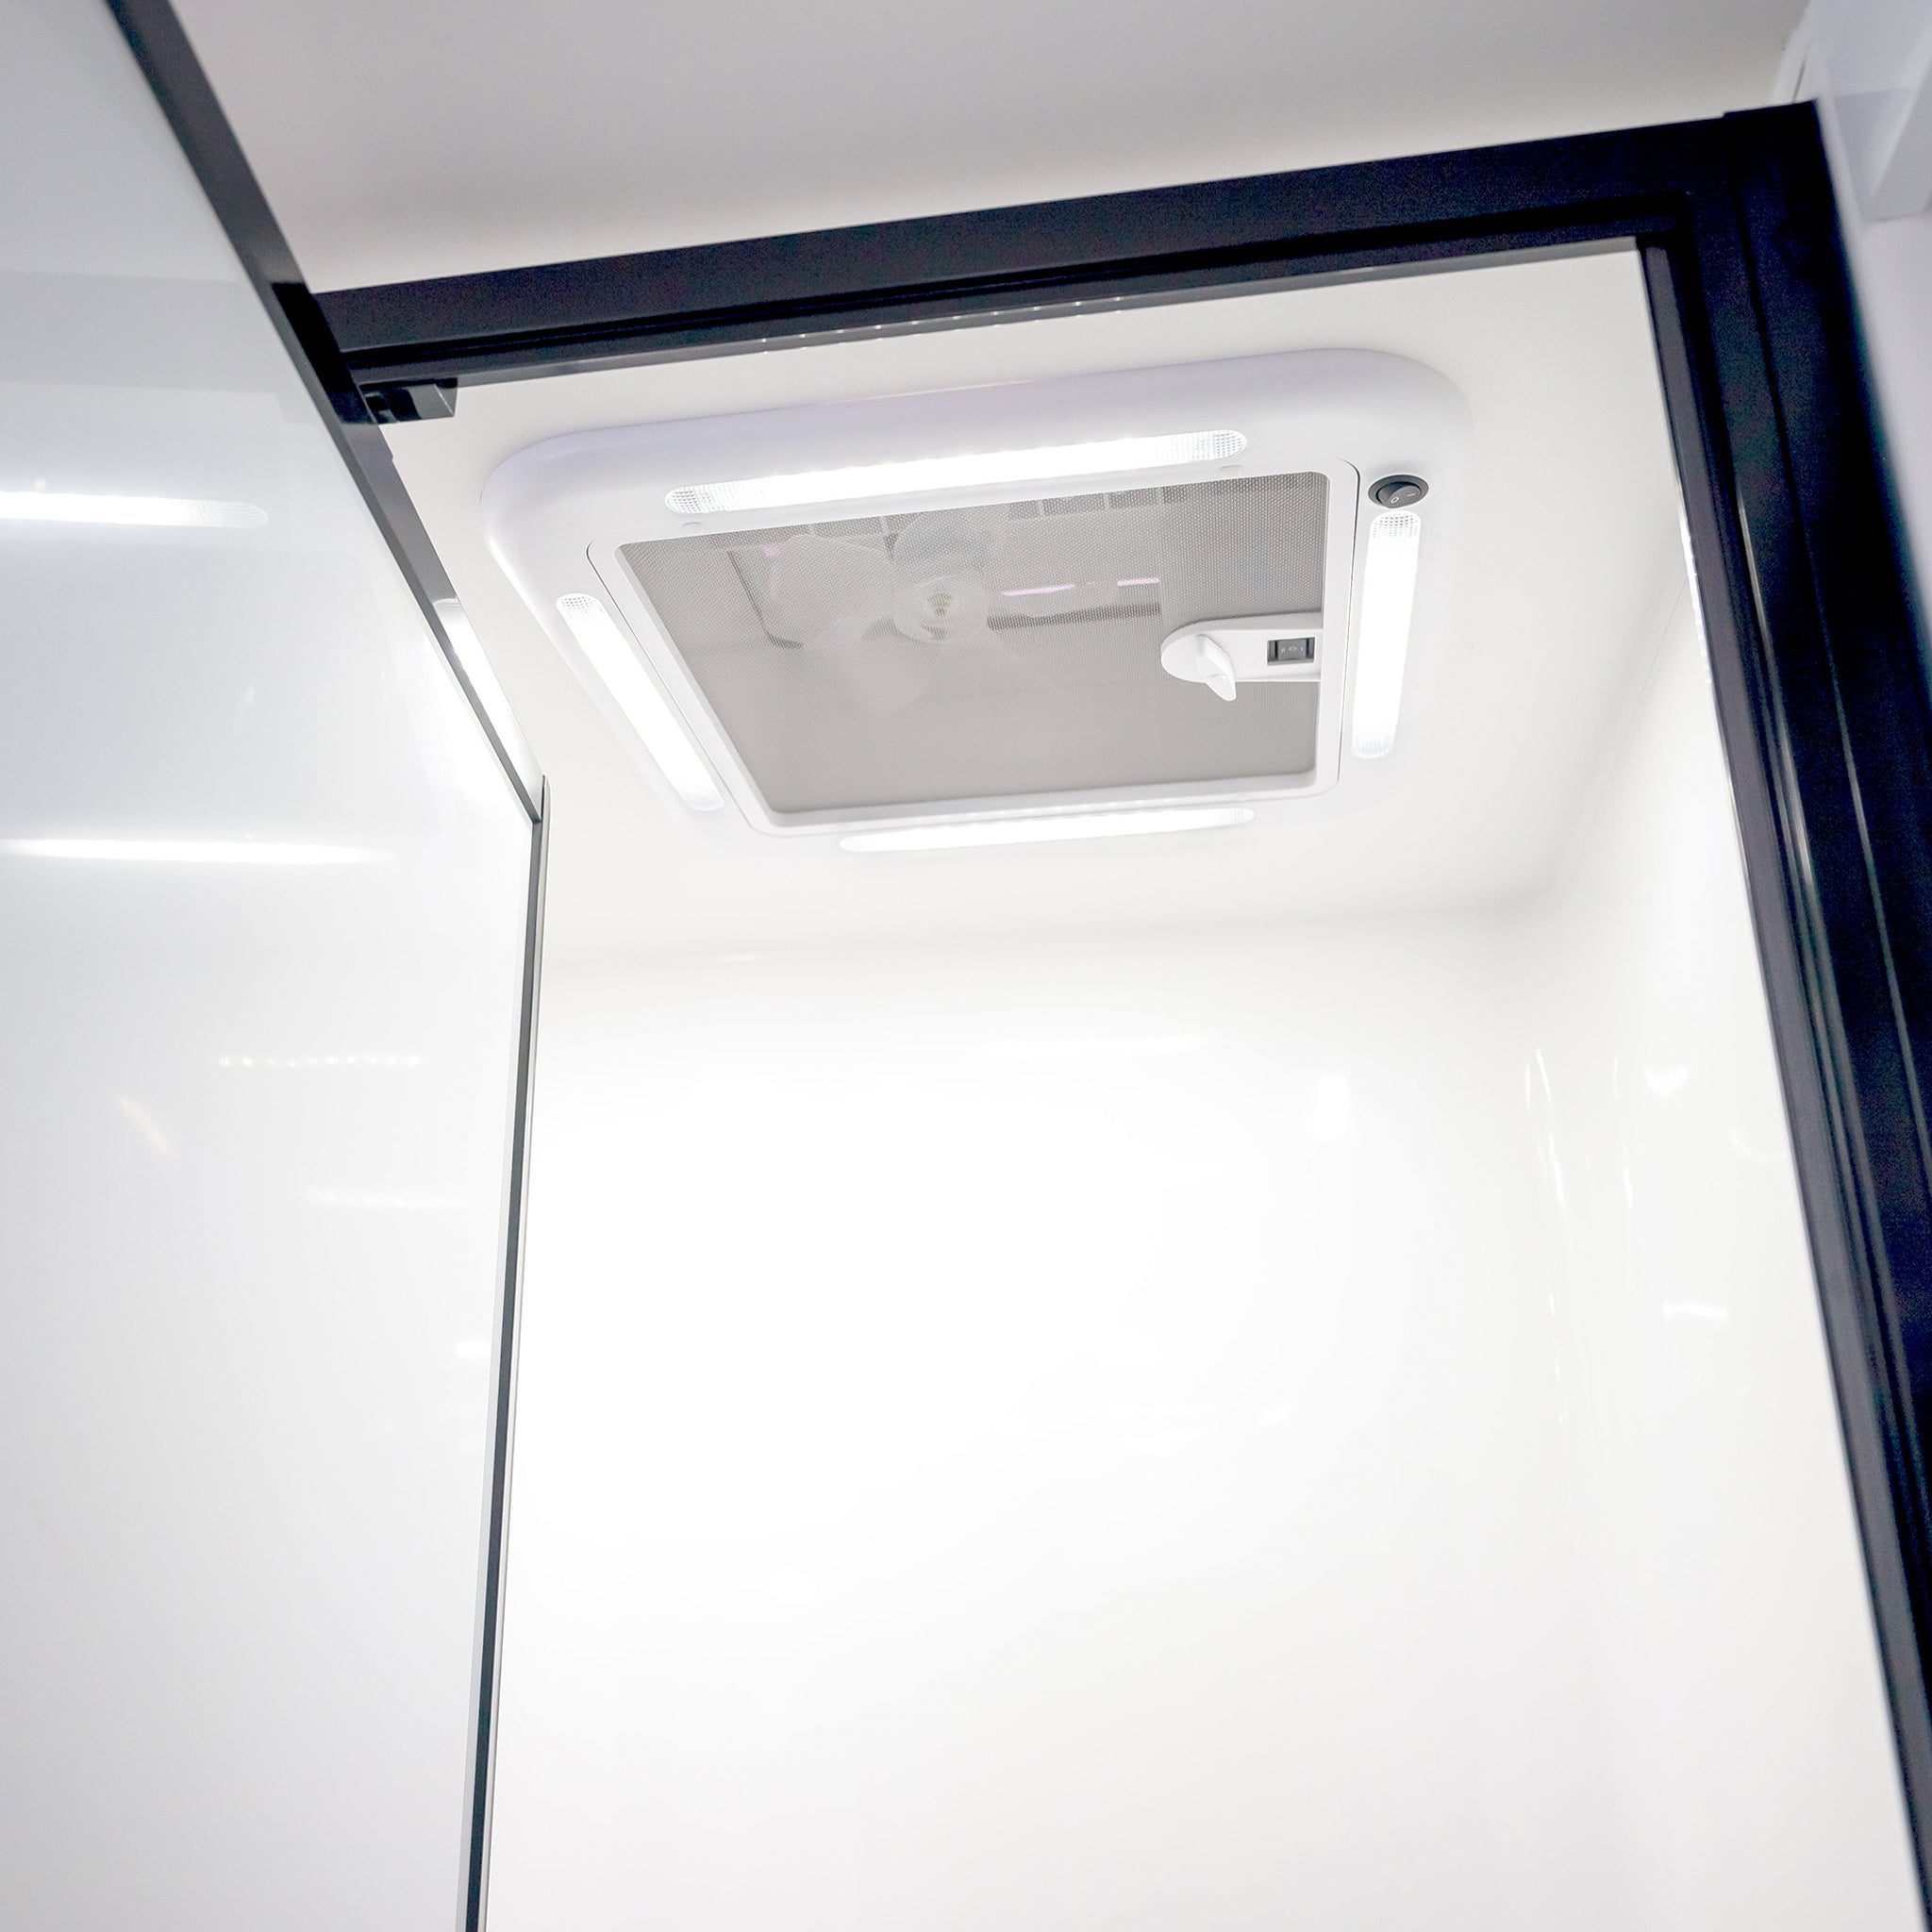
Enjoy the fresh air and both natural light and LED lighting inside your caravan. Dimensions and specifications available:- 420 x 420mm
Electric Air Vent LED Hatch
Control your airflow and ventilation from anywhere in your caravan. Dimensions and specifications available:- 420 x 420mm
Installing A Caravan RV Roof Hatch
While the installation process of a caravan roof hatch can seem complex, it's crucial to approach it with careful planning and meticulous attention to detail to ensure a successful outcome. We highly recommend our team of installers at Aussie Traveller do the work for you, that way you get the perfect measure, cut and fit. We also suggest our team install your roof hatch, as any errors made during a self-install will void all warranty on the product. Featured steps include:- Location: Choose a suitable location free from internal obstacles.
- Measure & Mark: Mark the roof hatch dimensions on the roof and double-check for accuracy.
- Cut Opening: Carefully cut the opening using the marked dimensions and manufacturer's guidelines.
- Prepare Hatch: Assemble the roof hatch according to the instructions.
- Seal & Install: Apply sealant, place the hatch, secure it with screws, and seal around the edges.
- Leak Check: After sealant cures, test for leaks and fix any issues immediately.
- Electrical (if applicable): Connect electrical components following the provided instructions.
- Functionality Test: Test the hatch's opening, closing, locking, and any additional features.
- Final Check: Ensure all screws are tight and the hatch is securely installed.

